First seeing Shattuc tower in 2006 I found it very interesting and after talking to a friend who used to scrap for CSX I became aware that they once tried to sell him the tower for $1. Then I always said I would try to save it and tried to make contact with CSX about it several times. CSX never returned my calls and the tower sat for a few more years. In 2009 I visited the tower again to find that someone had broken the lever bed to steal 3 levers, they also damaged other levers in a attempt to steal them also. Earlier in 2009 I visited AC tower which is one of the few that has been saved from the wrecking ball and restored. While there I mentioned Shattuc and a friend gave me his card and said if I was ever serious about saving Shattuc to call him. After talking with a friend and family about always wanting to move it they became very supportive and suggested that I make more of a attempt to save it. After the support I decided to contact my friend from AC tower and he gave me some contacts at CSX to call. A few days later I contacted CSX again and the person was extremely helpful and forwarded me to another CSX person. After calling this other CSX contact and talking for a while, he said he would make a few phone calls and call me back. Figuring that I would never hear from him again I went about my day, about a about a hour later I got a call back and he had good news. He had made a few calls and got another person involved and we discussed what would happen and what needed to happen. After talking I had to write a proposal and send it in, I also needed a 3 Million Dollar insurance policy. After getting all that prepared I sent it in and waited for CSX. About two months later I get word from CSX that I was approved and that the lawyers were working on the paper work. We started taking apart the lever bed, and then the tower will be taken down. The following is the progress of saving Shattuc Tower, and some history about it.
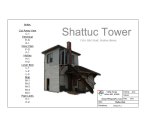
Shattuc's History
Here are several files that I have created about Shattuc, all in PDF format.
 Shattuc Book V4.5 |
 Shattuc's History |
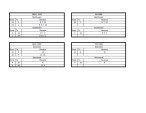 Shattuc's Manipulation Chart |
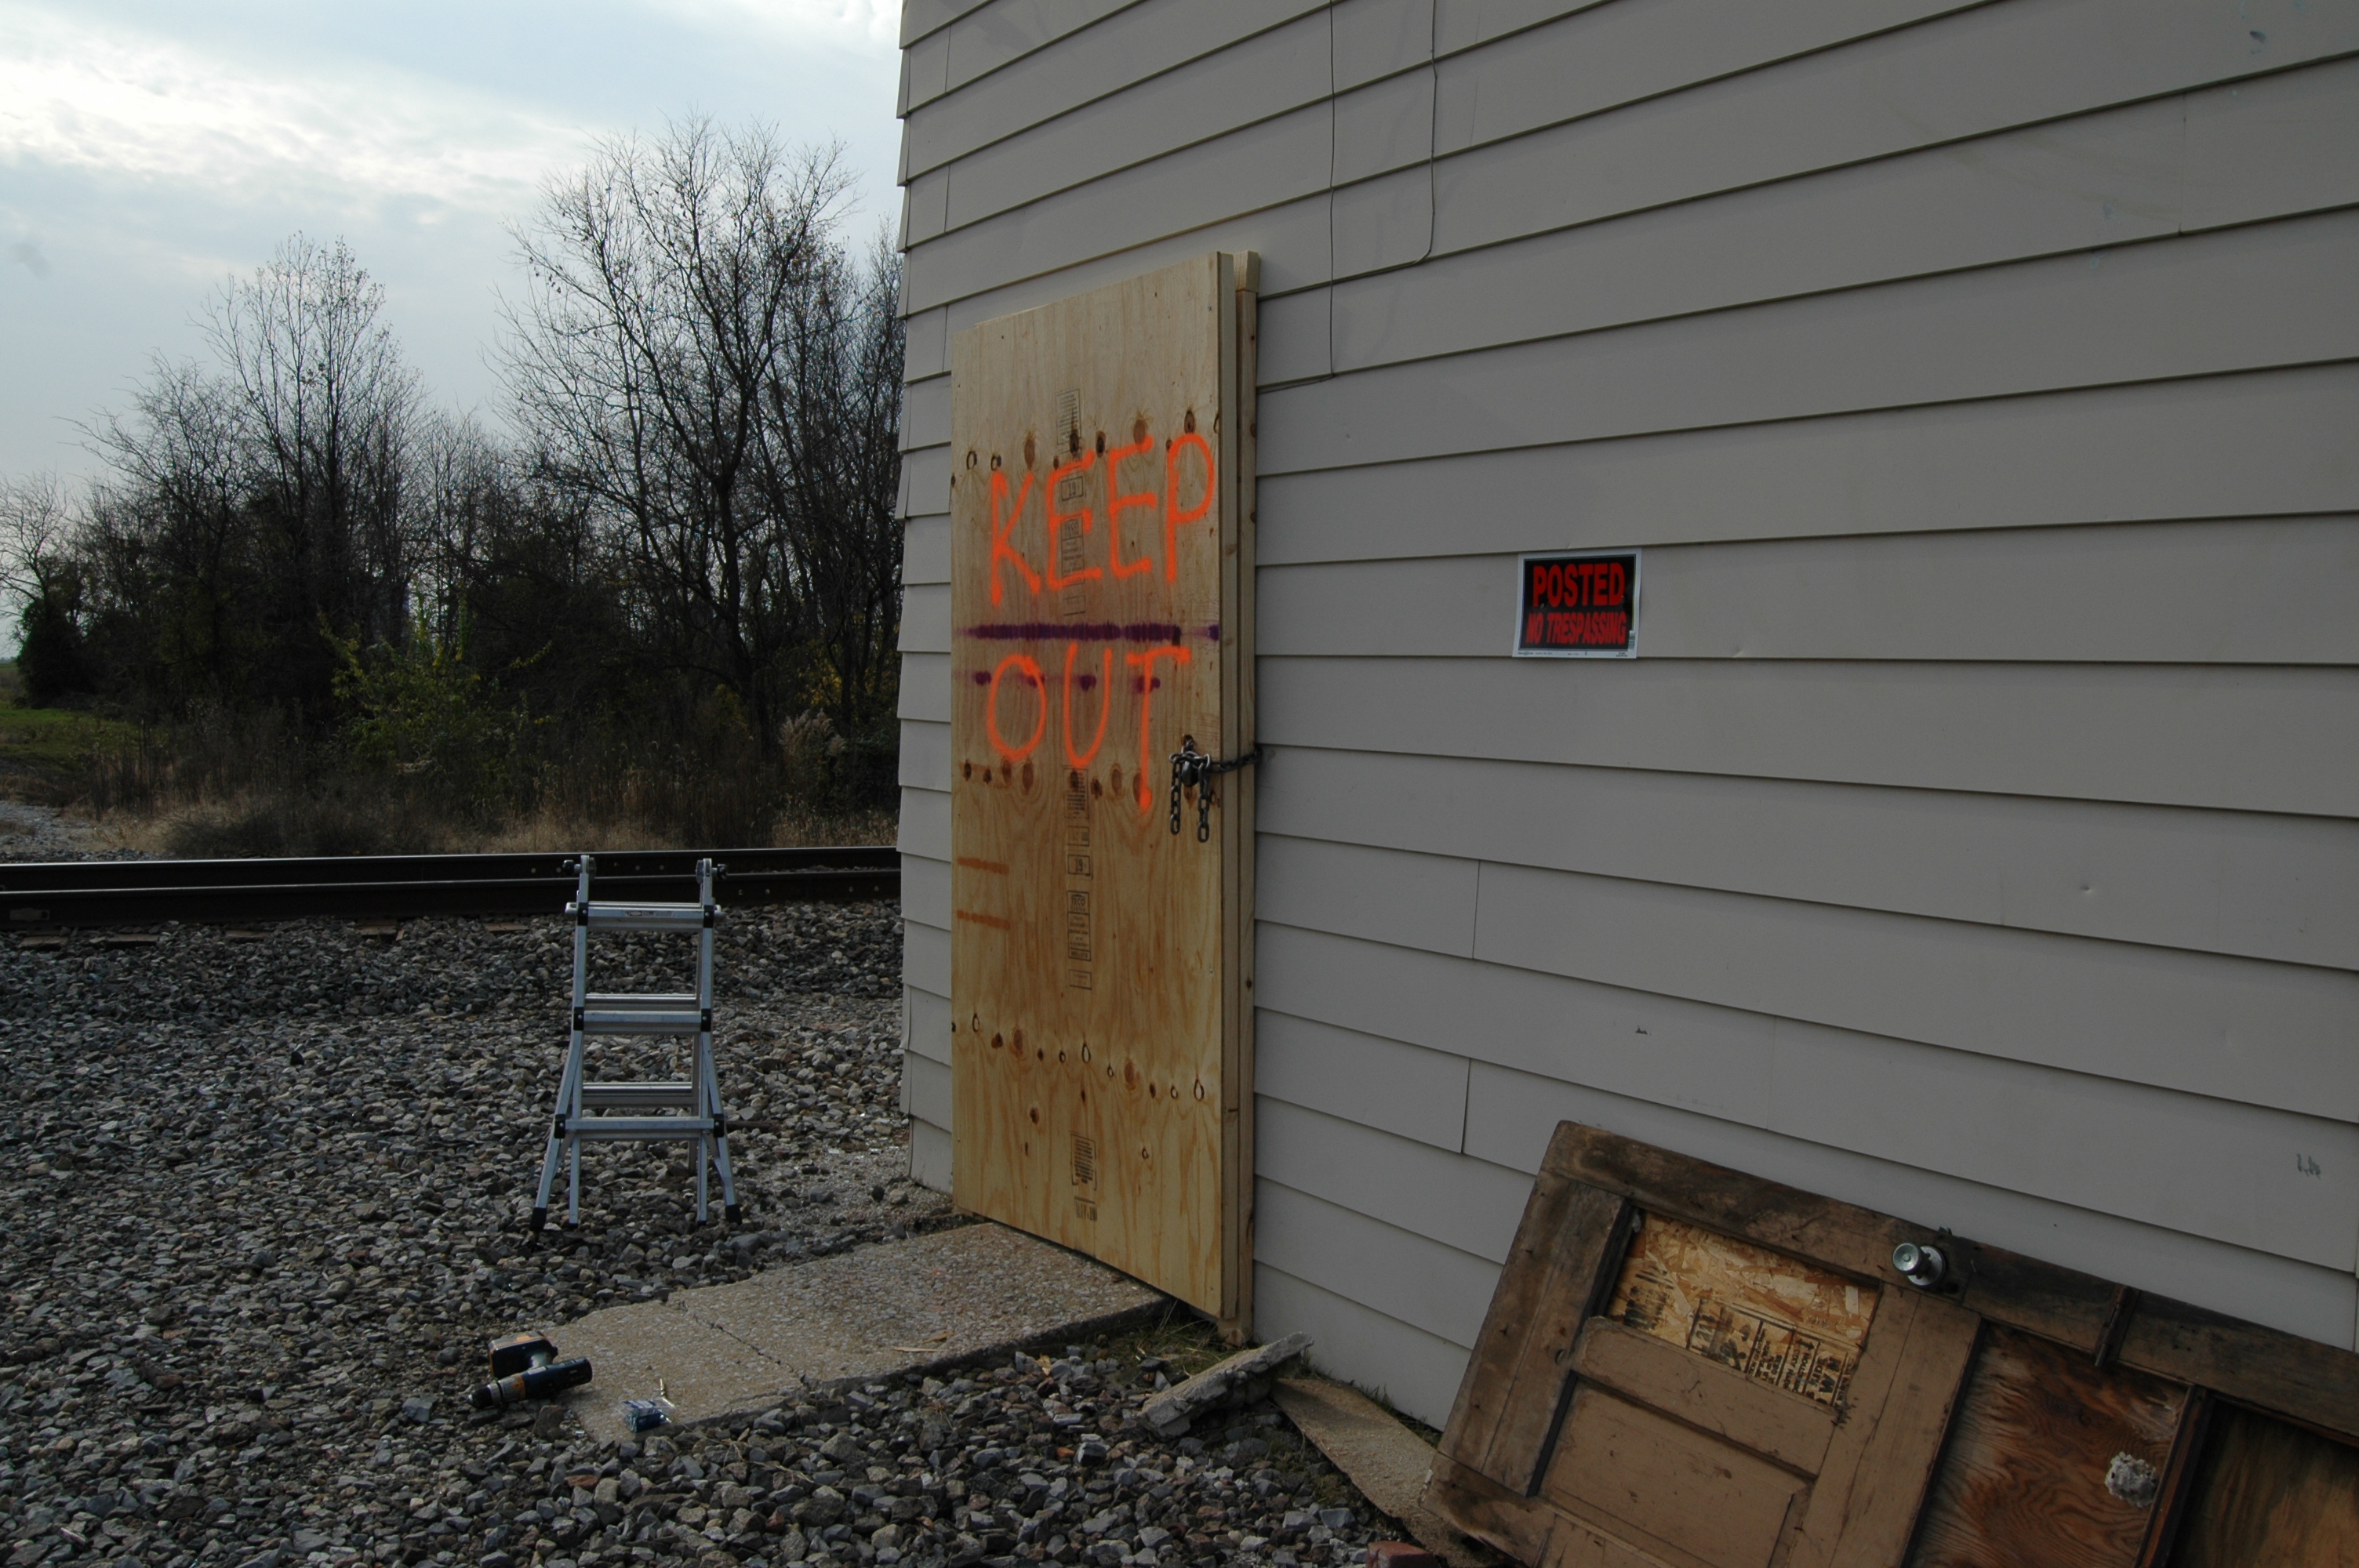
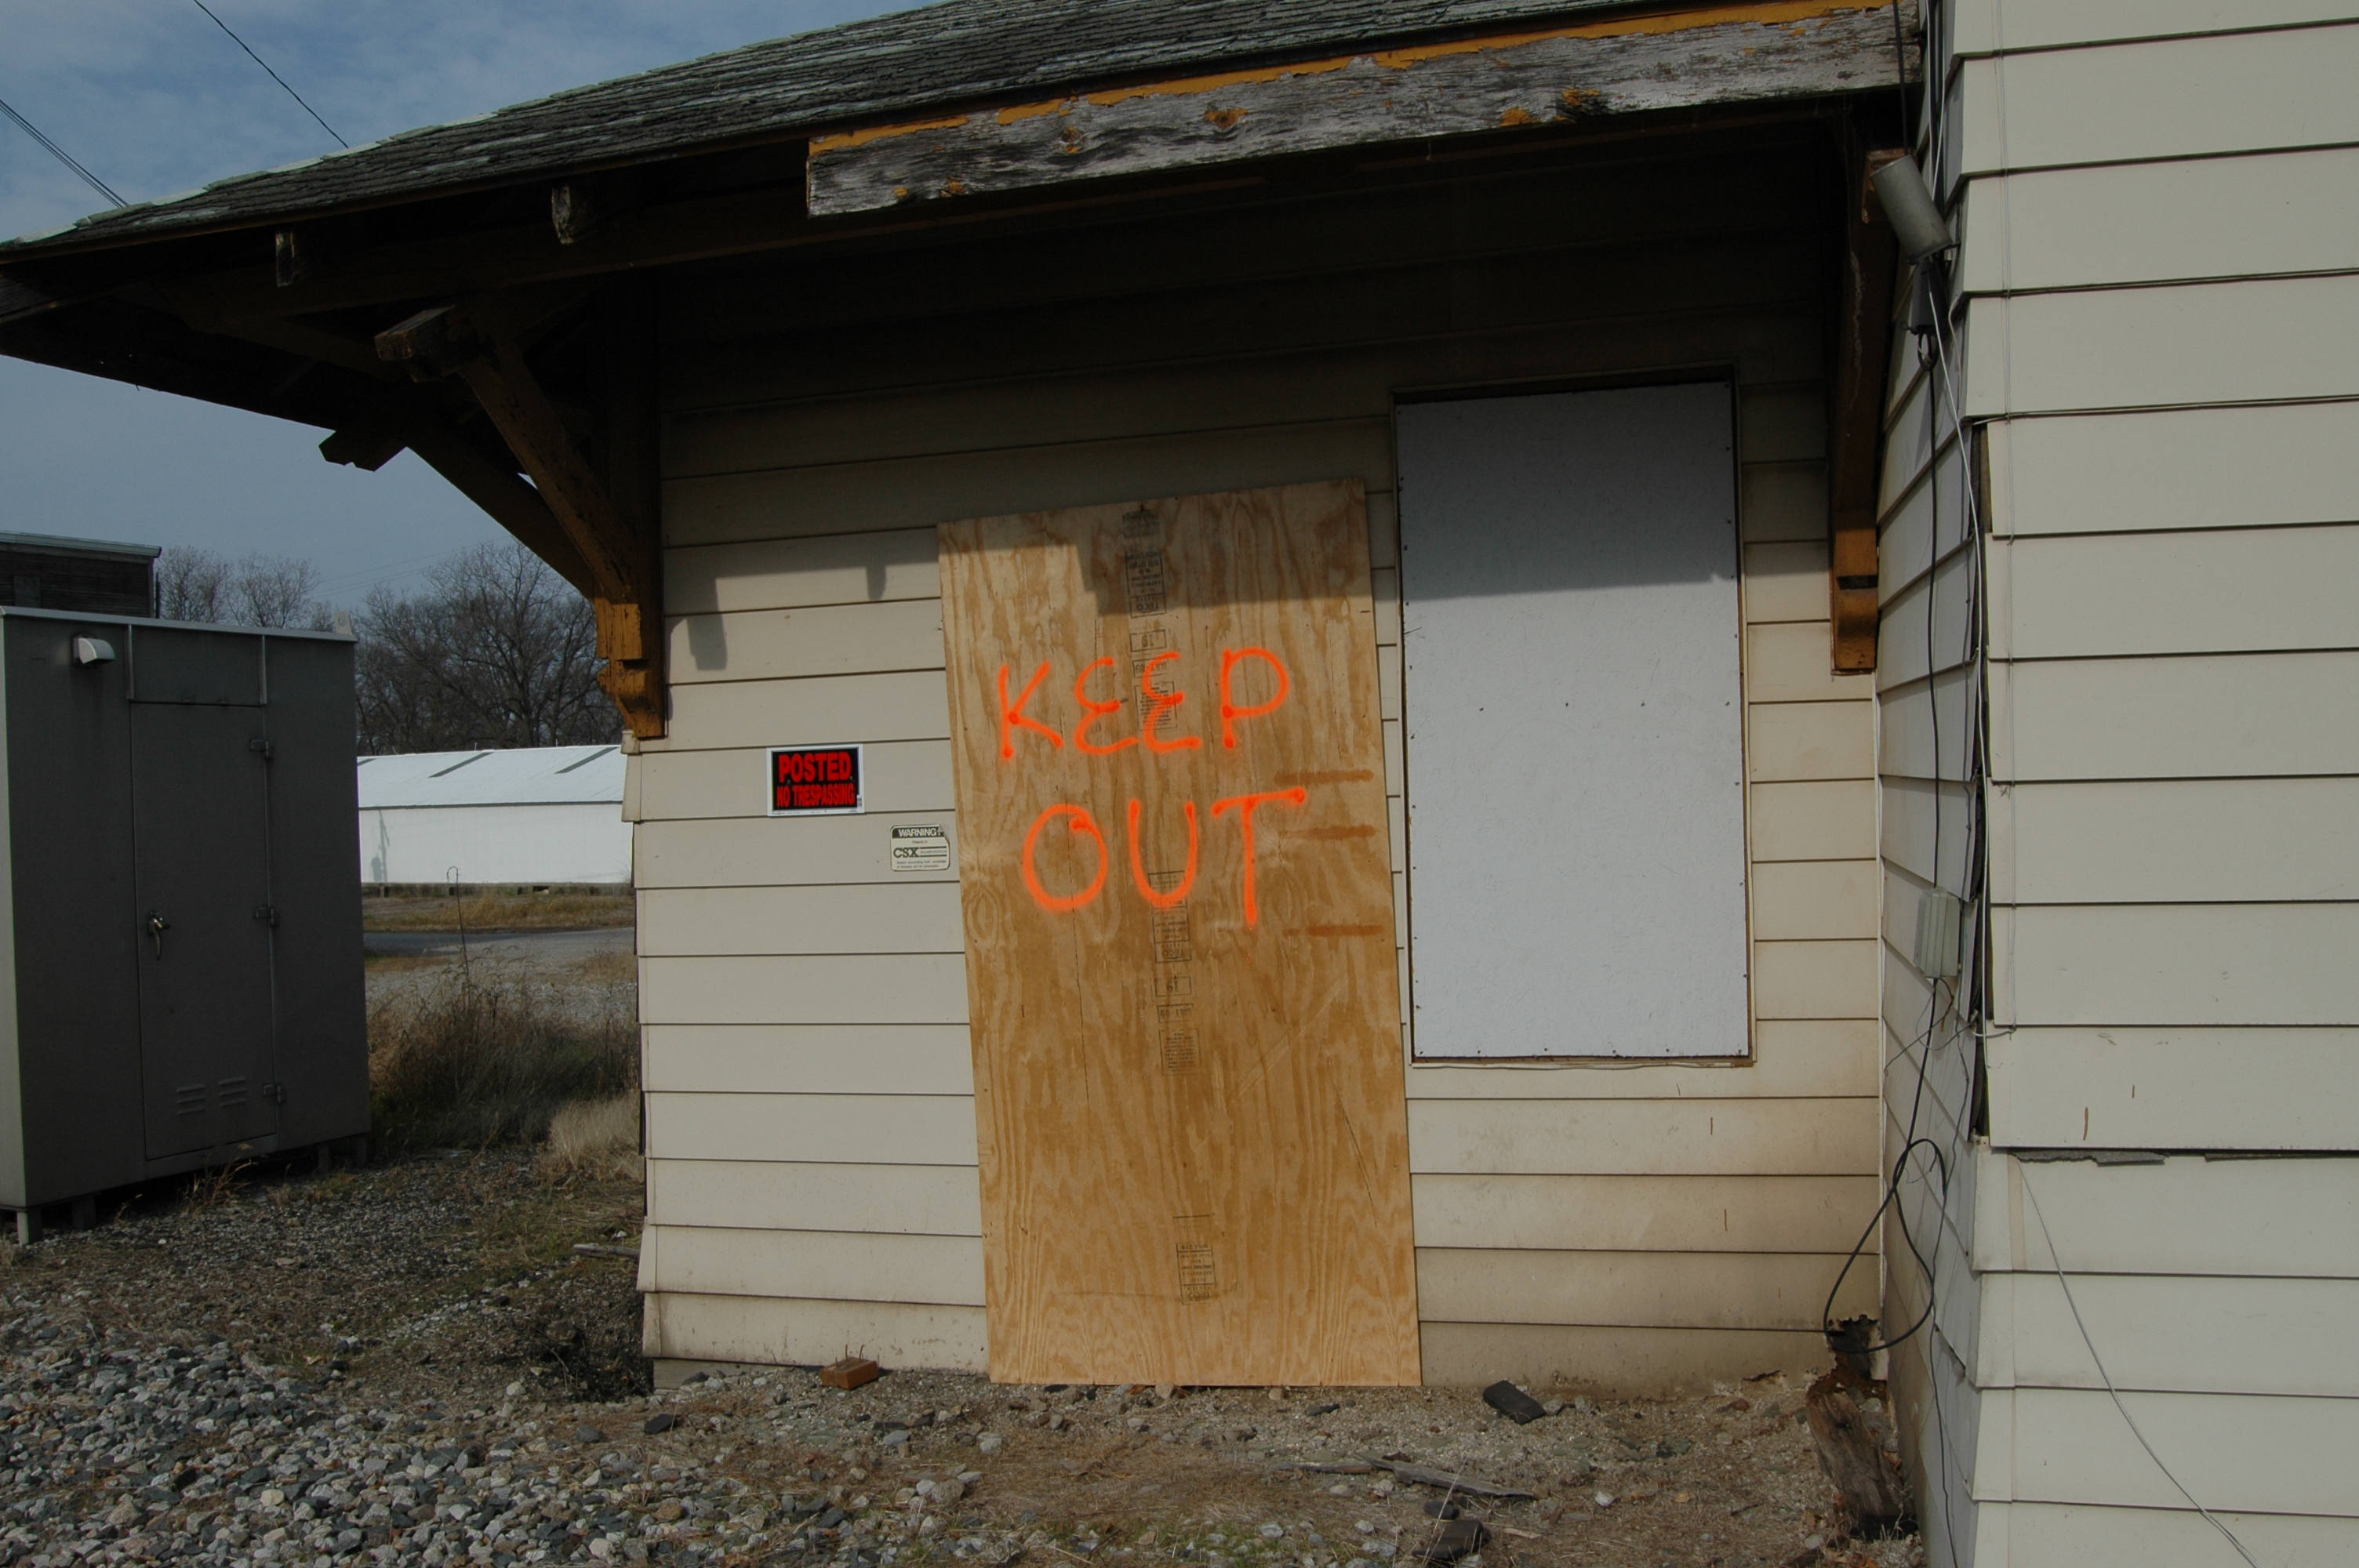
Securing Shattuc ~ 11.14.2009
After a few posting on the Internet about Shattuc coming down in the first quarter of 2010 CSX granted permission for us to secure the tower. We boarded up the ticket agency since we would not need to get into that until the tower was to be torn down. Then the upstairs door was nailed shut and boarded up. This left no way to the top of the tower so we cut the floor where the original stairs where located and opened them once again. We then bolted a construction door to the lower door to secure the tower. CSX and I have a key to get in the tower.
 |
 |
 |
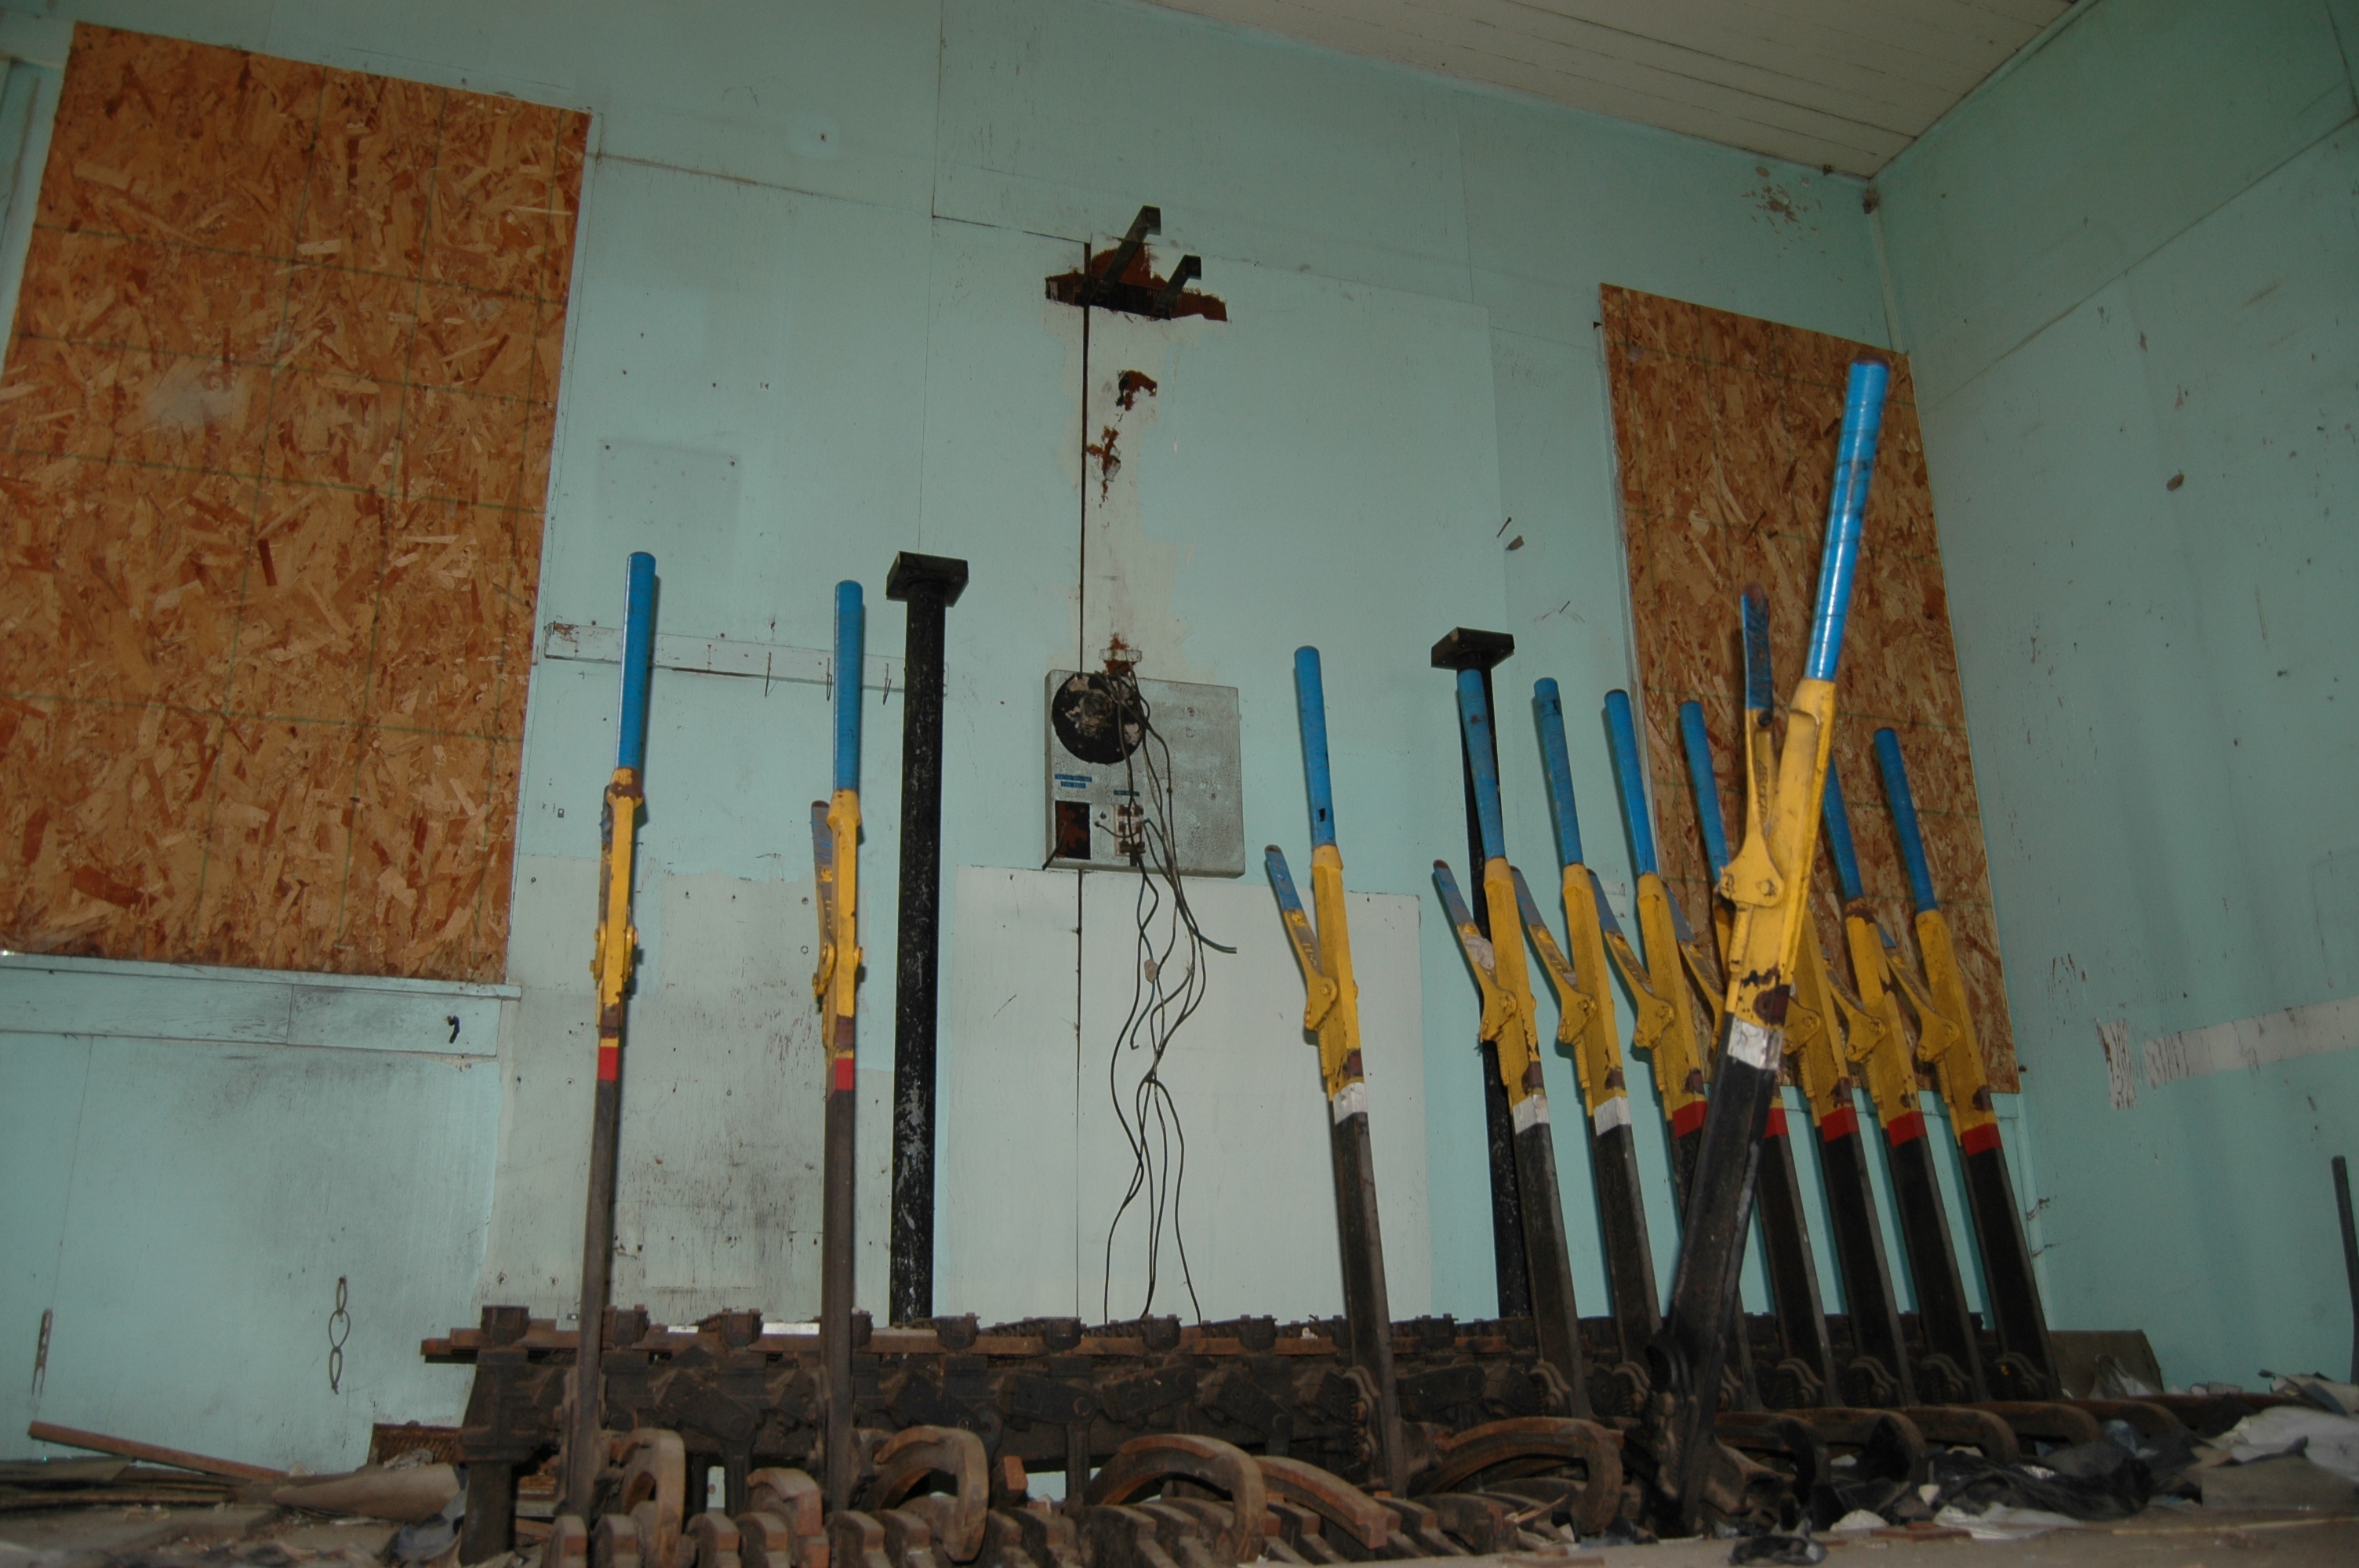
Removing the Damaged Lever and Parts ~ 11.21.2009
Since someone damaged the lever bed, we worked to get the broken parts out and to remove the lever[3.22] before they came back to get it. They were careful to undo the lower bolts and to put them into the next lever pivot, they were not taking this apart for scrap but knew how to get the levers out. For us it was a matter of detaching the lever from the locking bed and then going below the lever bed and pulling the pin to free the lever.
 |
 |
 |
 |
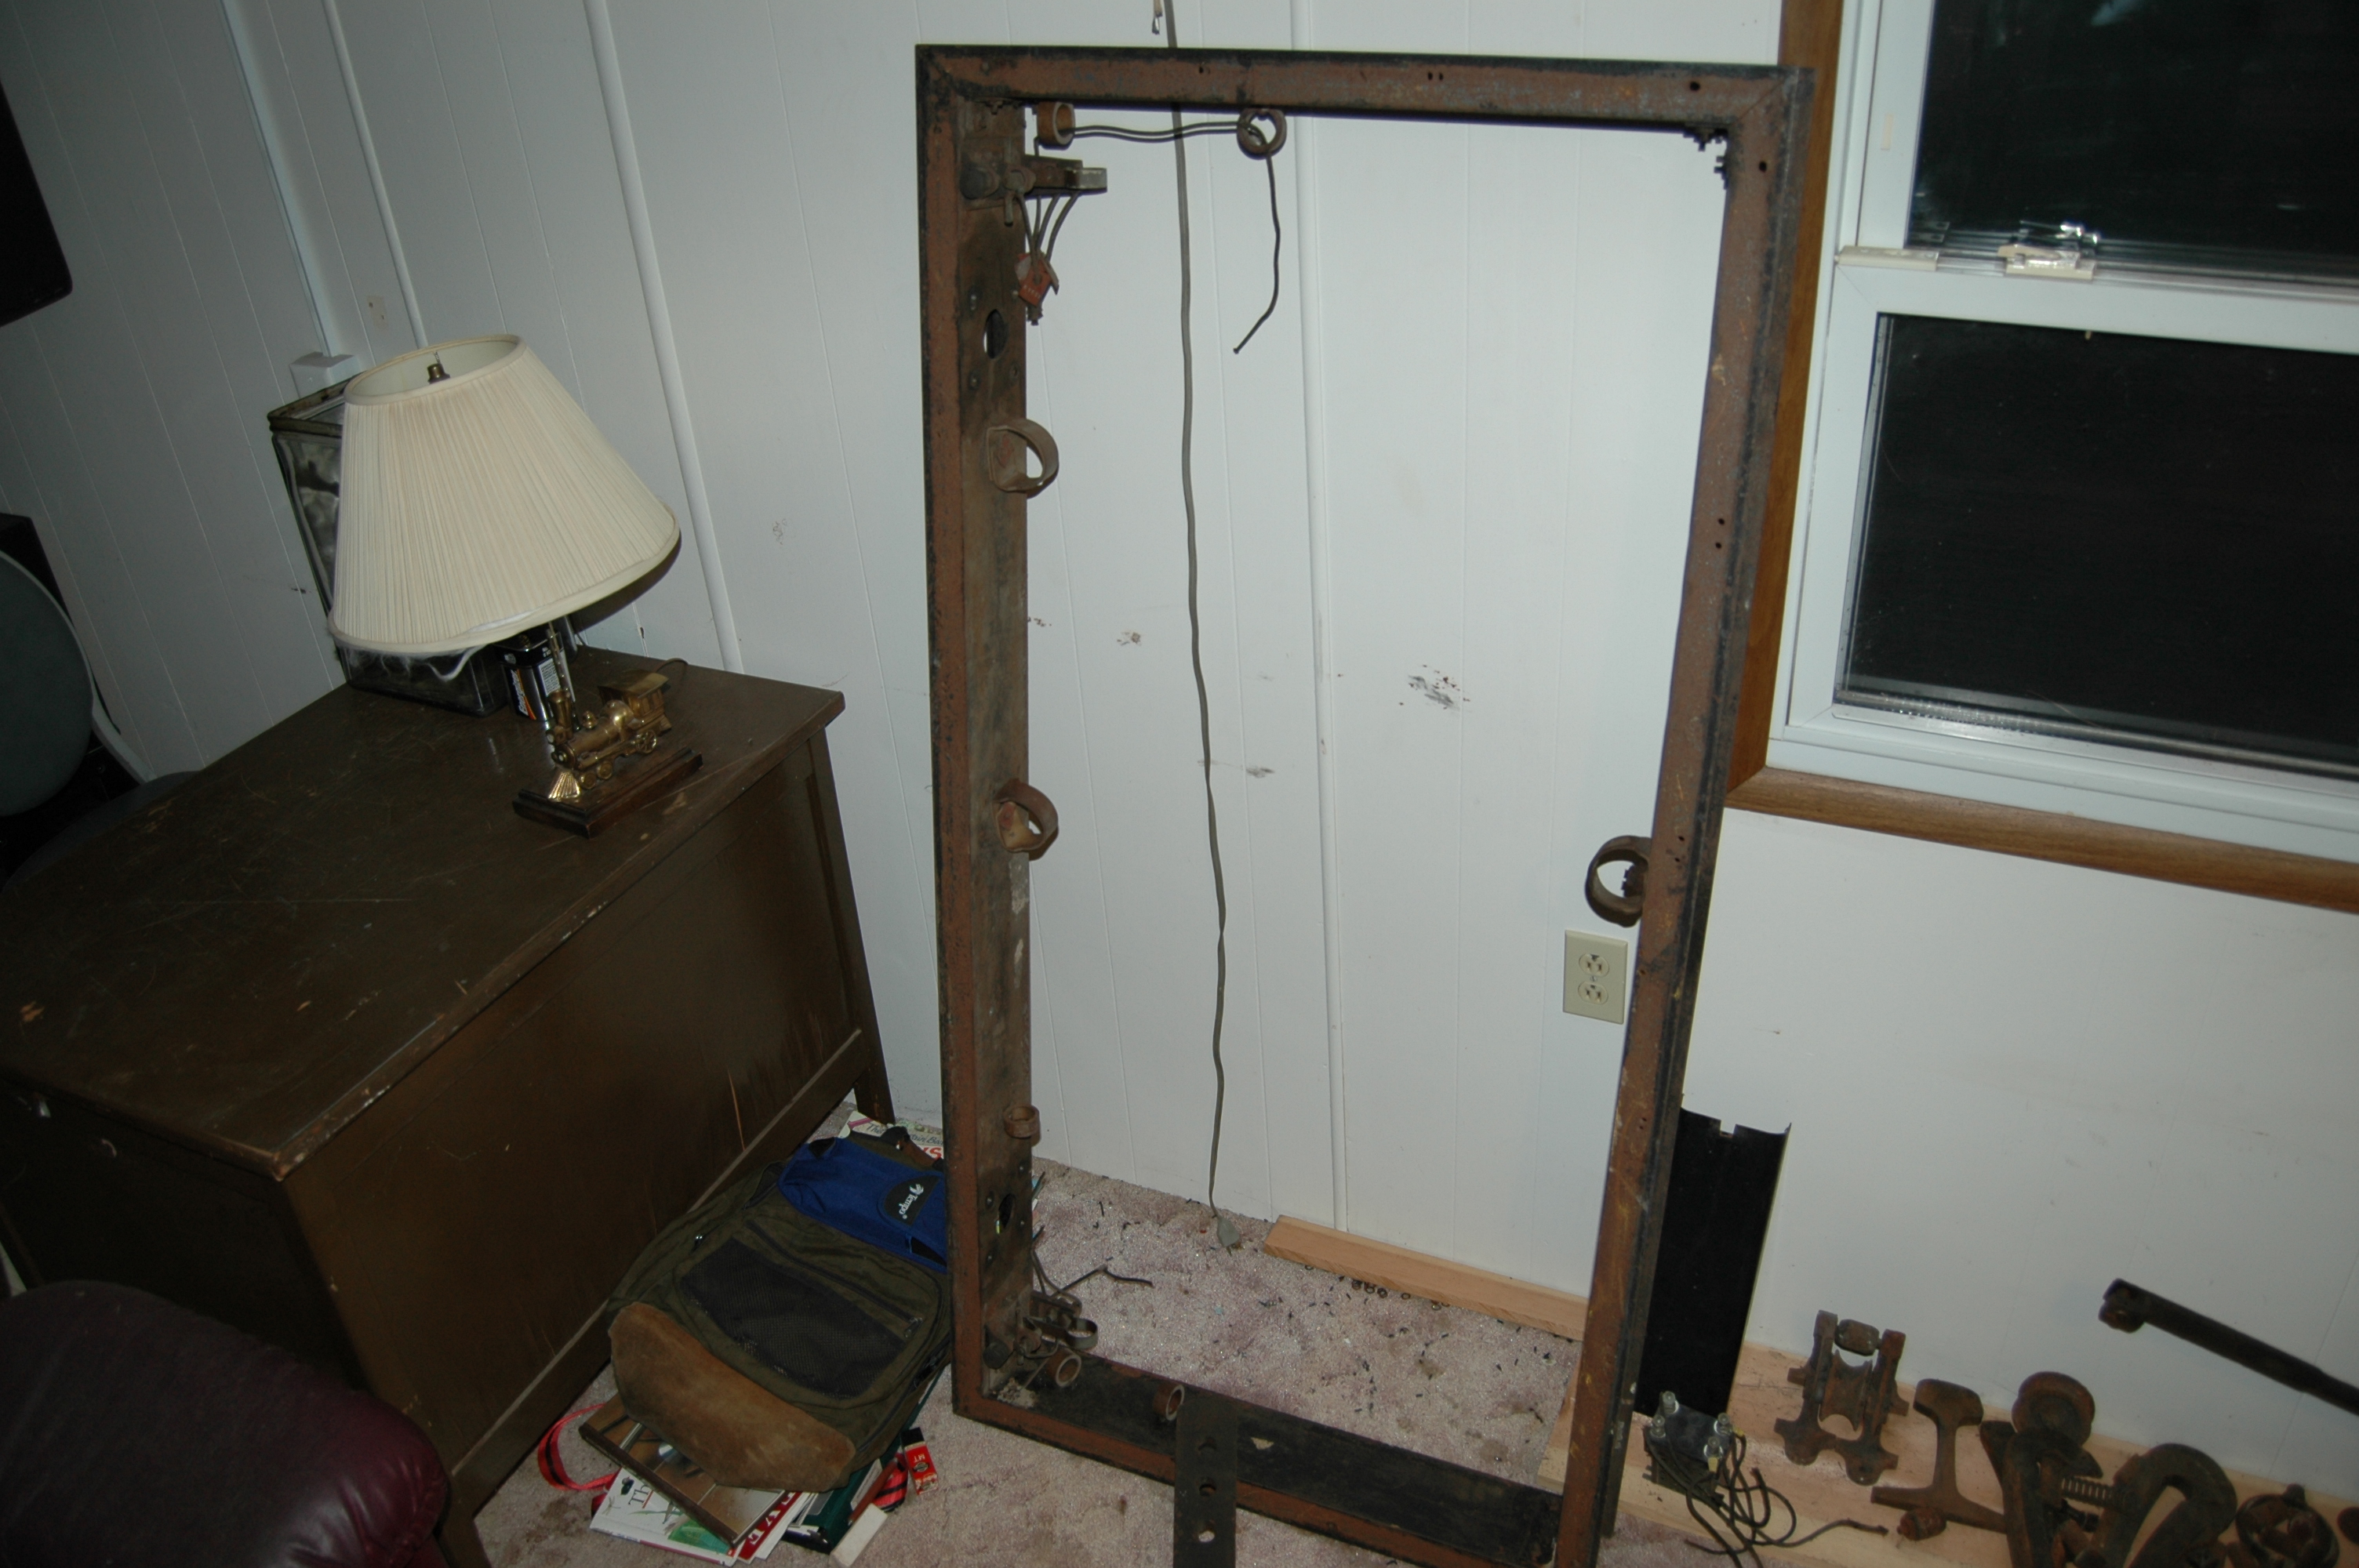
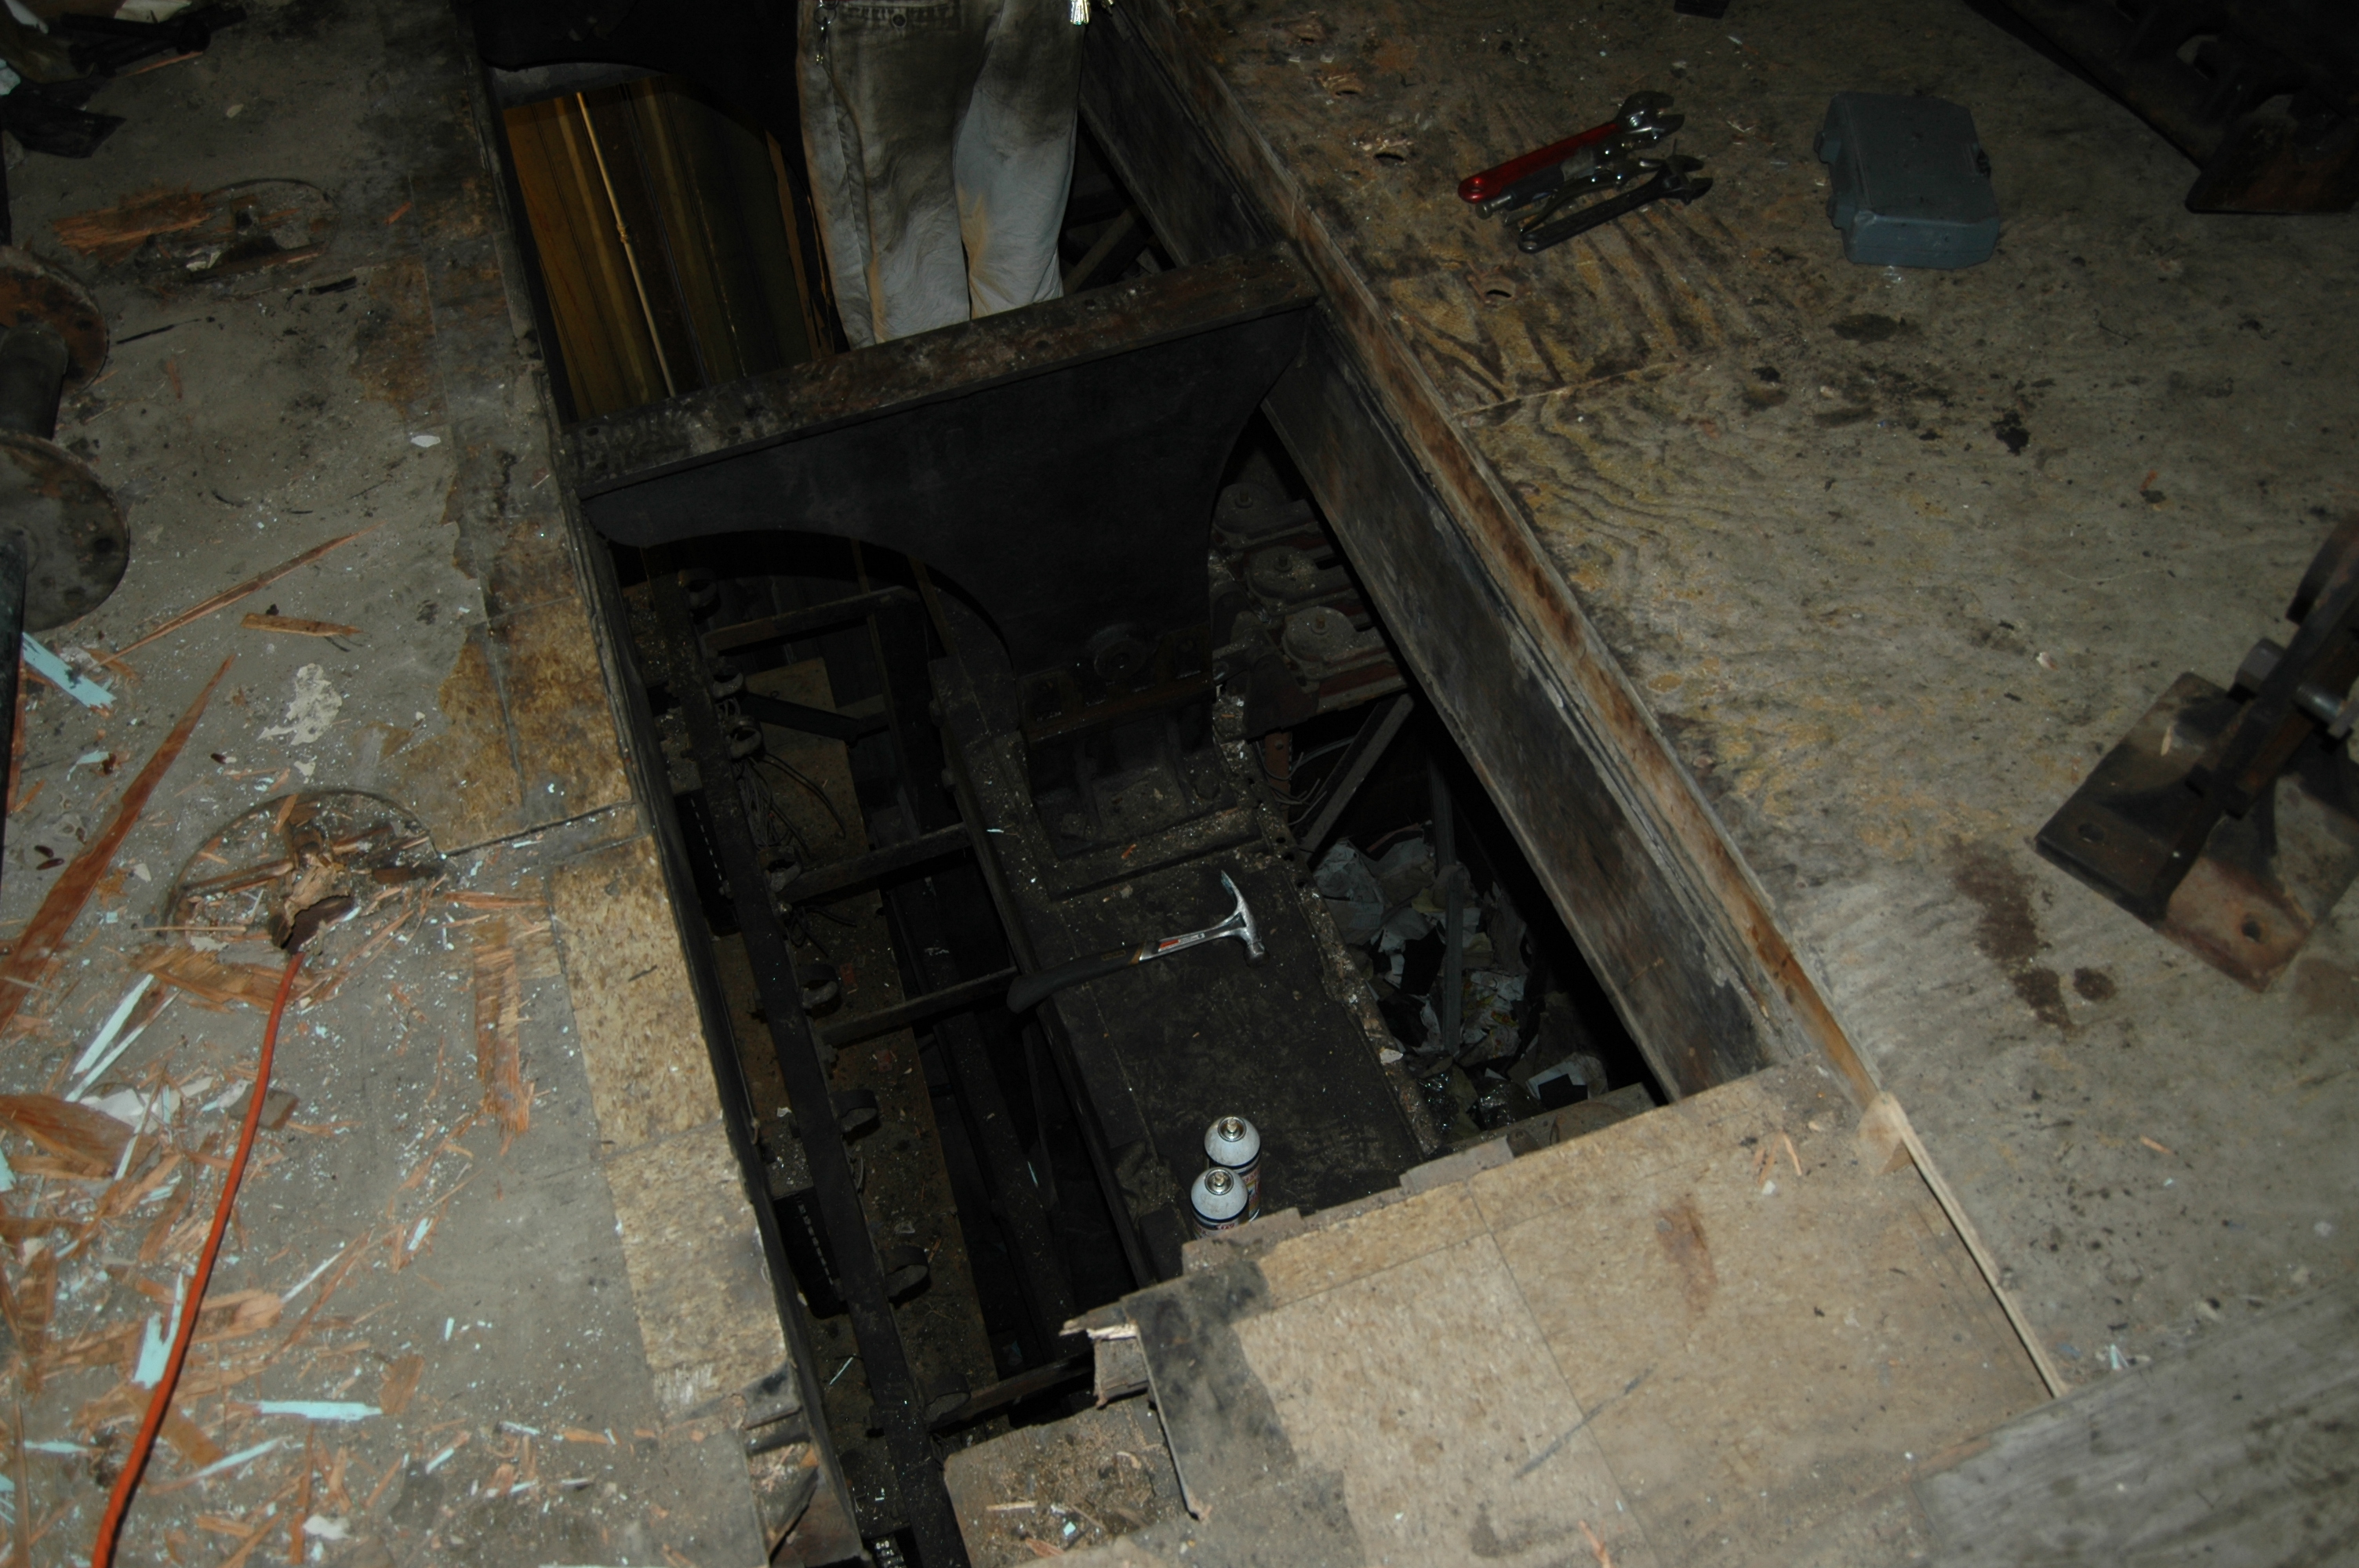
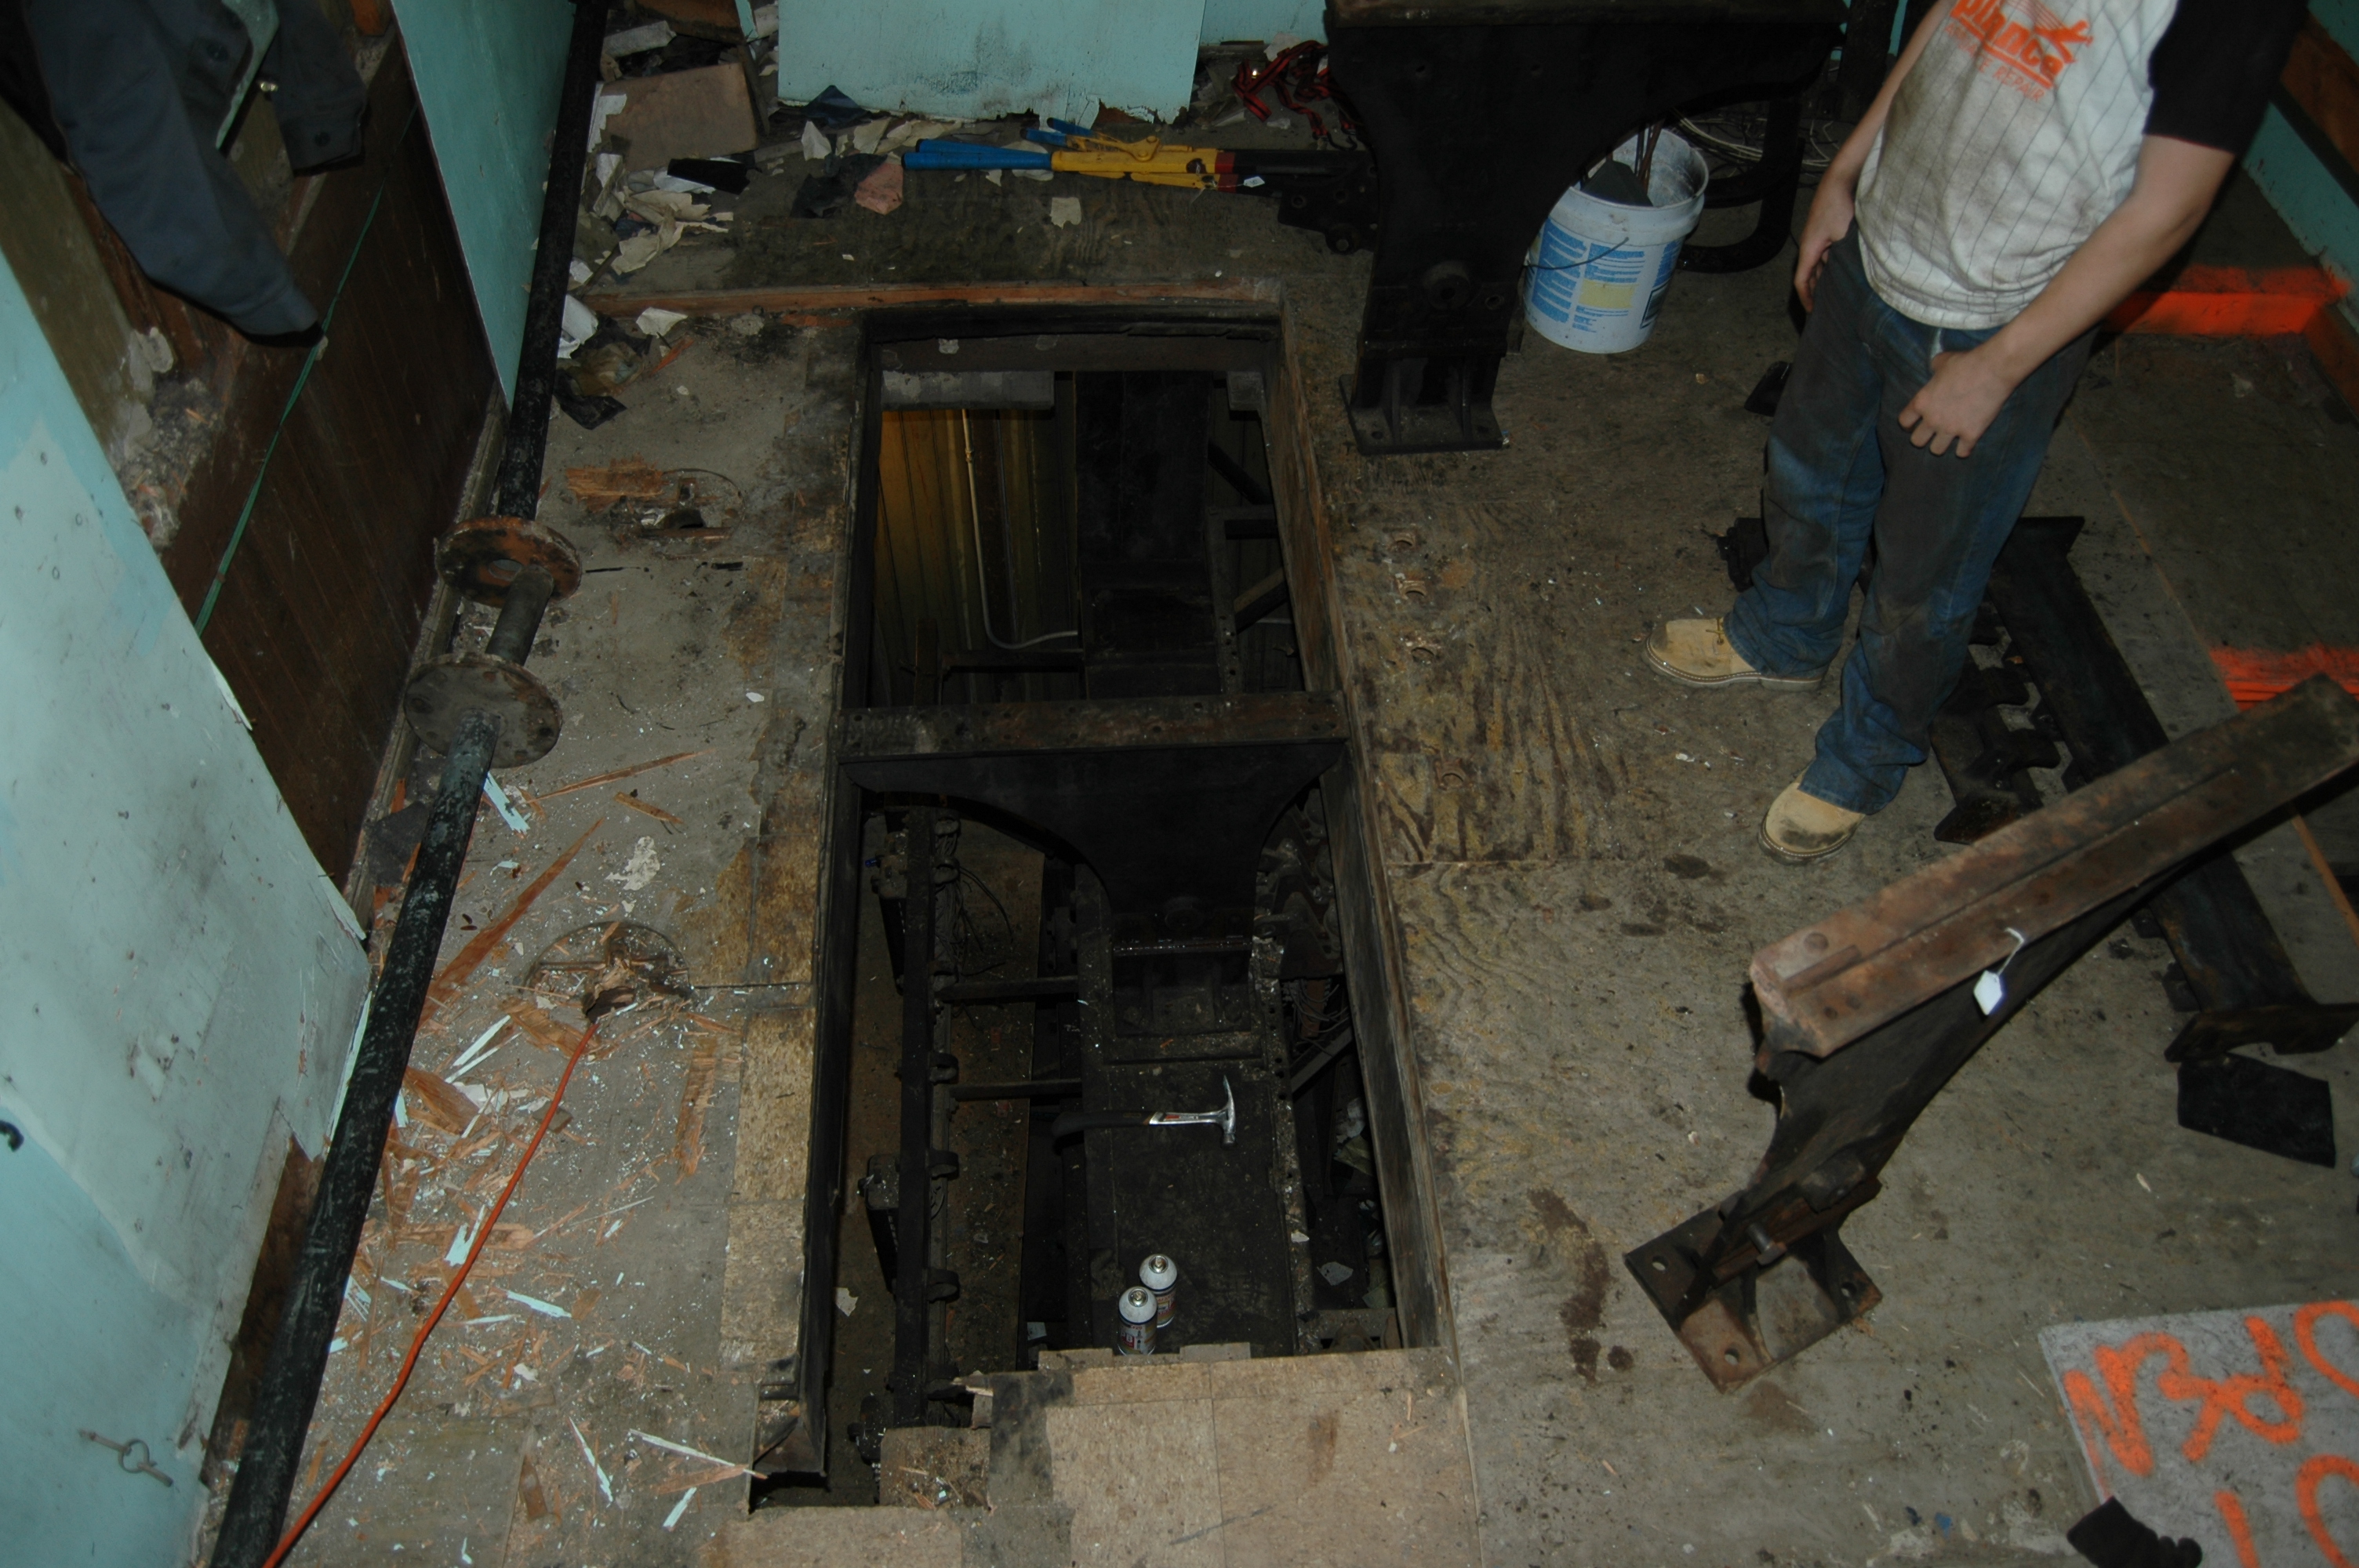
Taking apart the Model Board Supports ~ 12.13.2009
We removed the model board and supports to make room to work on the locking bed. The model board was removed long before I ever visited the tower. The model board frame is made from Channel Iron and was bolted to two pipes. The floor at Shattuc has been resurfaced several times so they replaced the bolts. Removing the bolts was not hard but getting the supports up was, the pipes extended down into the floor so when lifting the supports they would get stuck on the locking bed. The floor was rotting so to get the supports meant we had to tear up the floor.
 |
 |
 |
 |
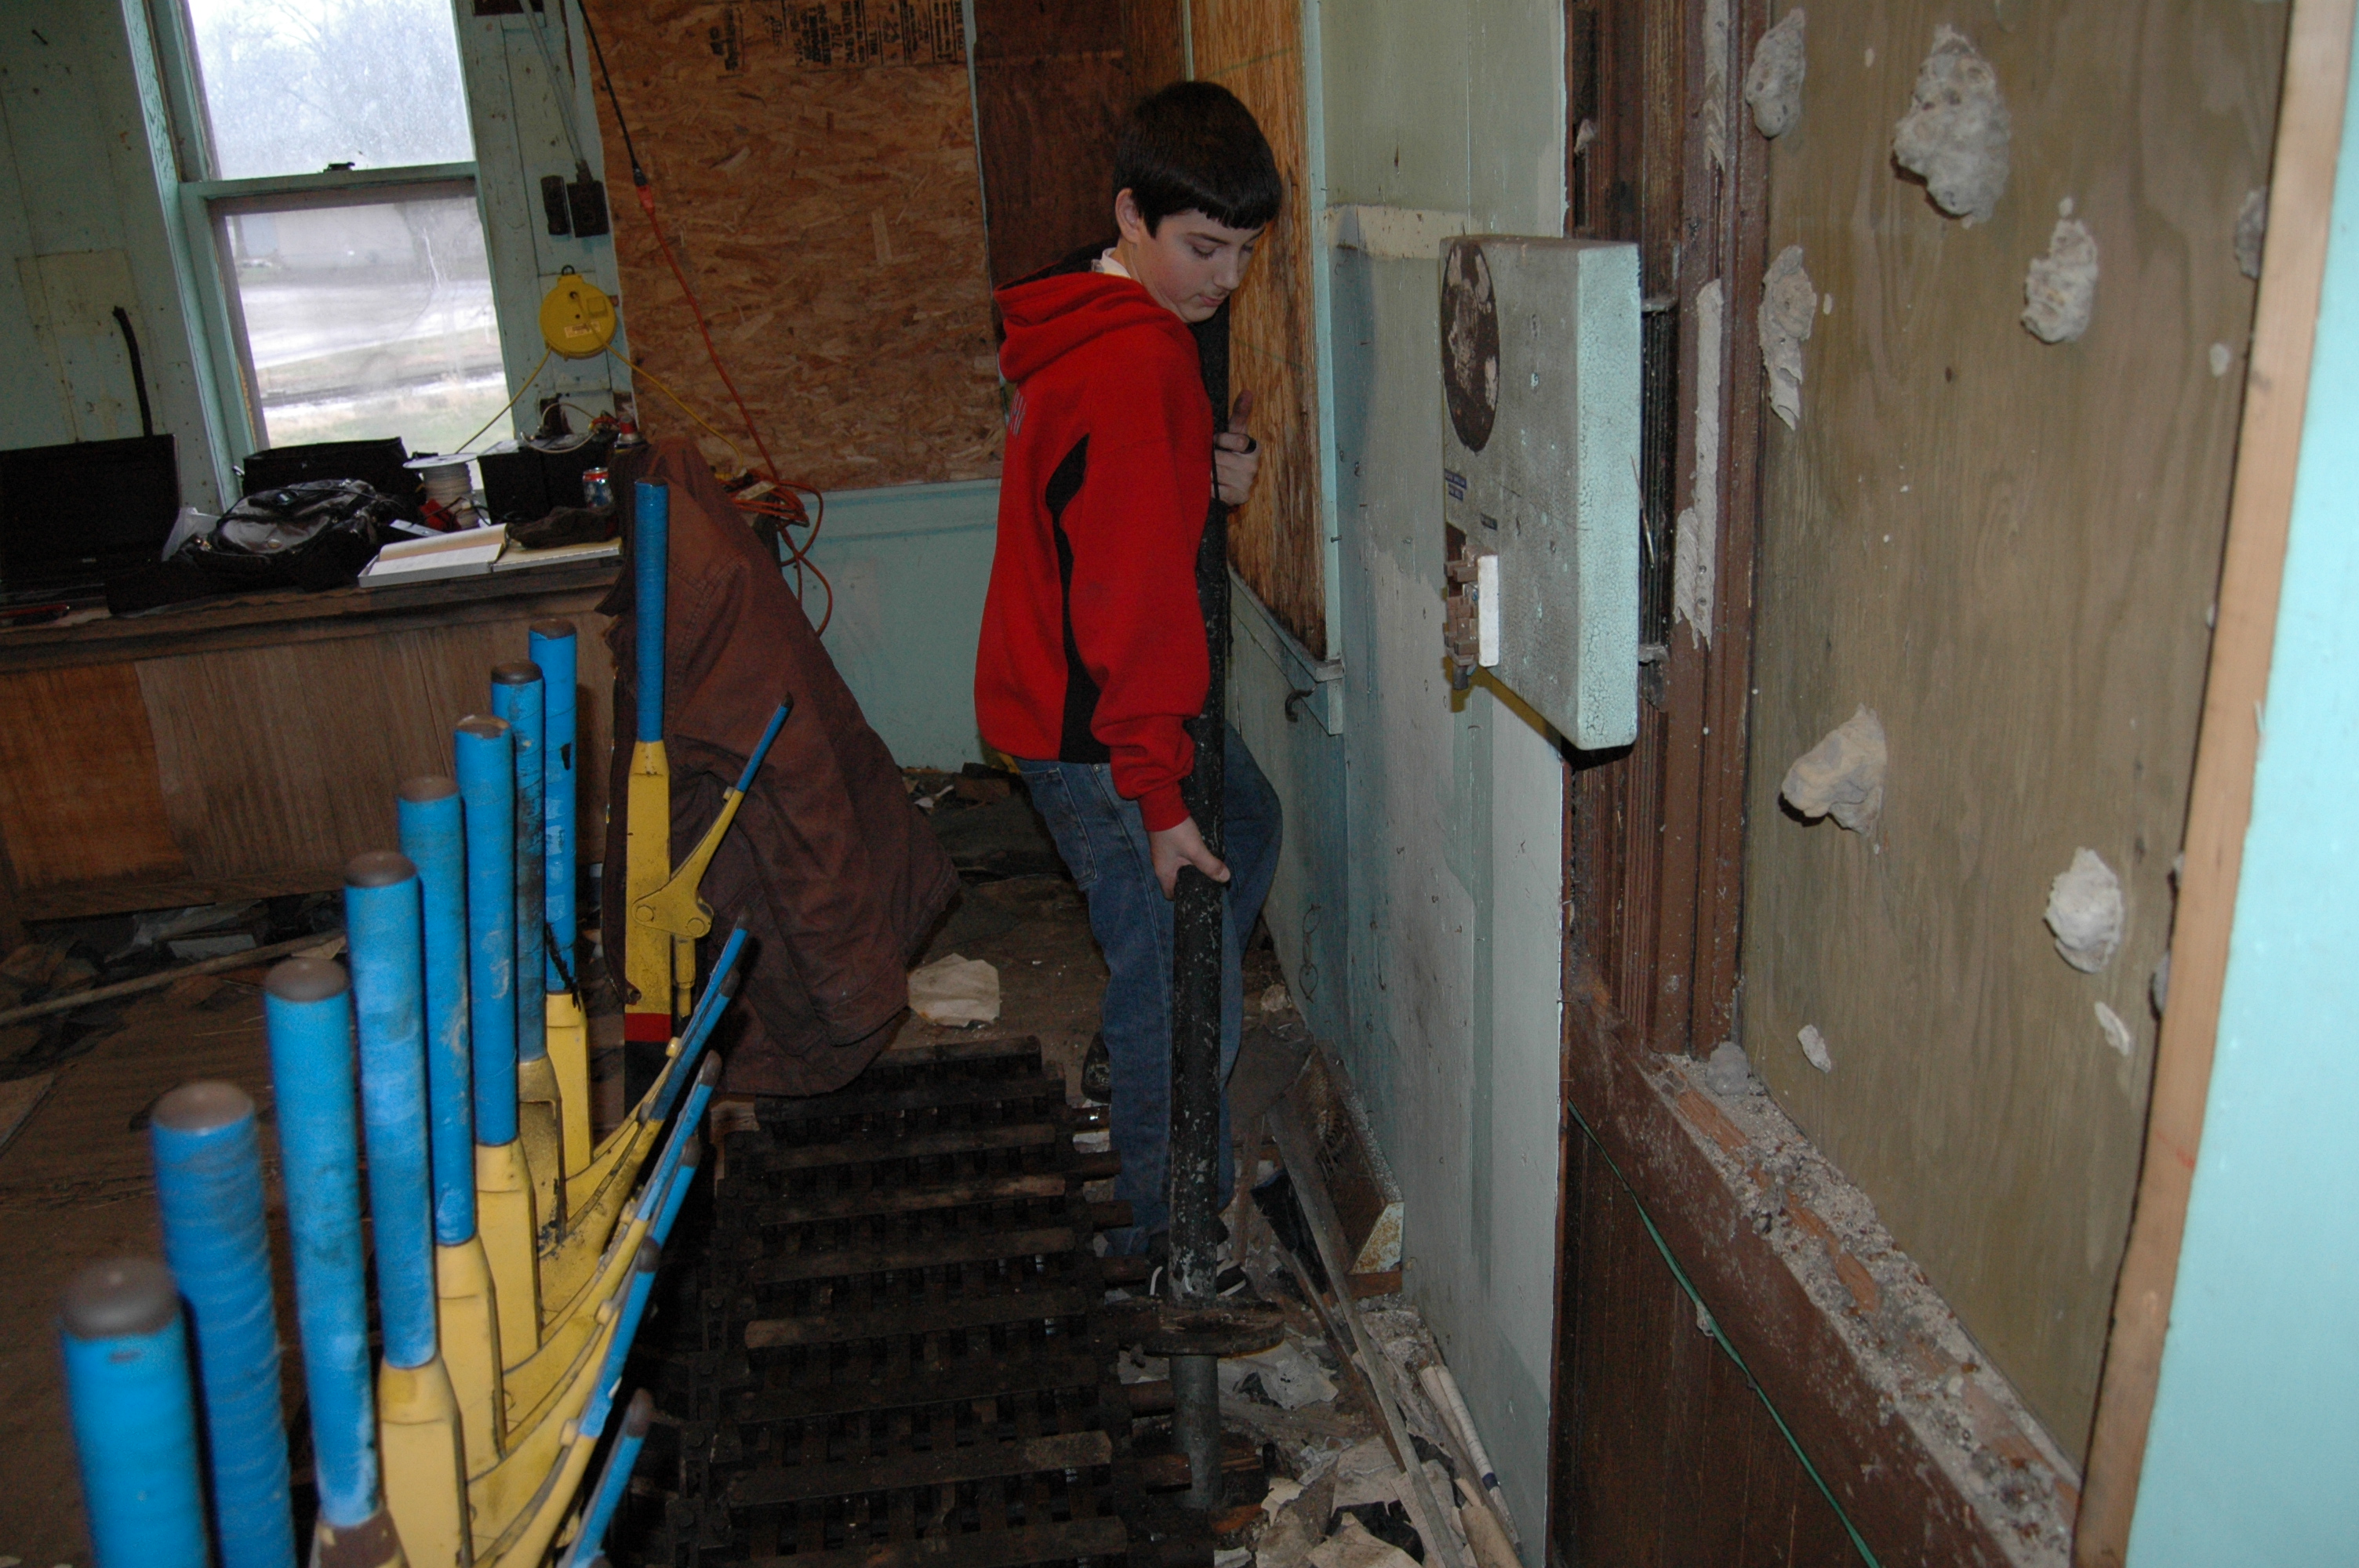
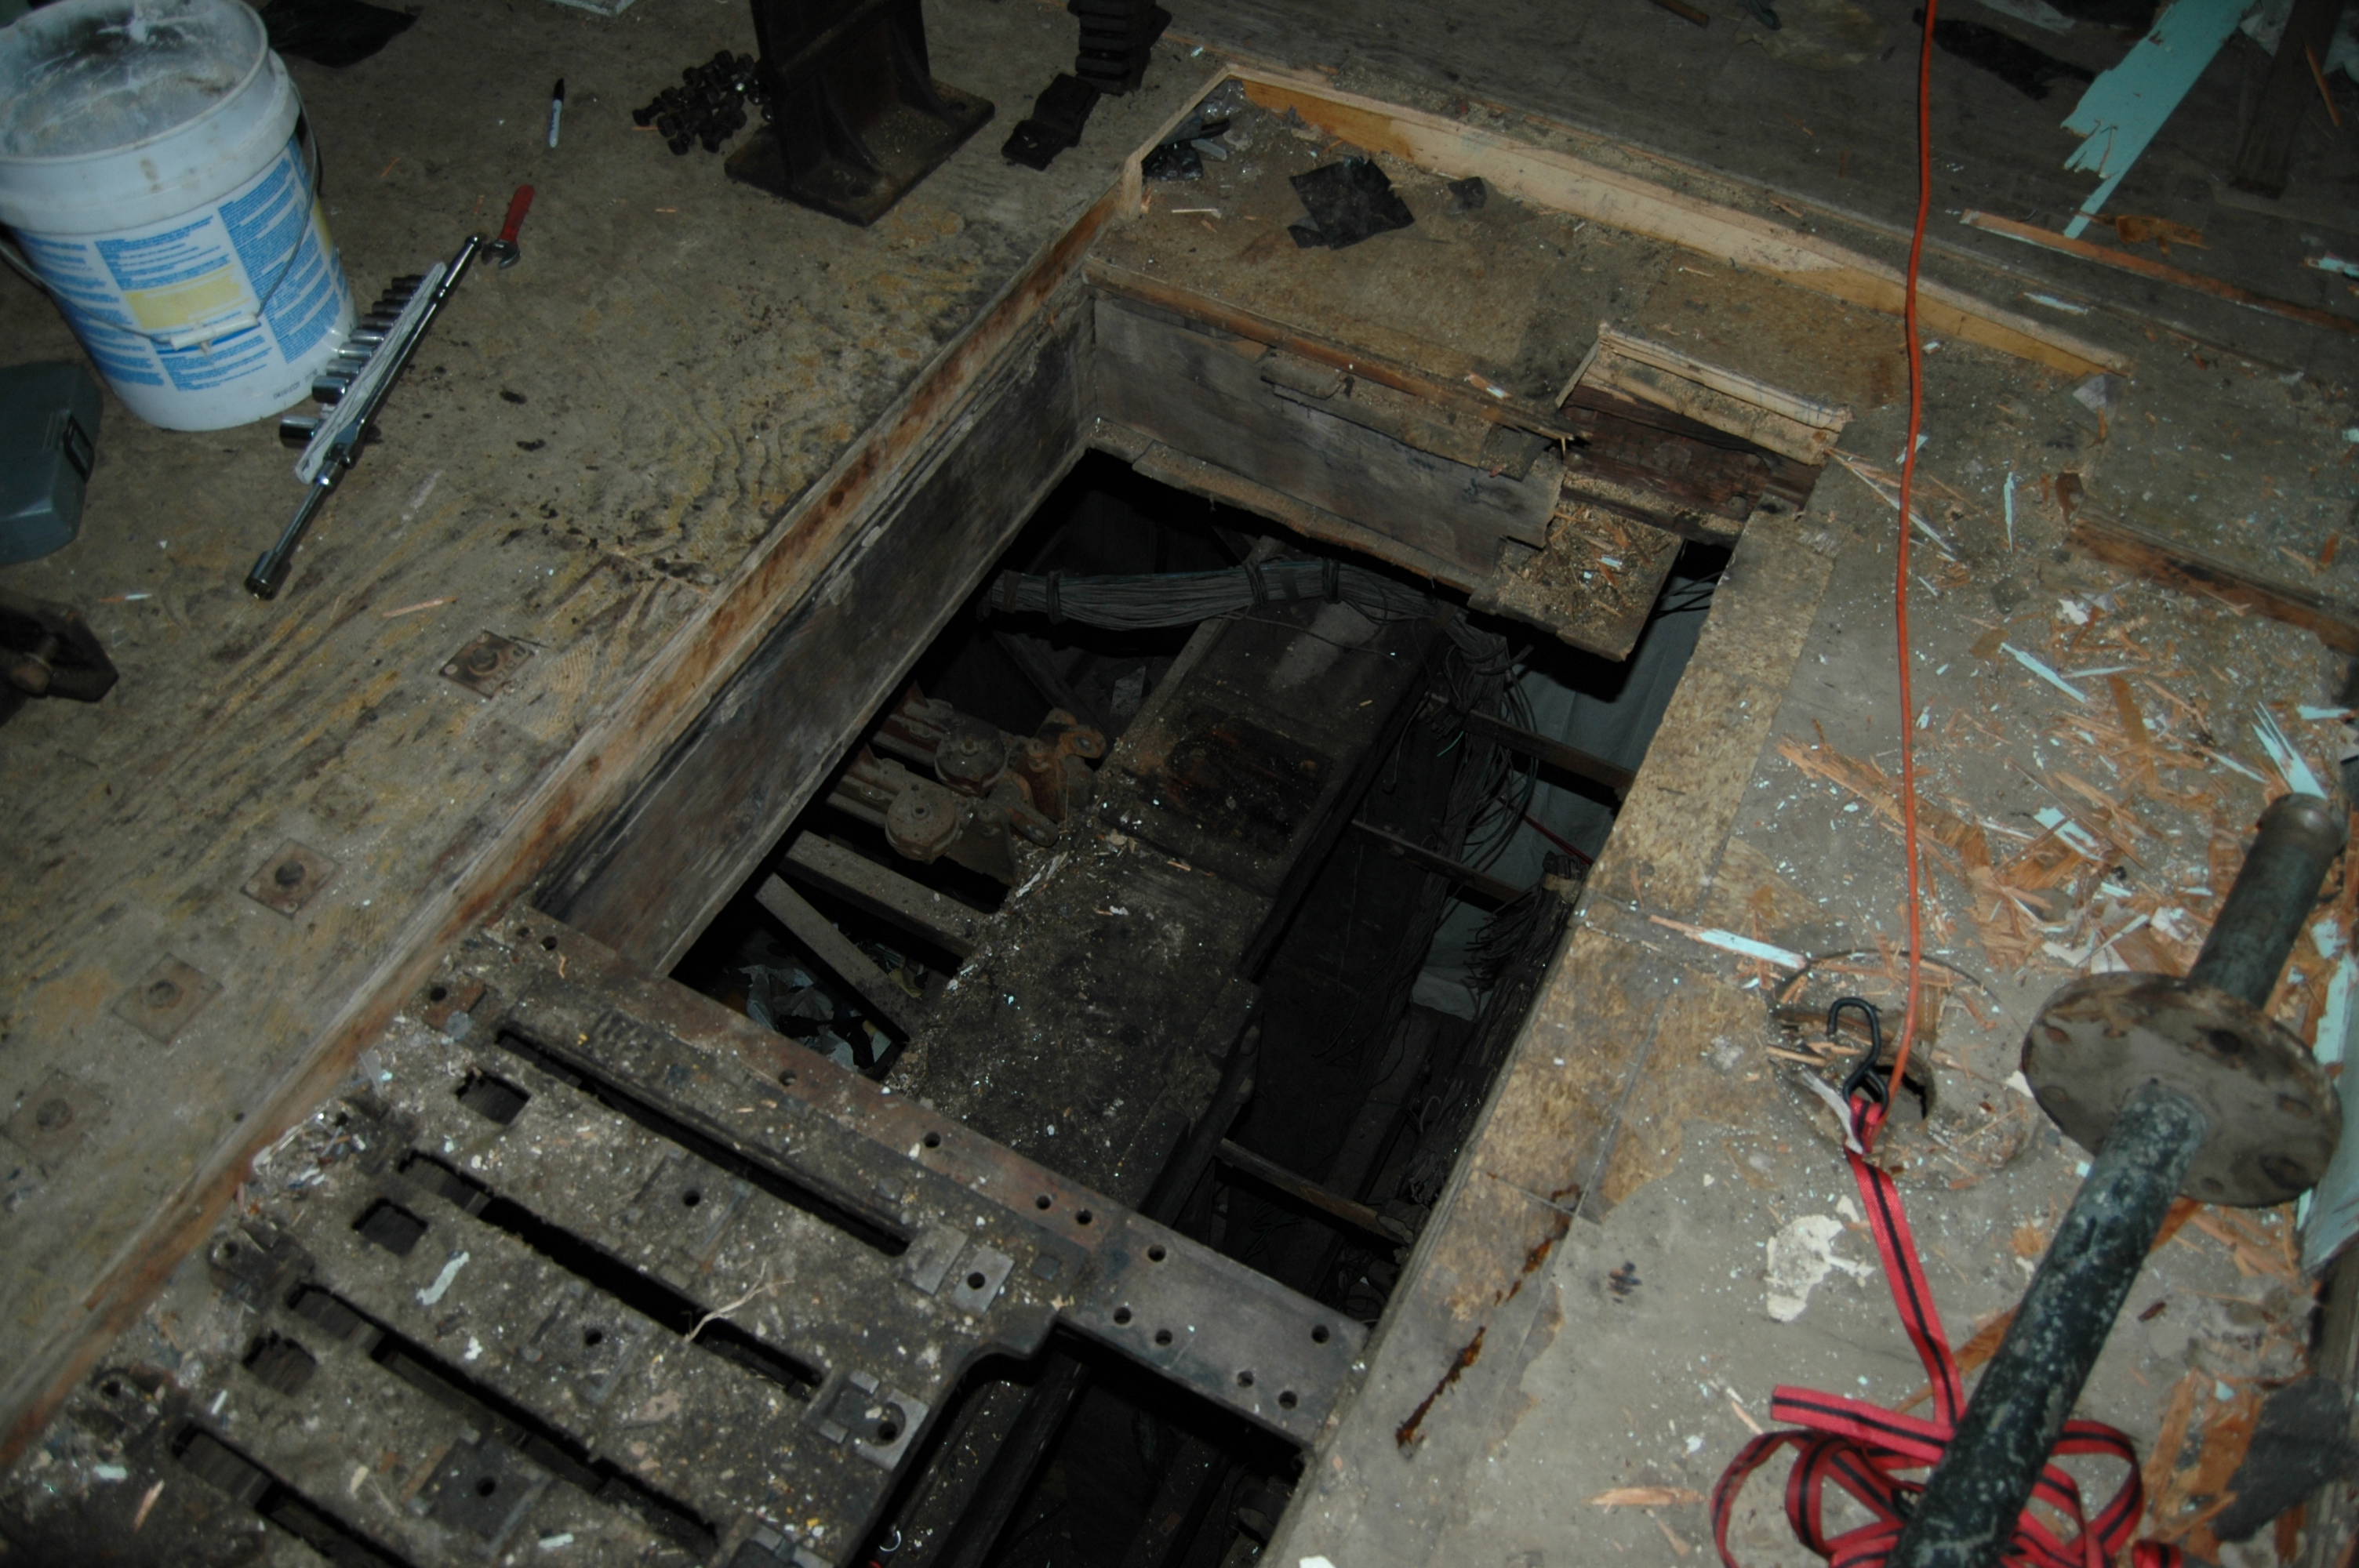
Detaching Circuit Controller Rods ~ 12.13.2009-12.14.2009
To get the locking bed free we had to disconnect the locking bed from the circuit controller rods. While we were at it we also disconnected the rods from the controllers. To disconnect them it was to pull two cotter pins out, one on the controller and the other under the locking bed. The locking bed ones were the hardest part, thanks to having to work under the floor.
 |
 |
 |
 |
 |
 |
 |
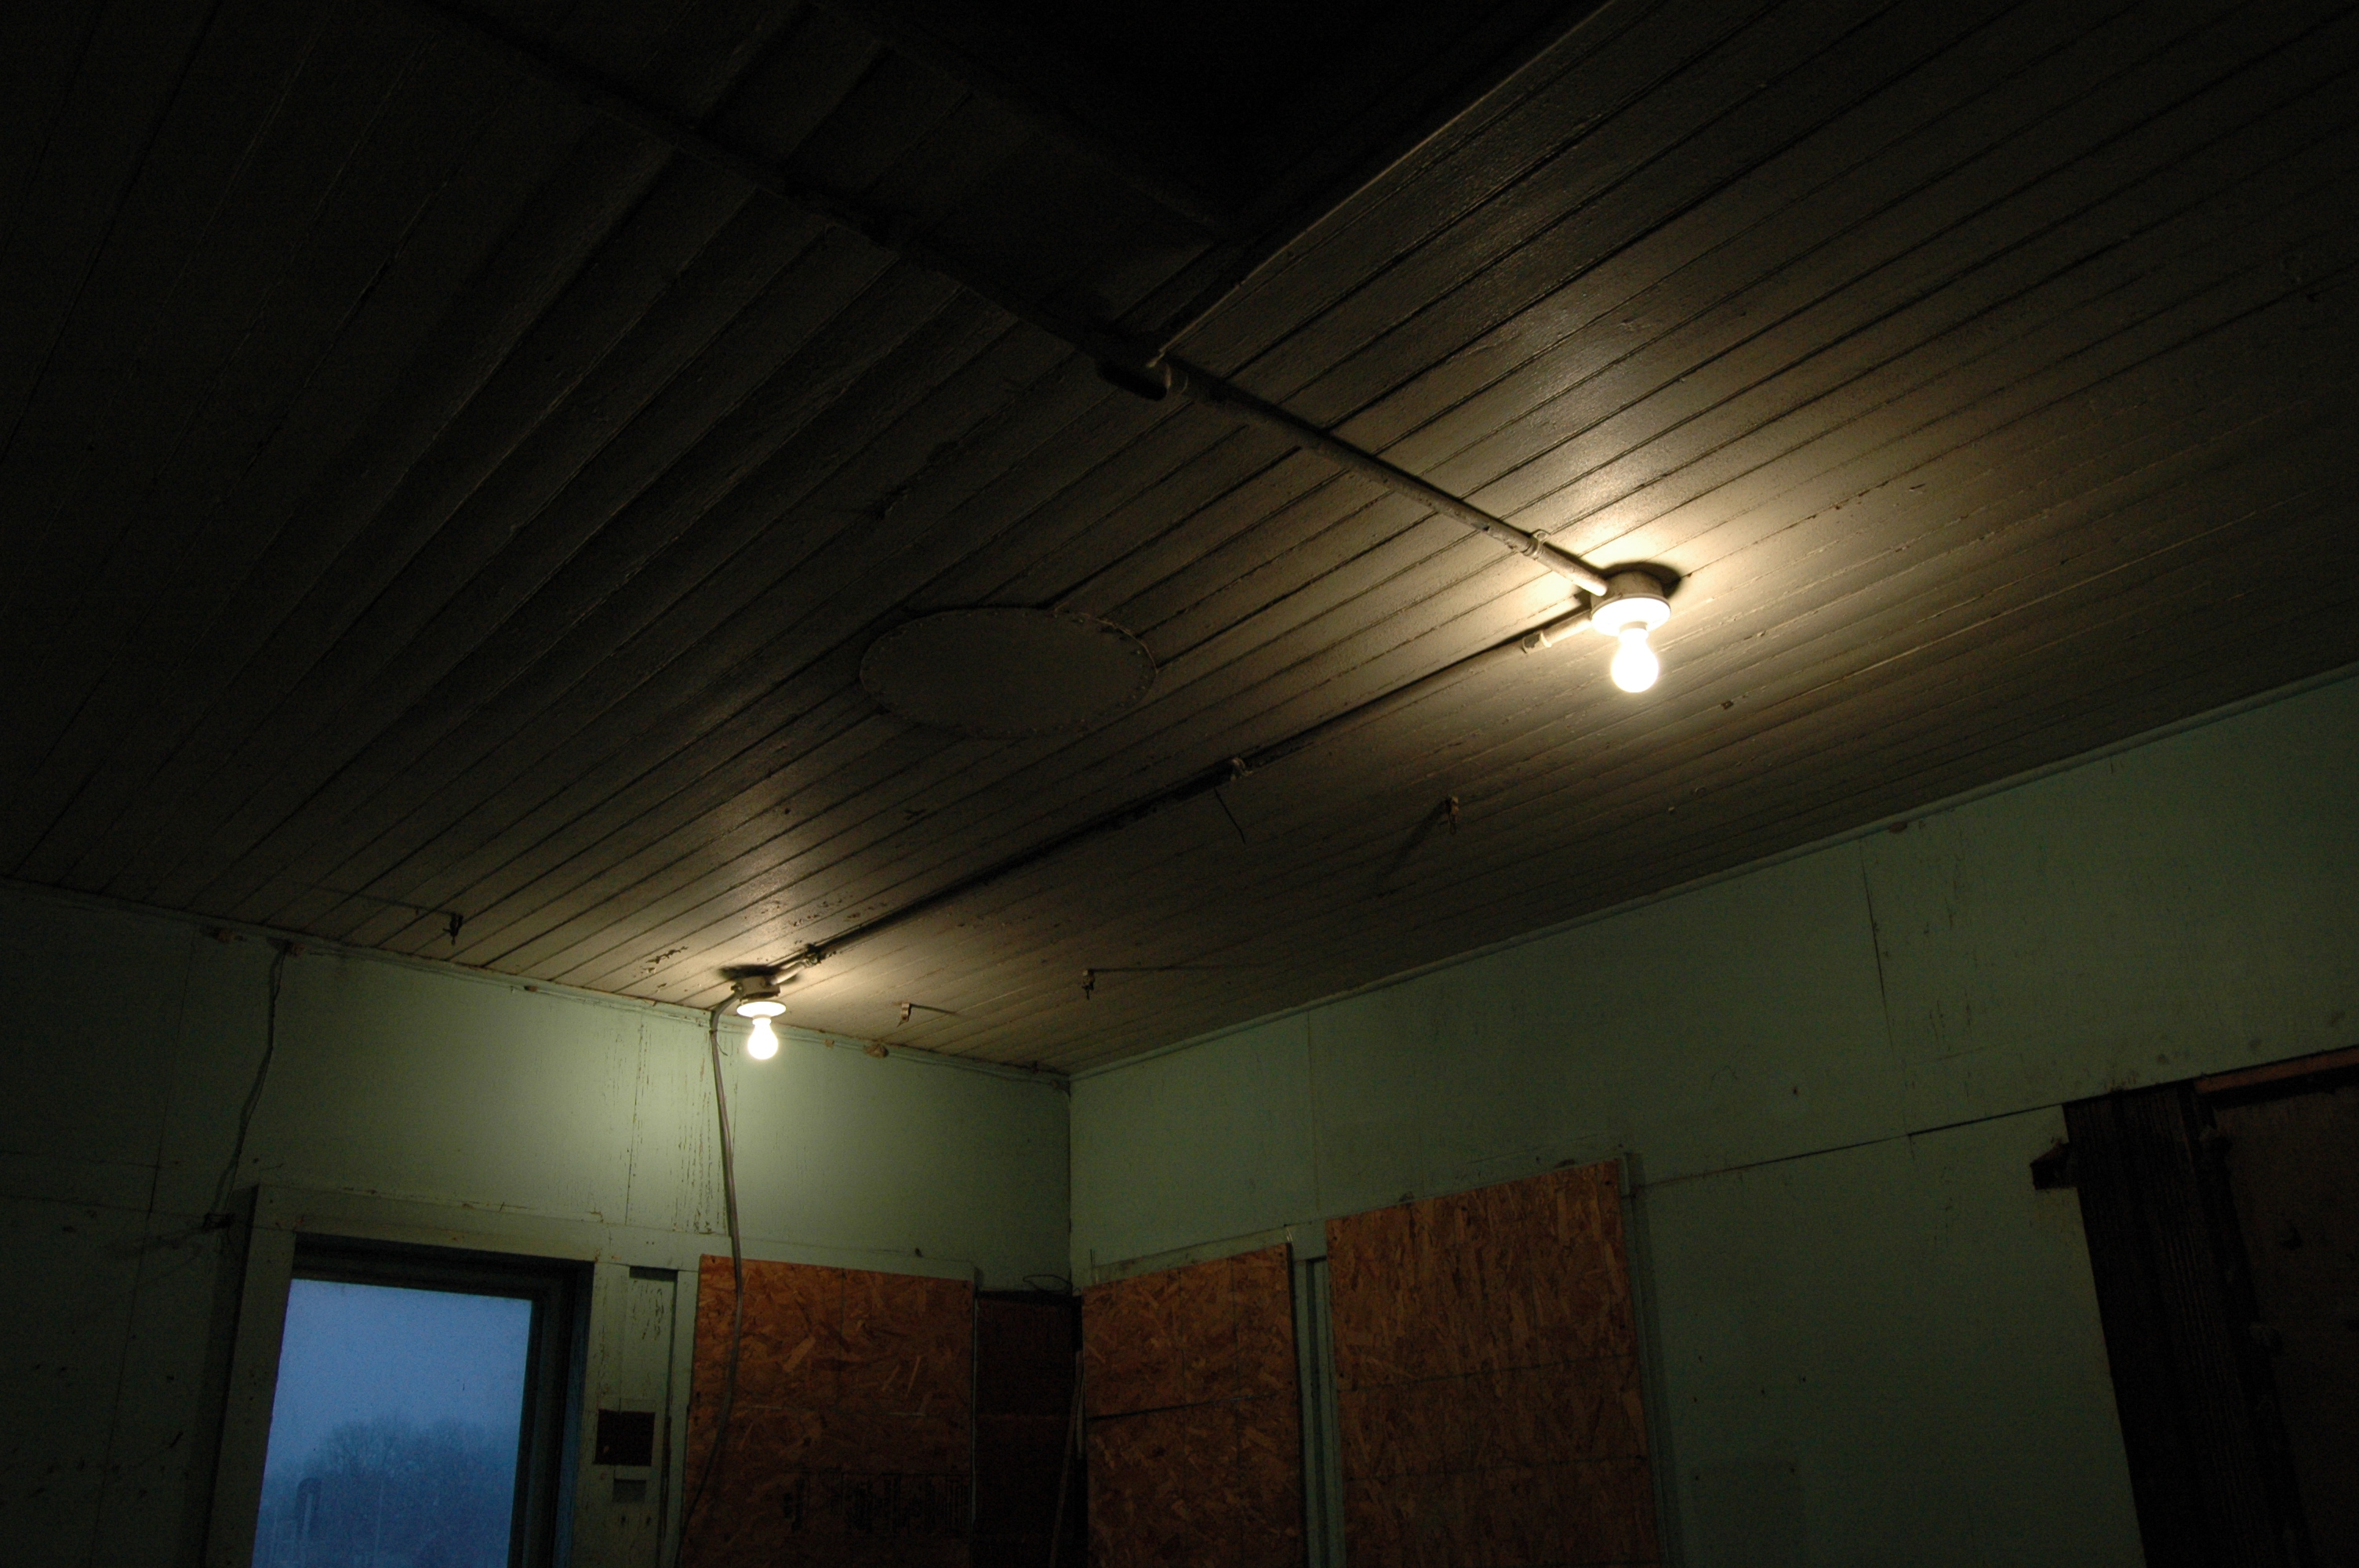
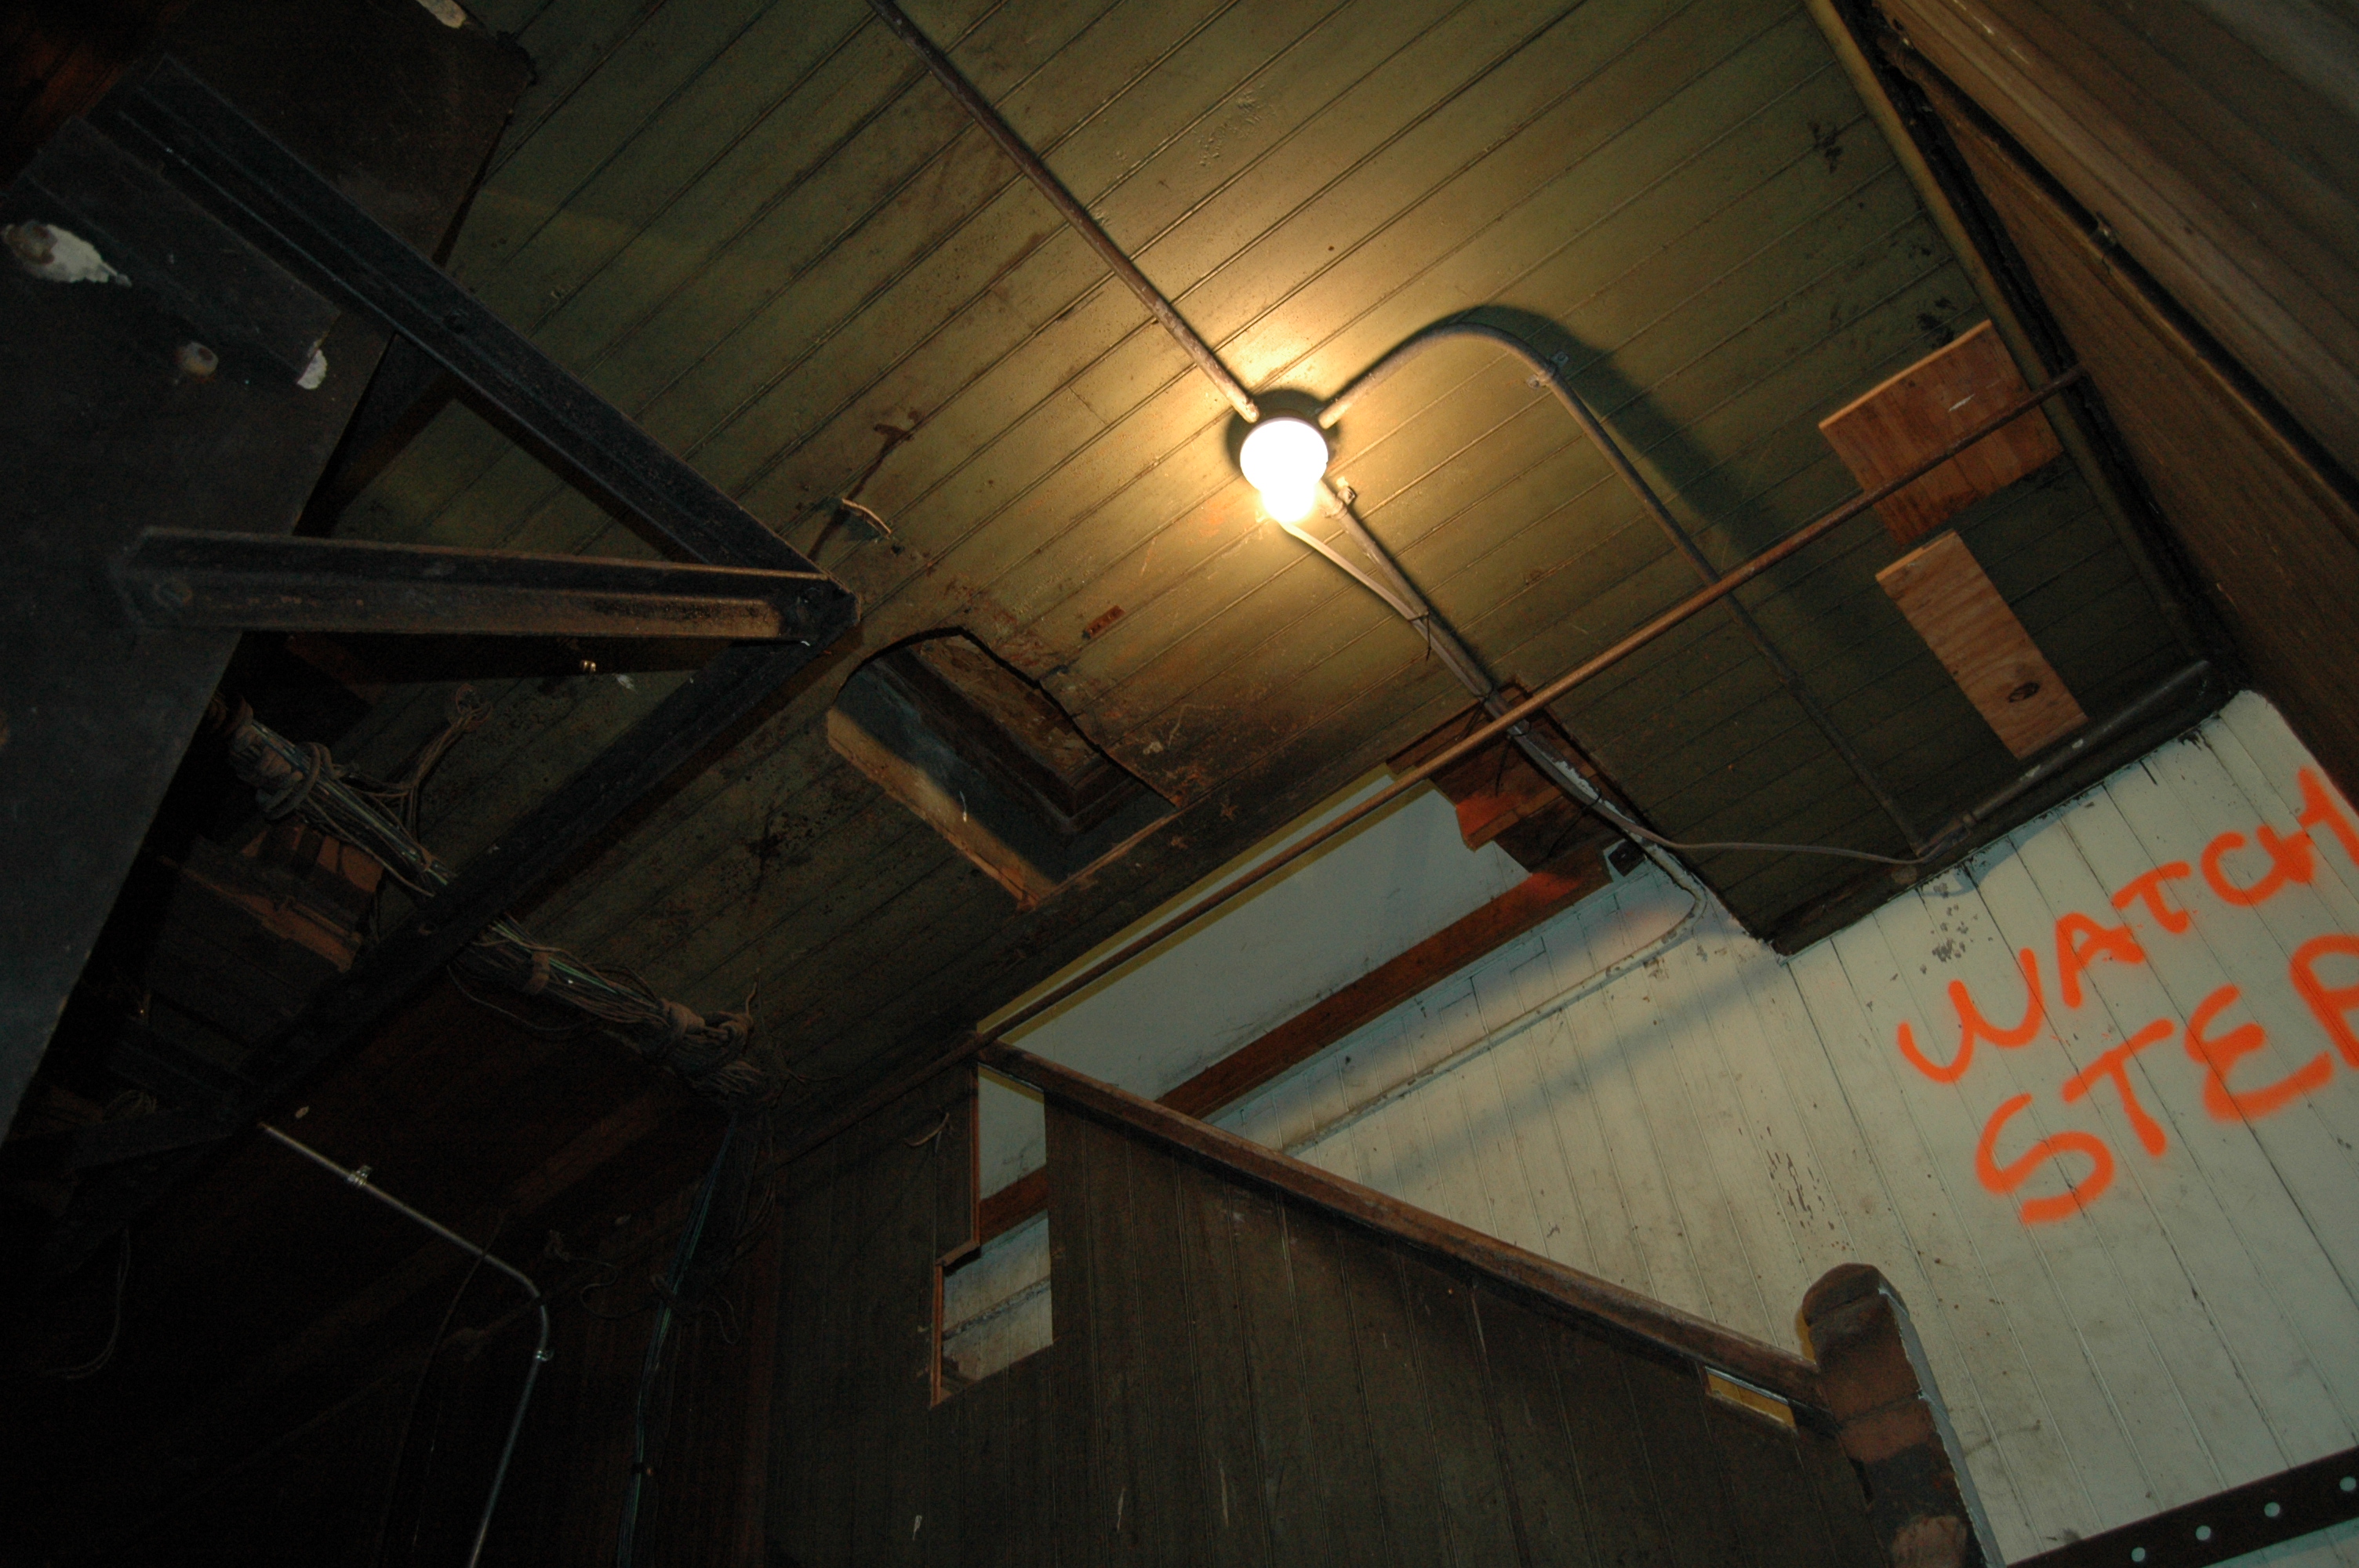
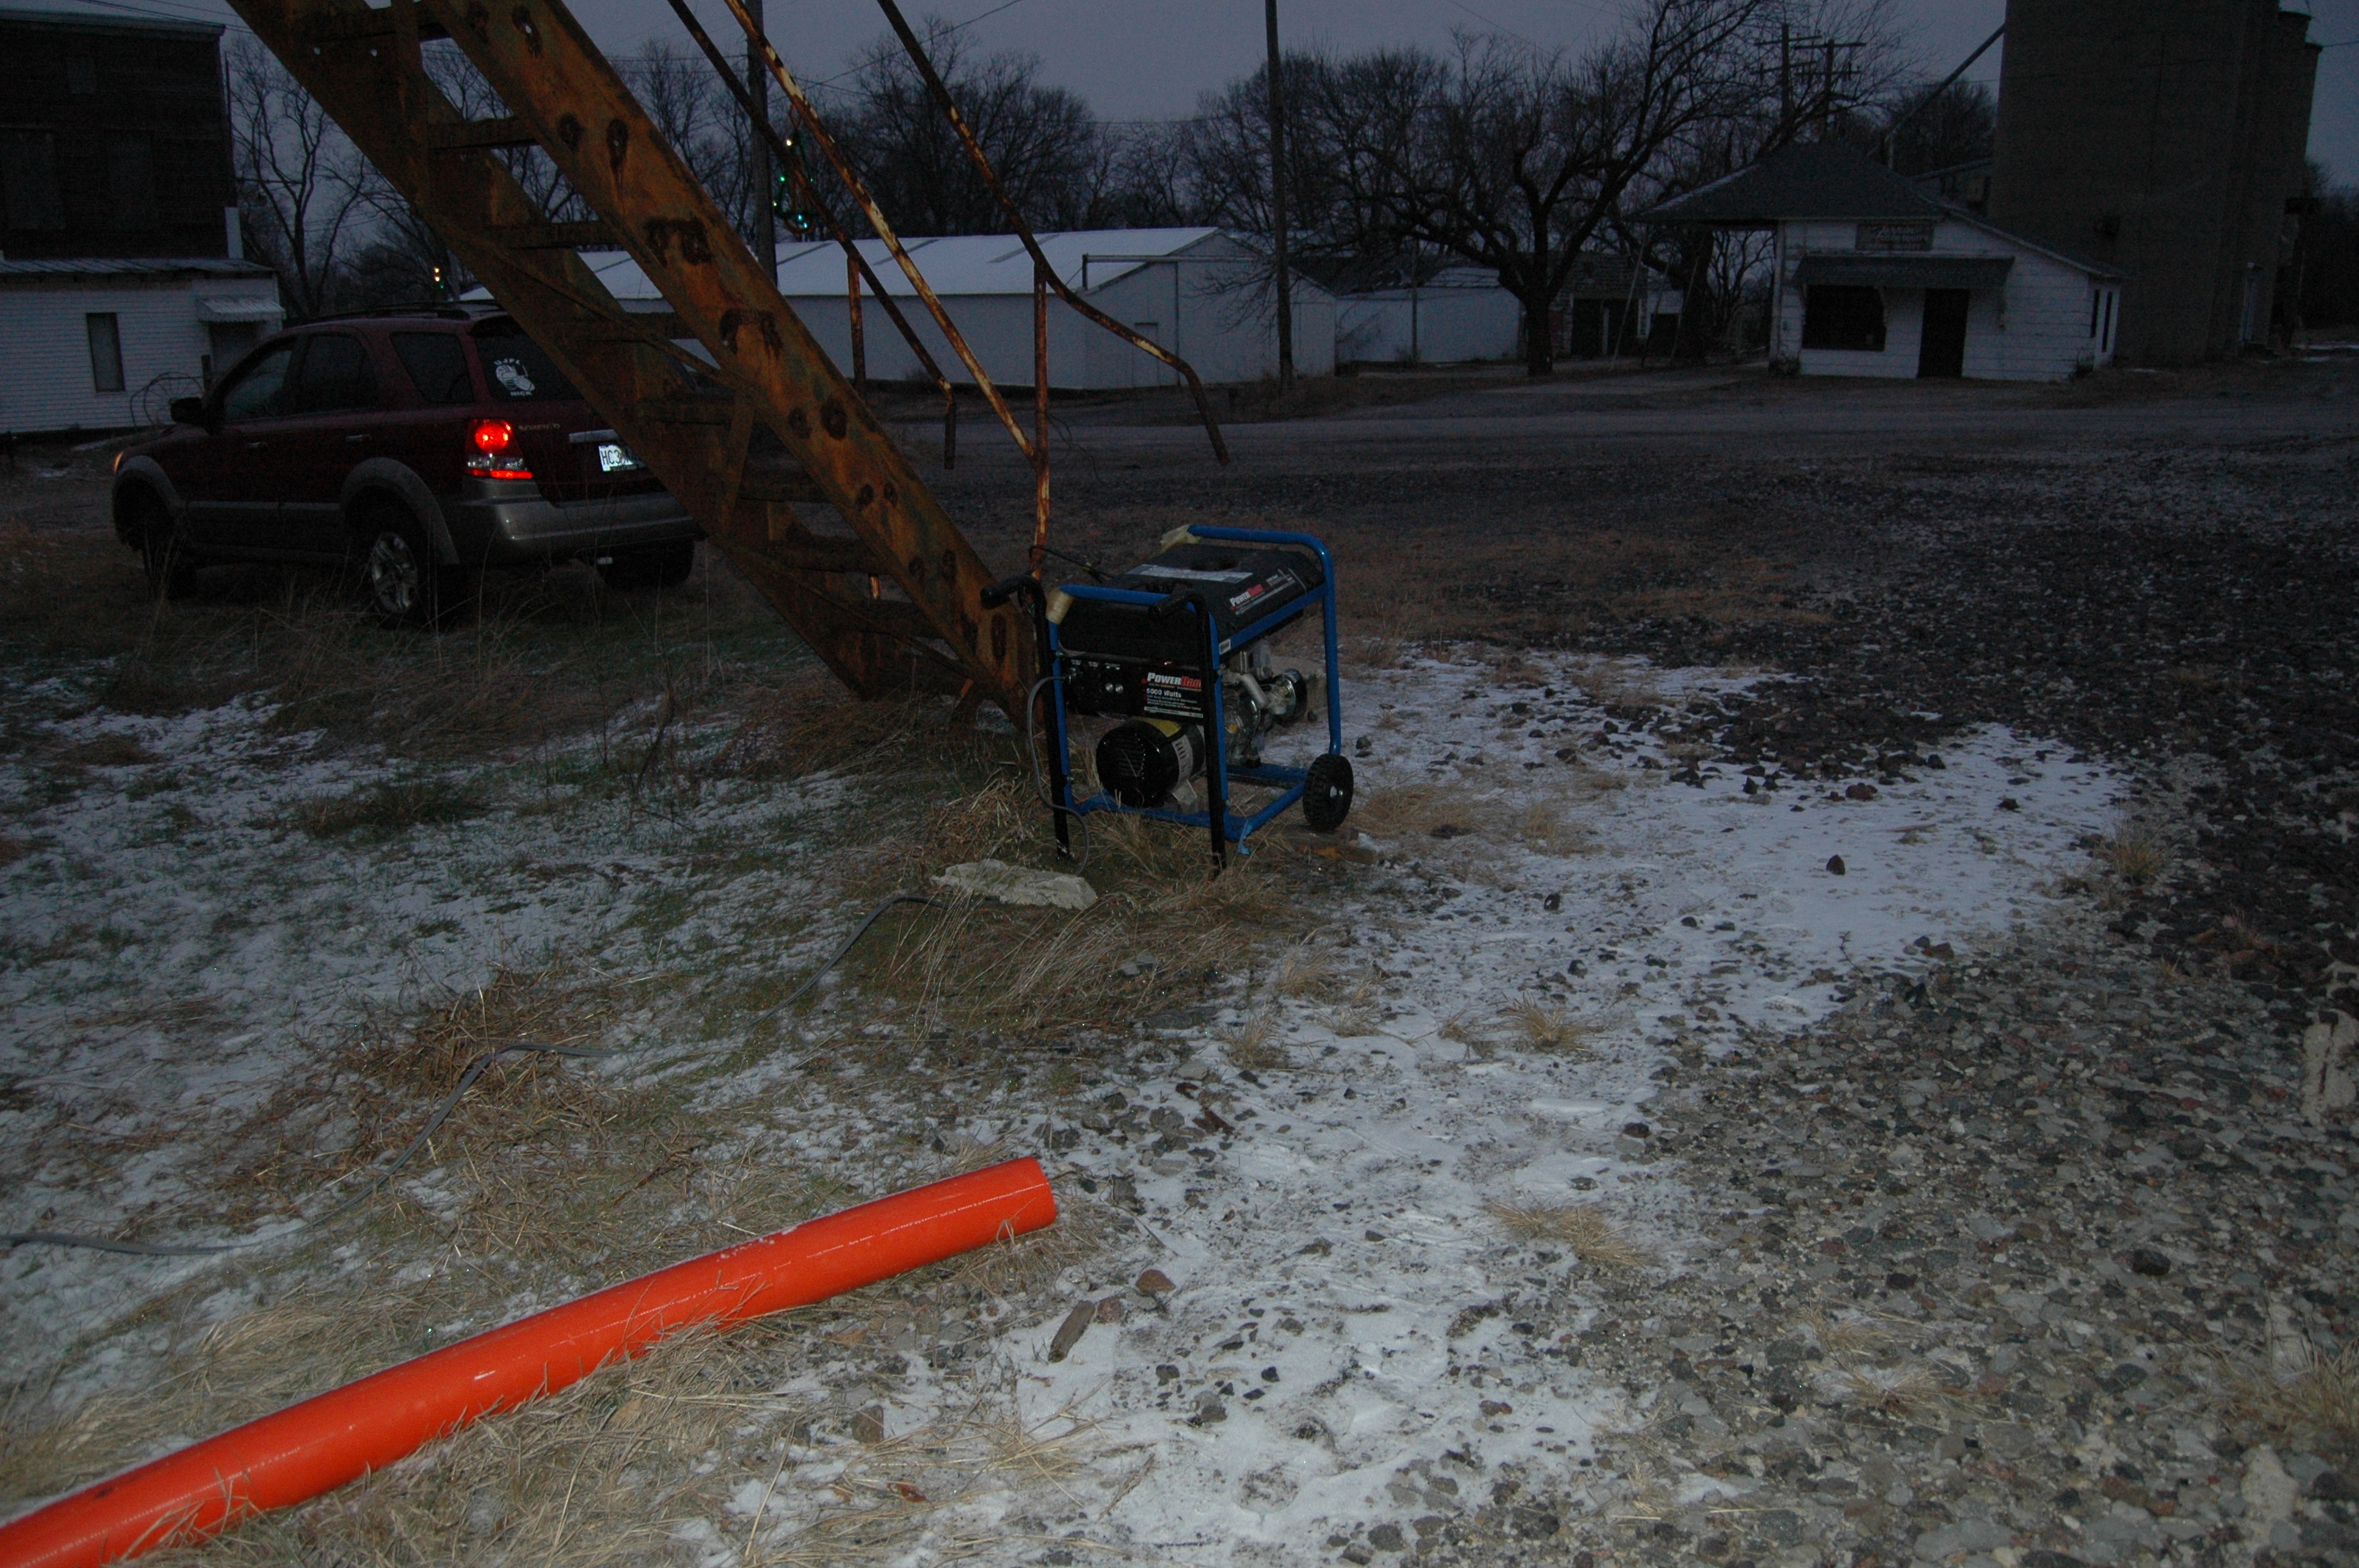
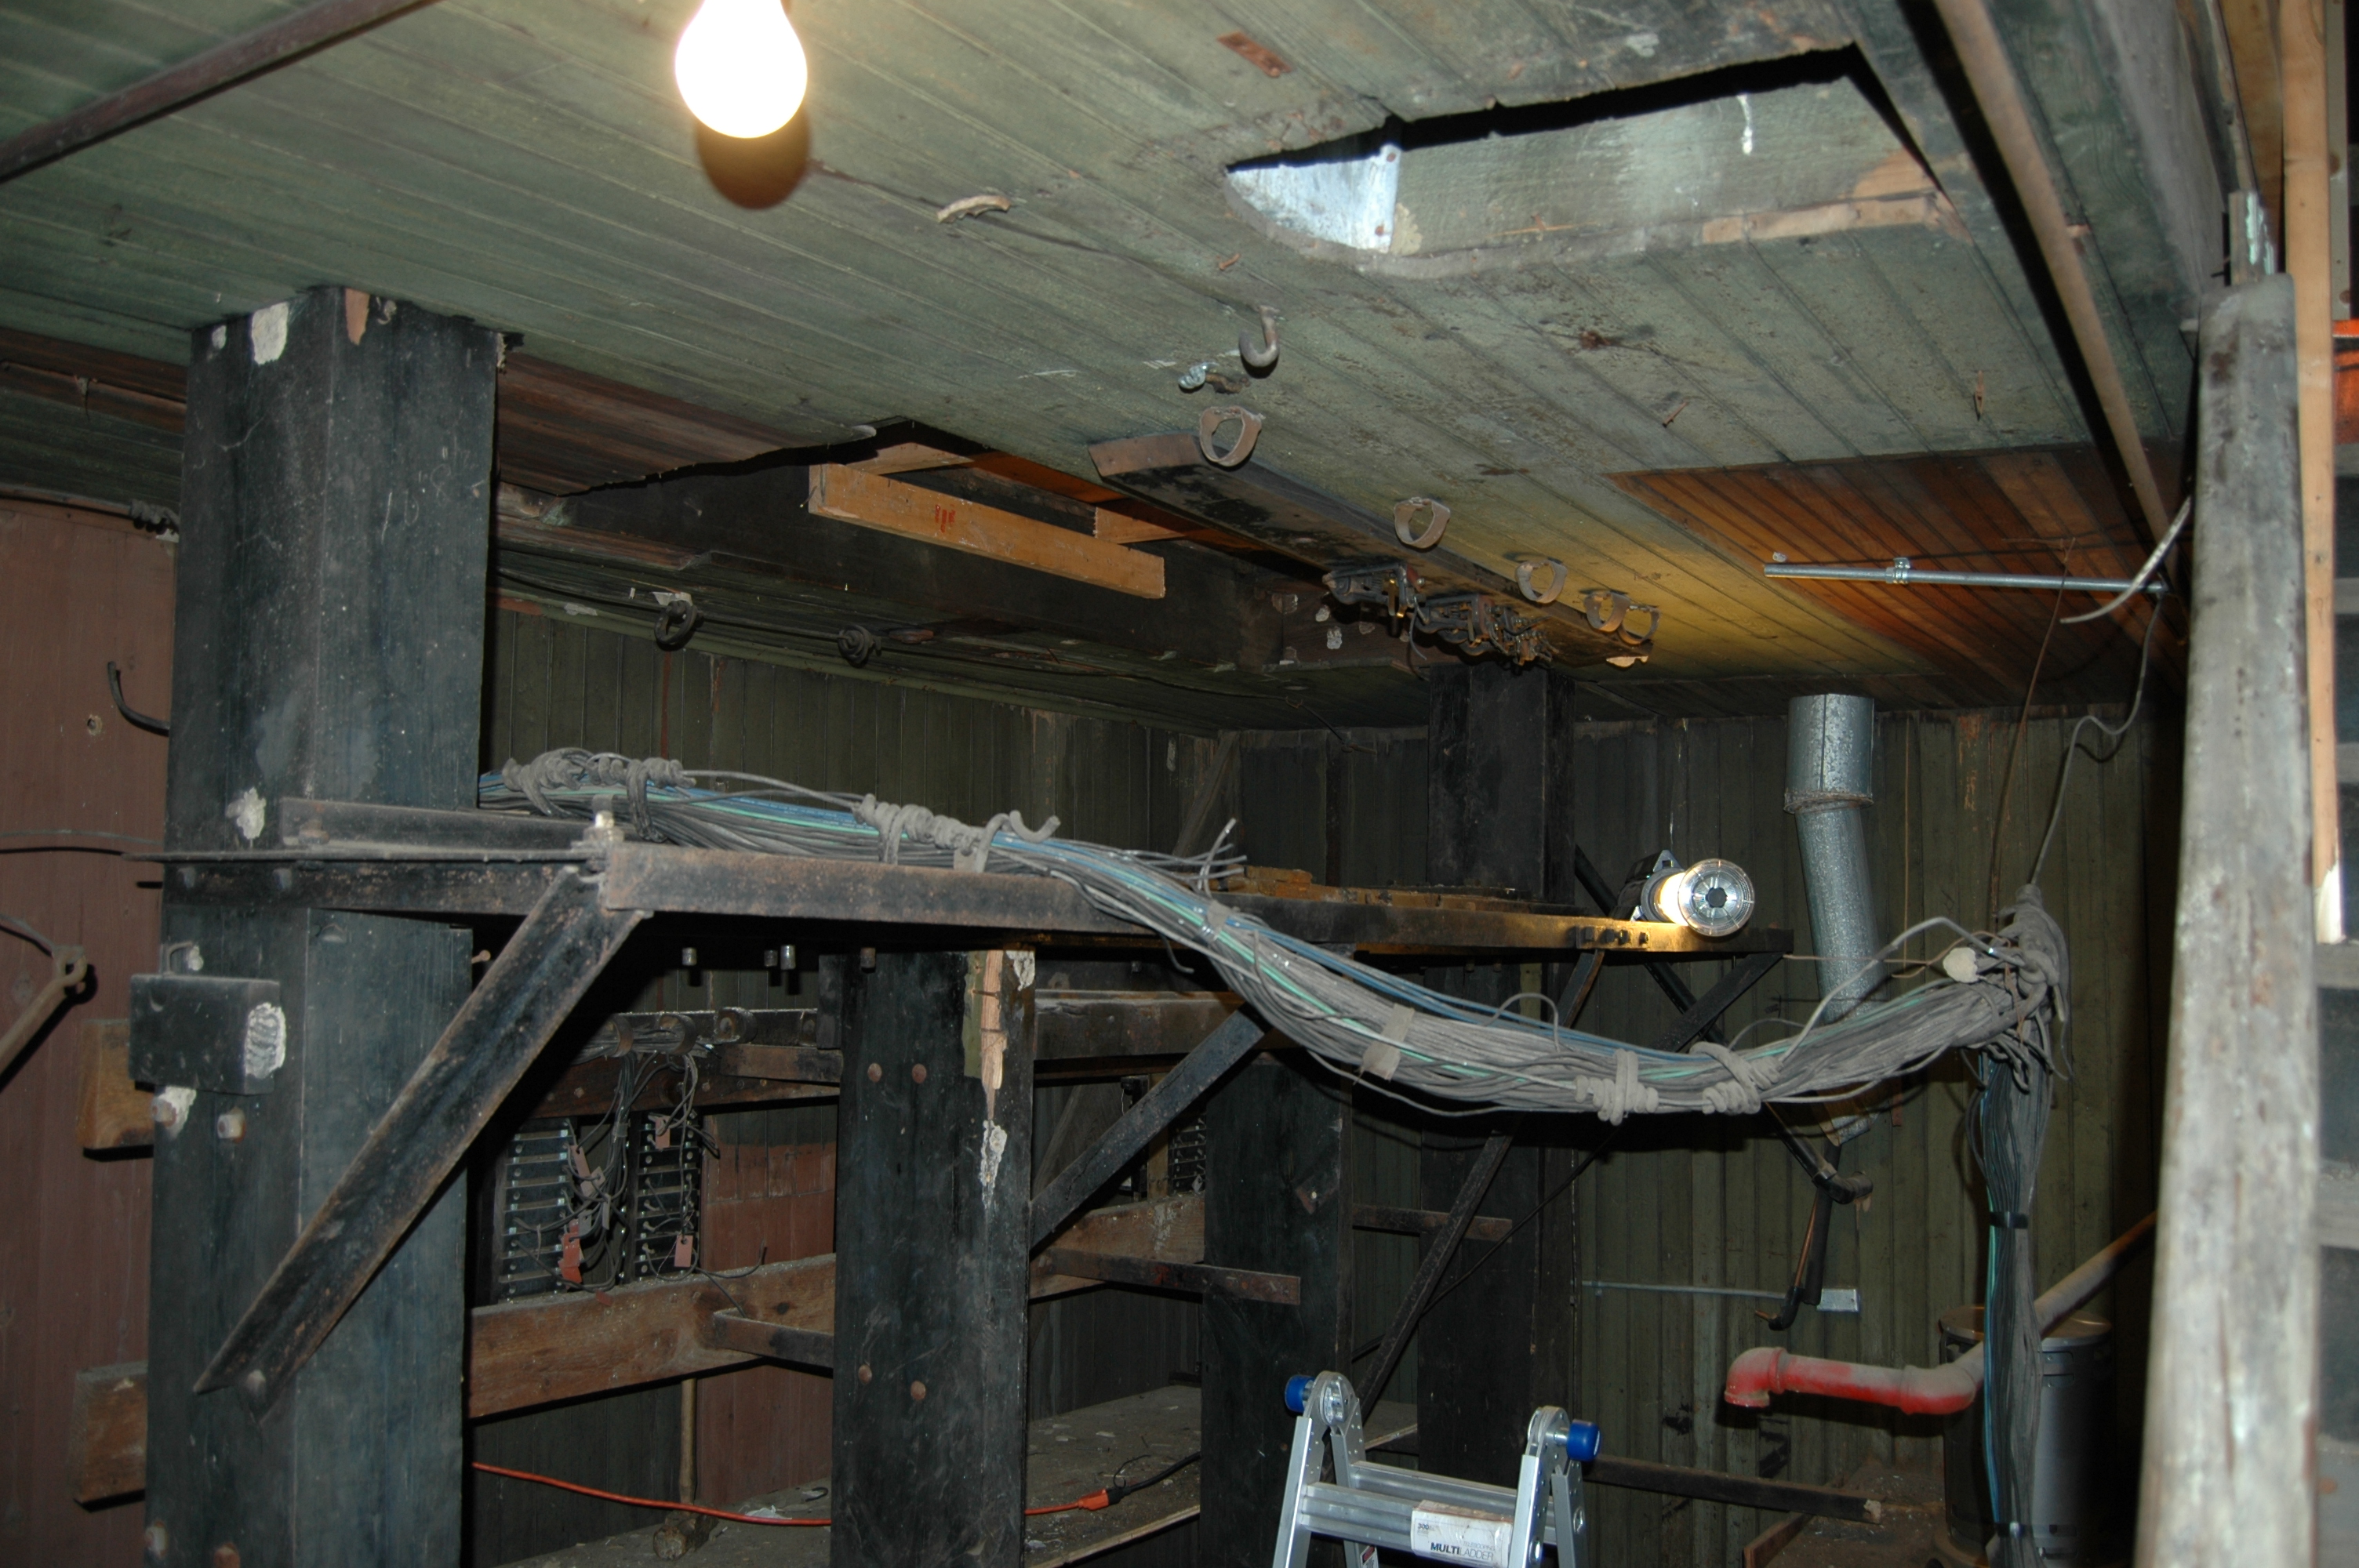
Lighting and Heating Shattuc ~ 12.20.2009
Since we started working on Shattuc in November we knew heating would be a issue and power. Before we were using a car battery for power, it ran off a inverter and provided us with 3 hours of light. I bought a propane heater from Lowes that was 80,000 BTU max and will last about 9 hrs on one tank at high. That has been great in heating Shattuc as long as the door is closed! For power Nick and I ran new wiring through the conduits and installed new light sockets. Then ran the wire outside and put a plug on the end of it. I have a 5000 watt generator that now provides enough power to light the tower and allows us to use more power tools! Shattuc had 3 lights in the main tower, 2 upstairs and one downstairs near the steps.
 |
 |
 |
 |
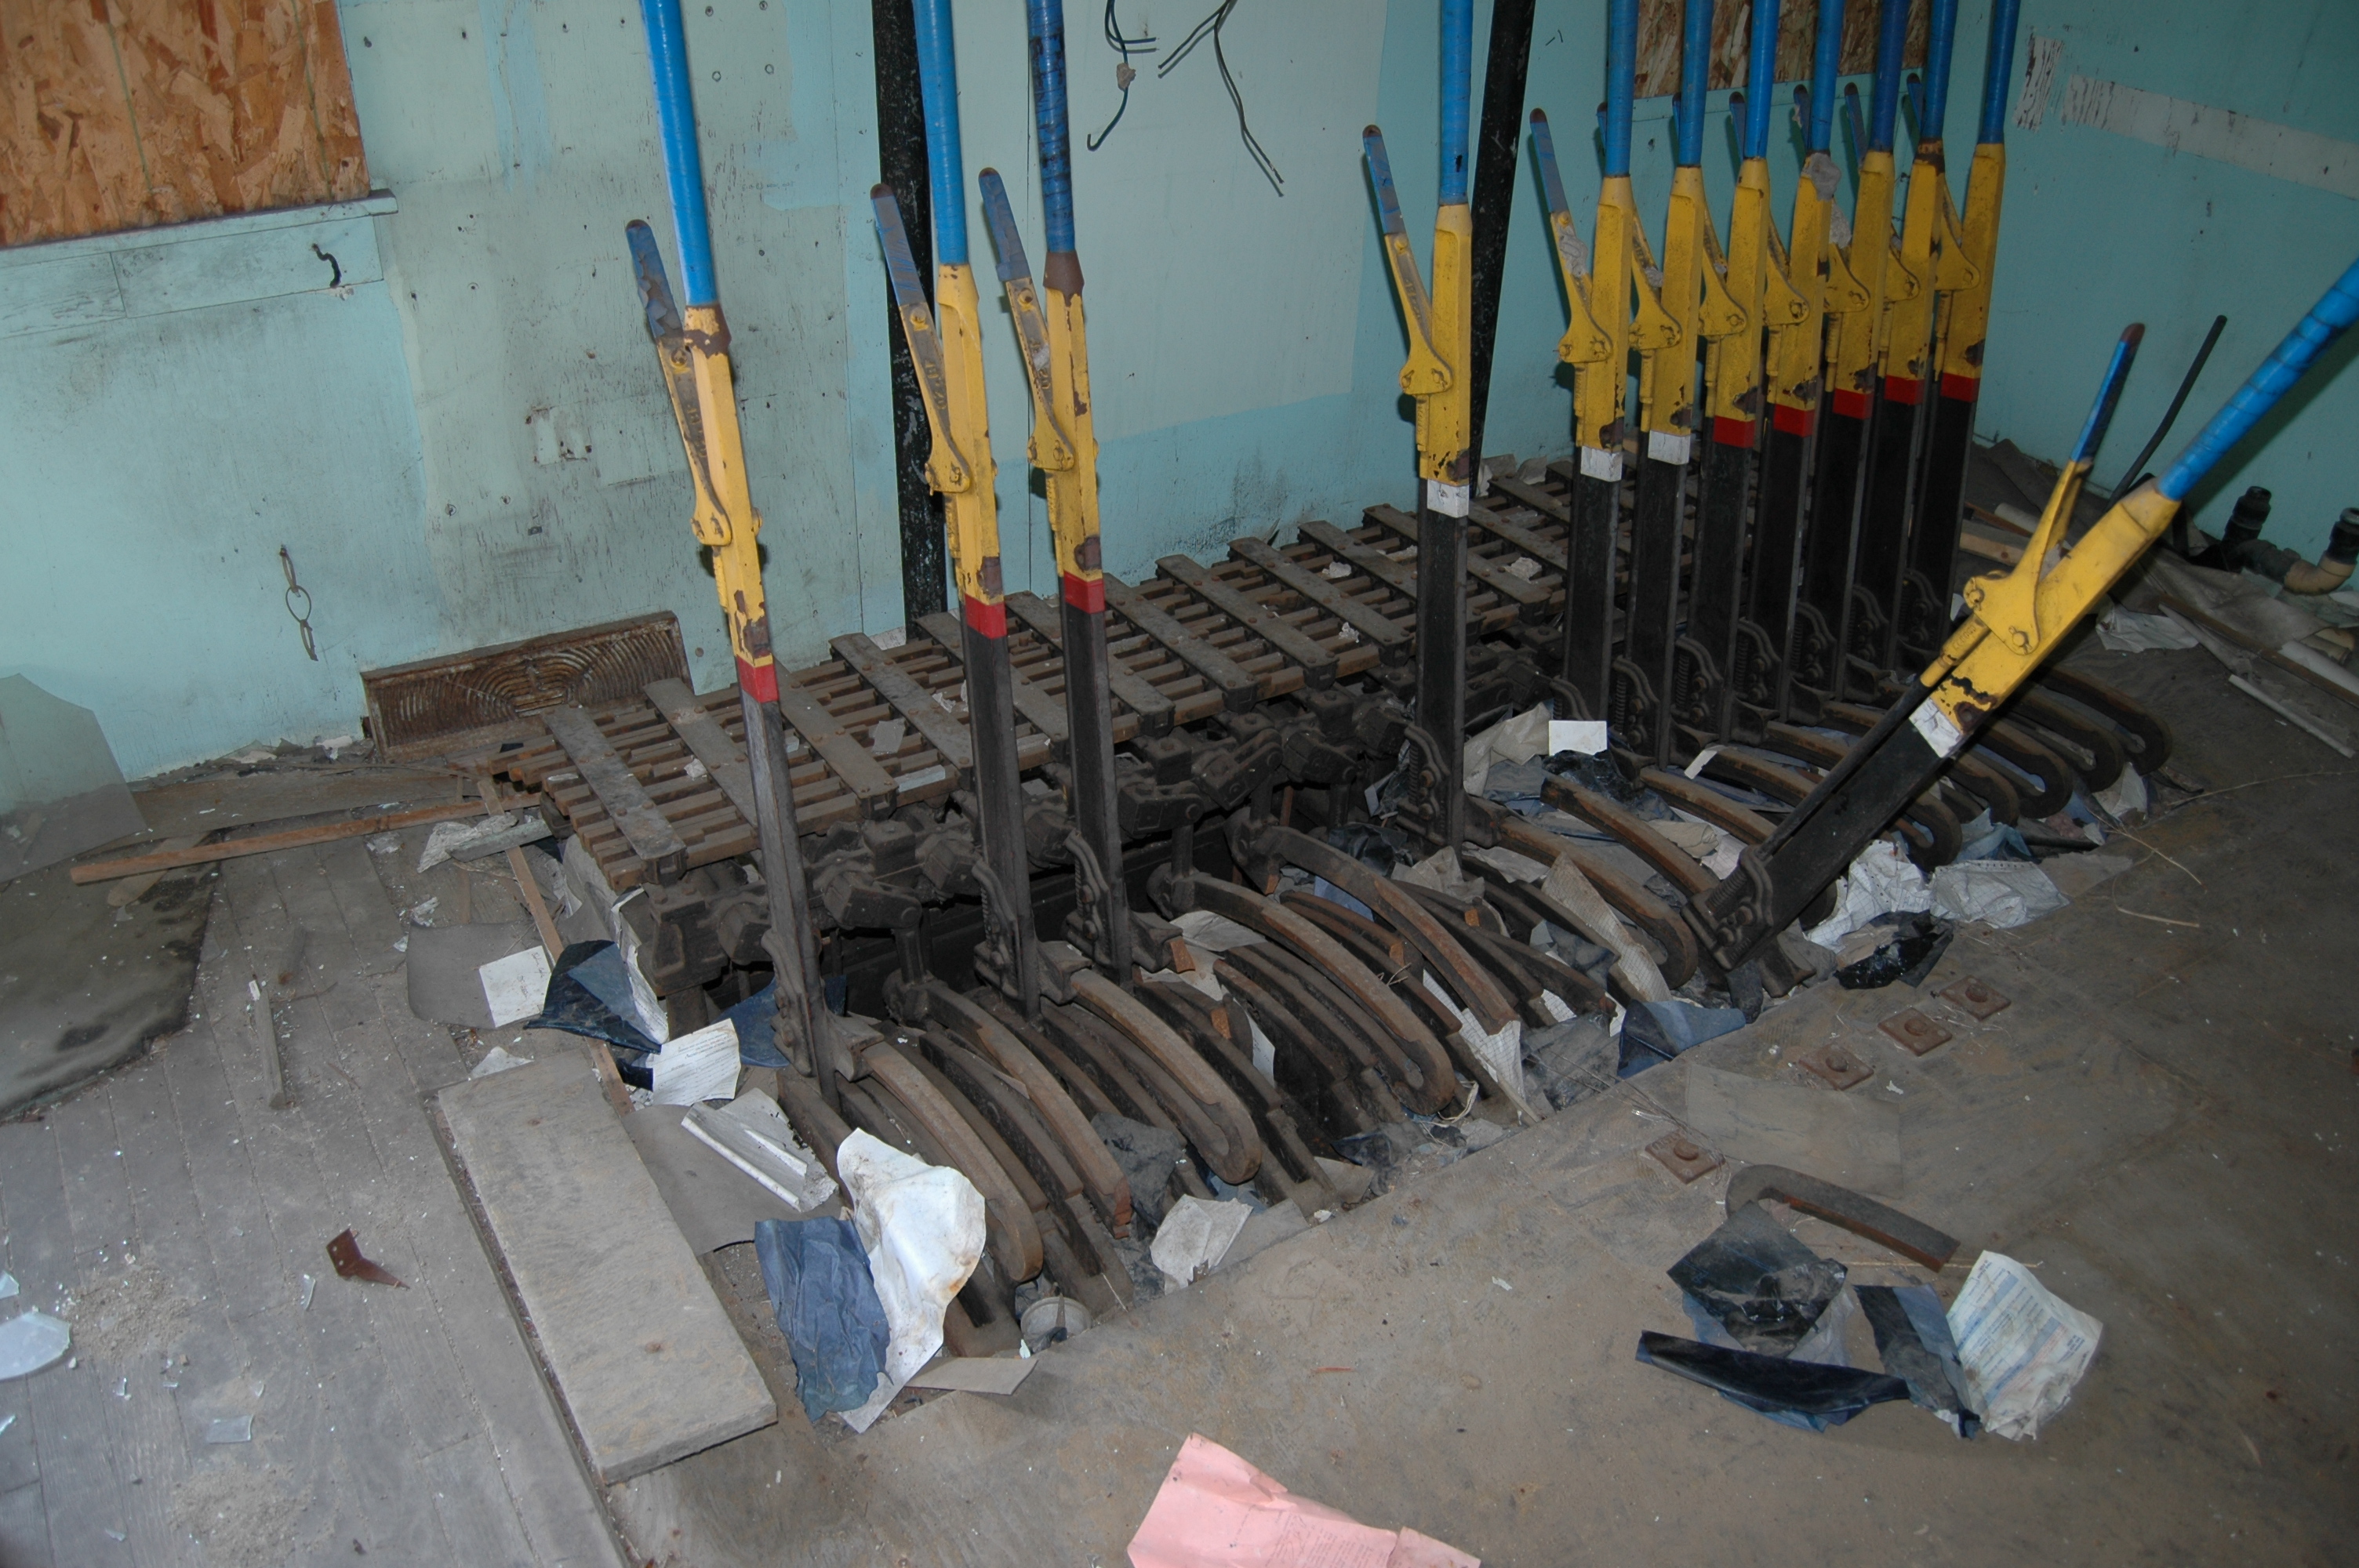
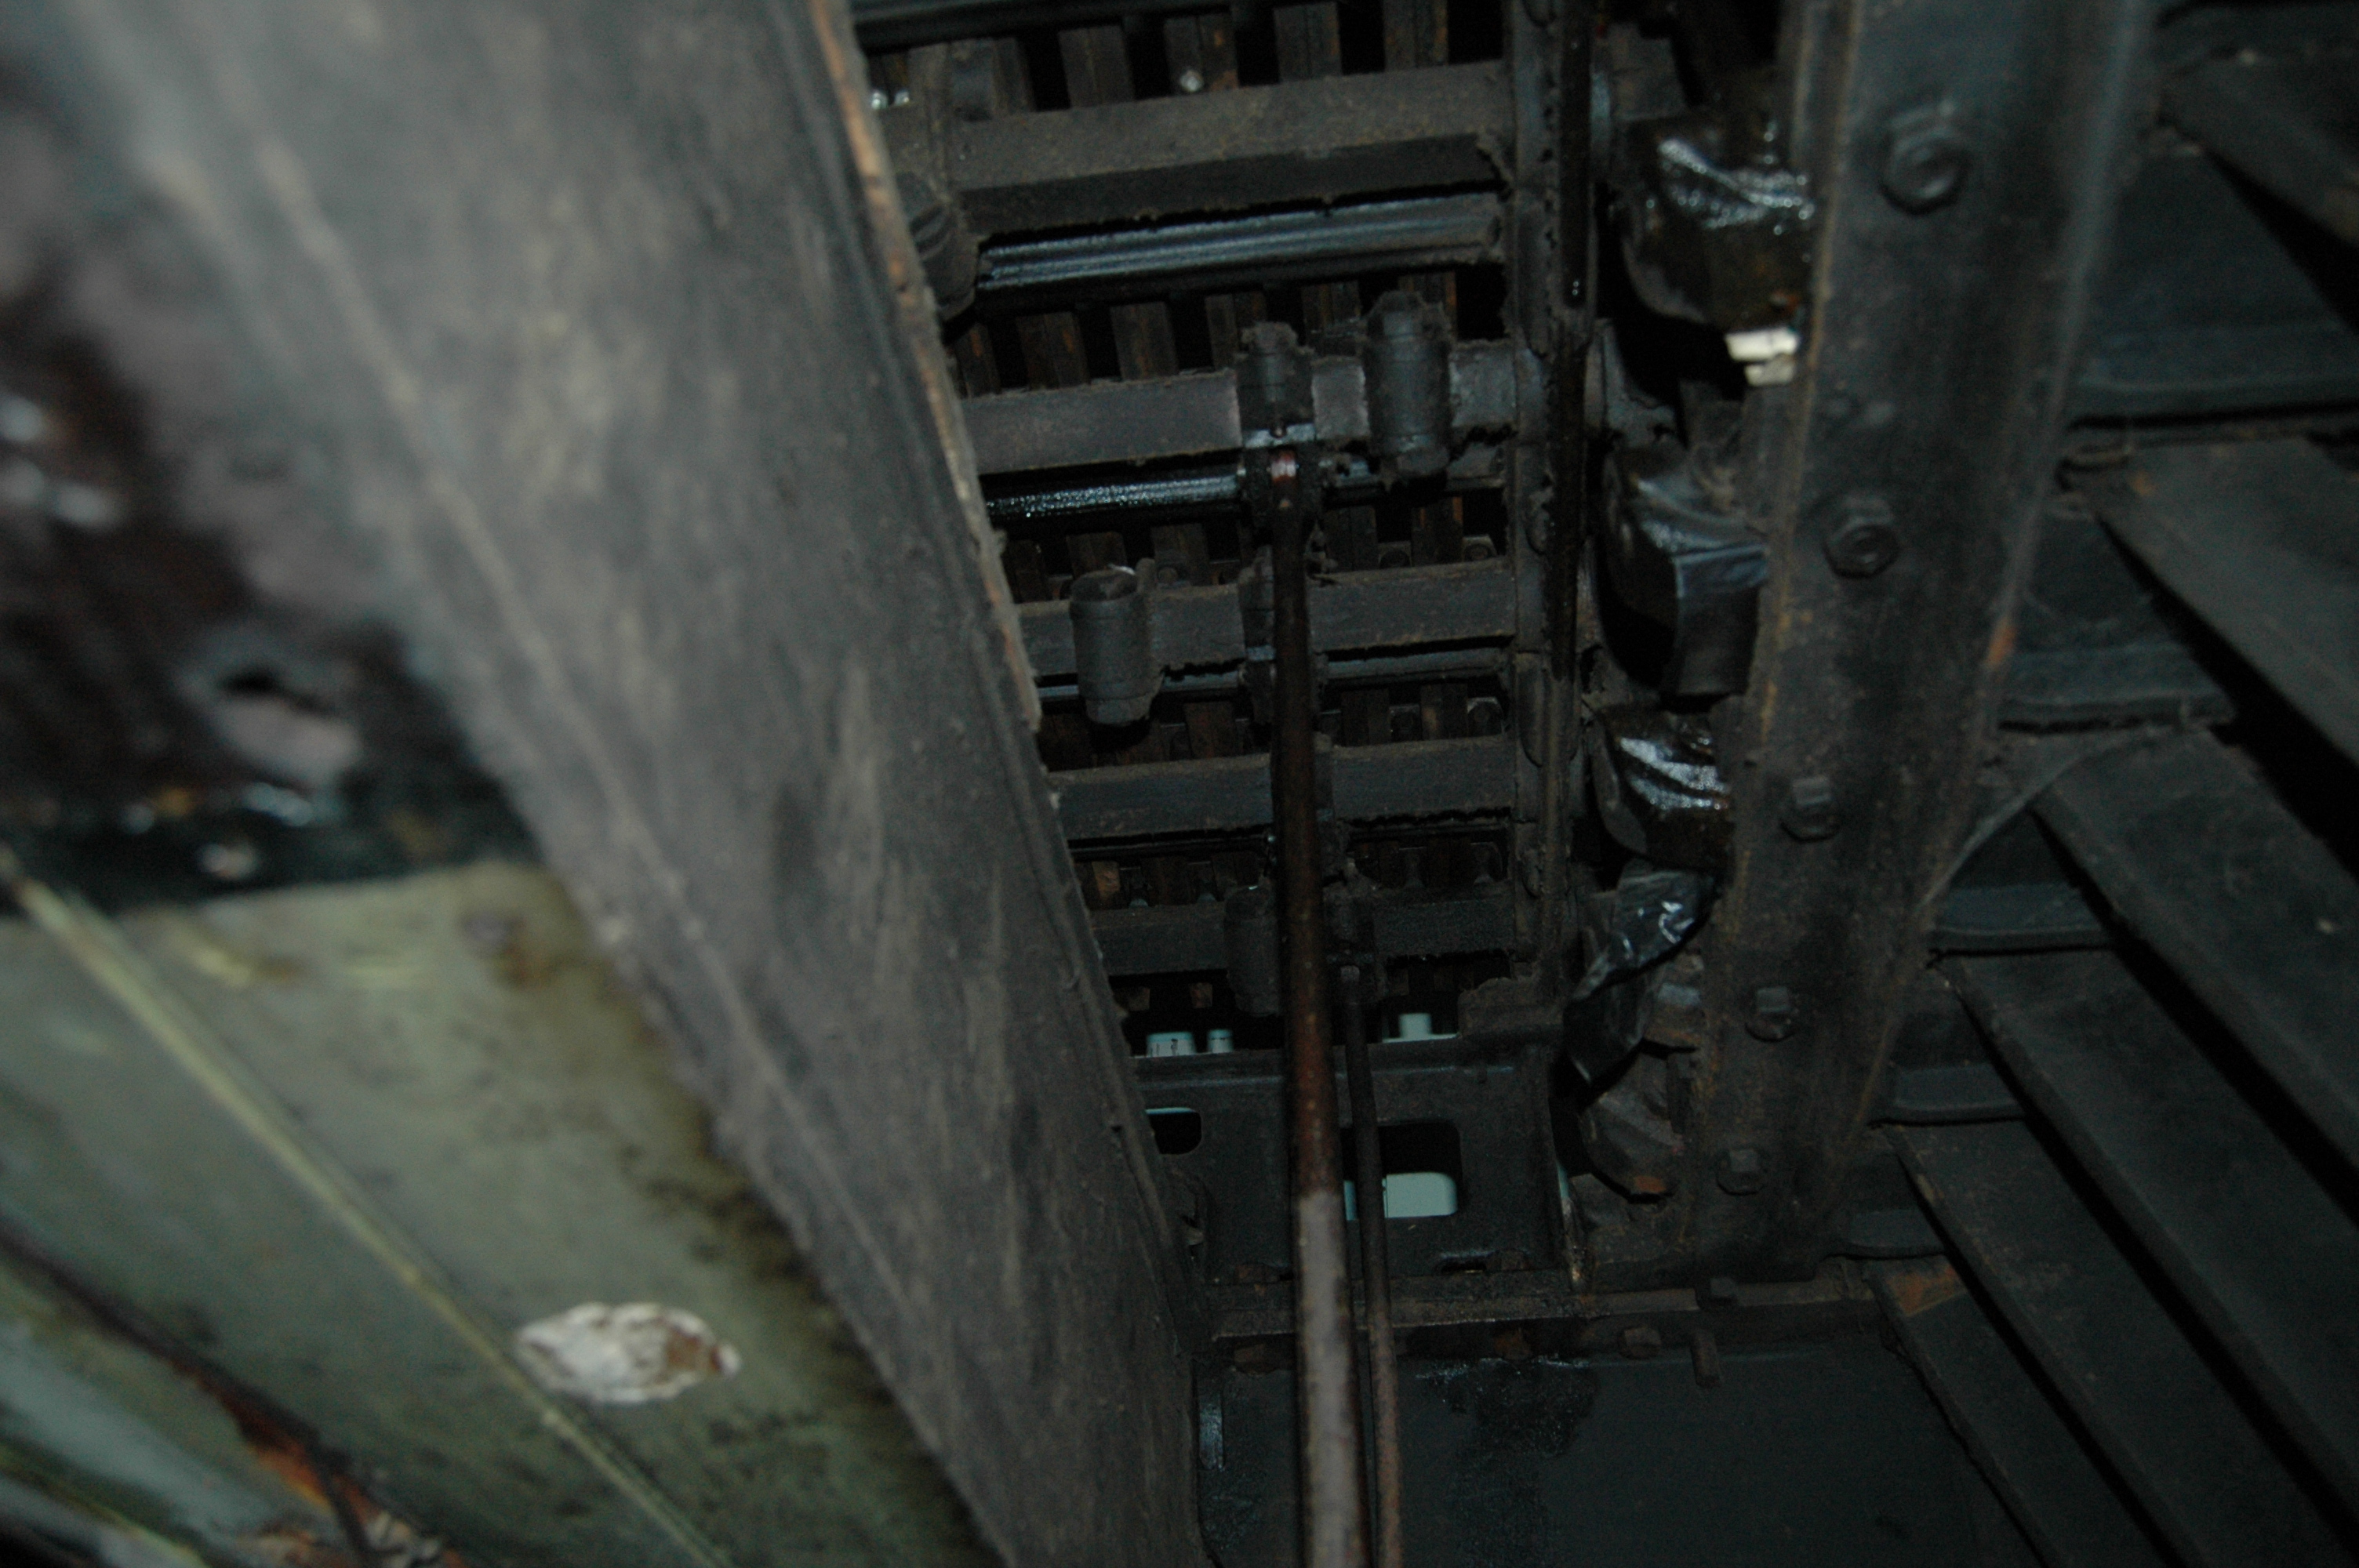
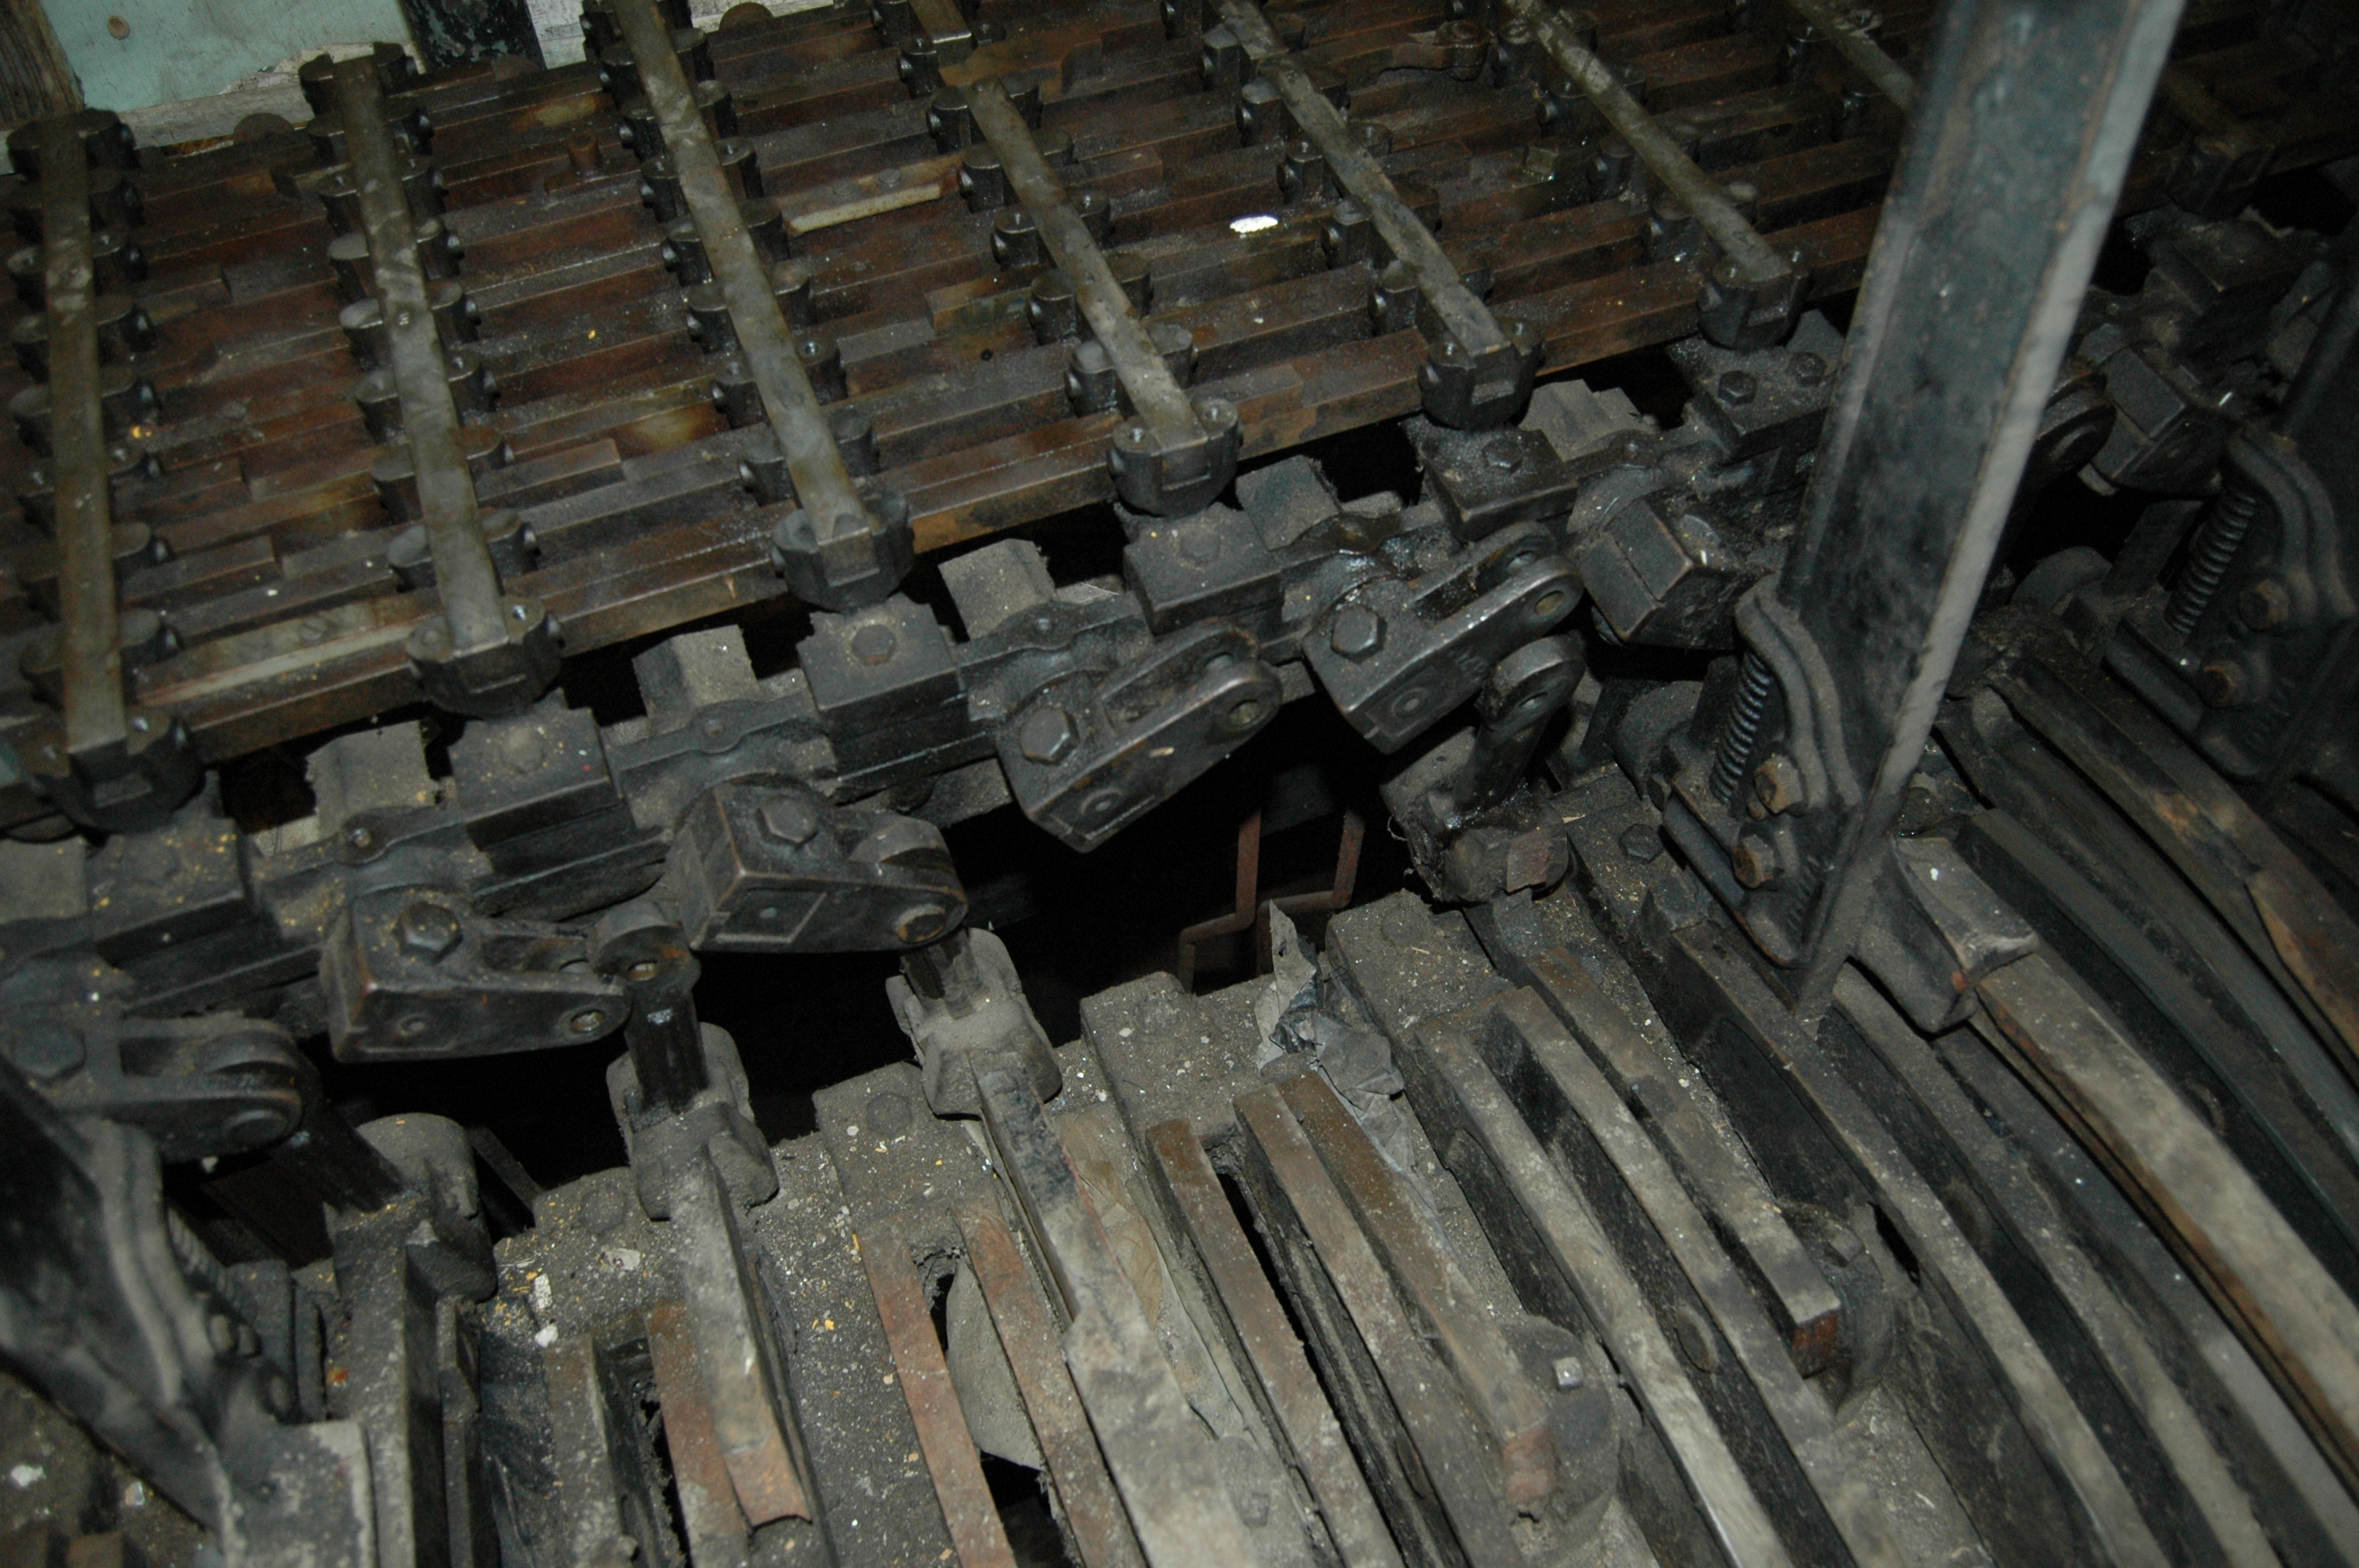
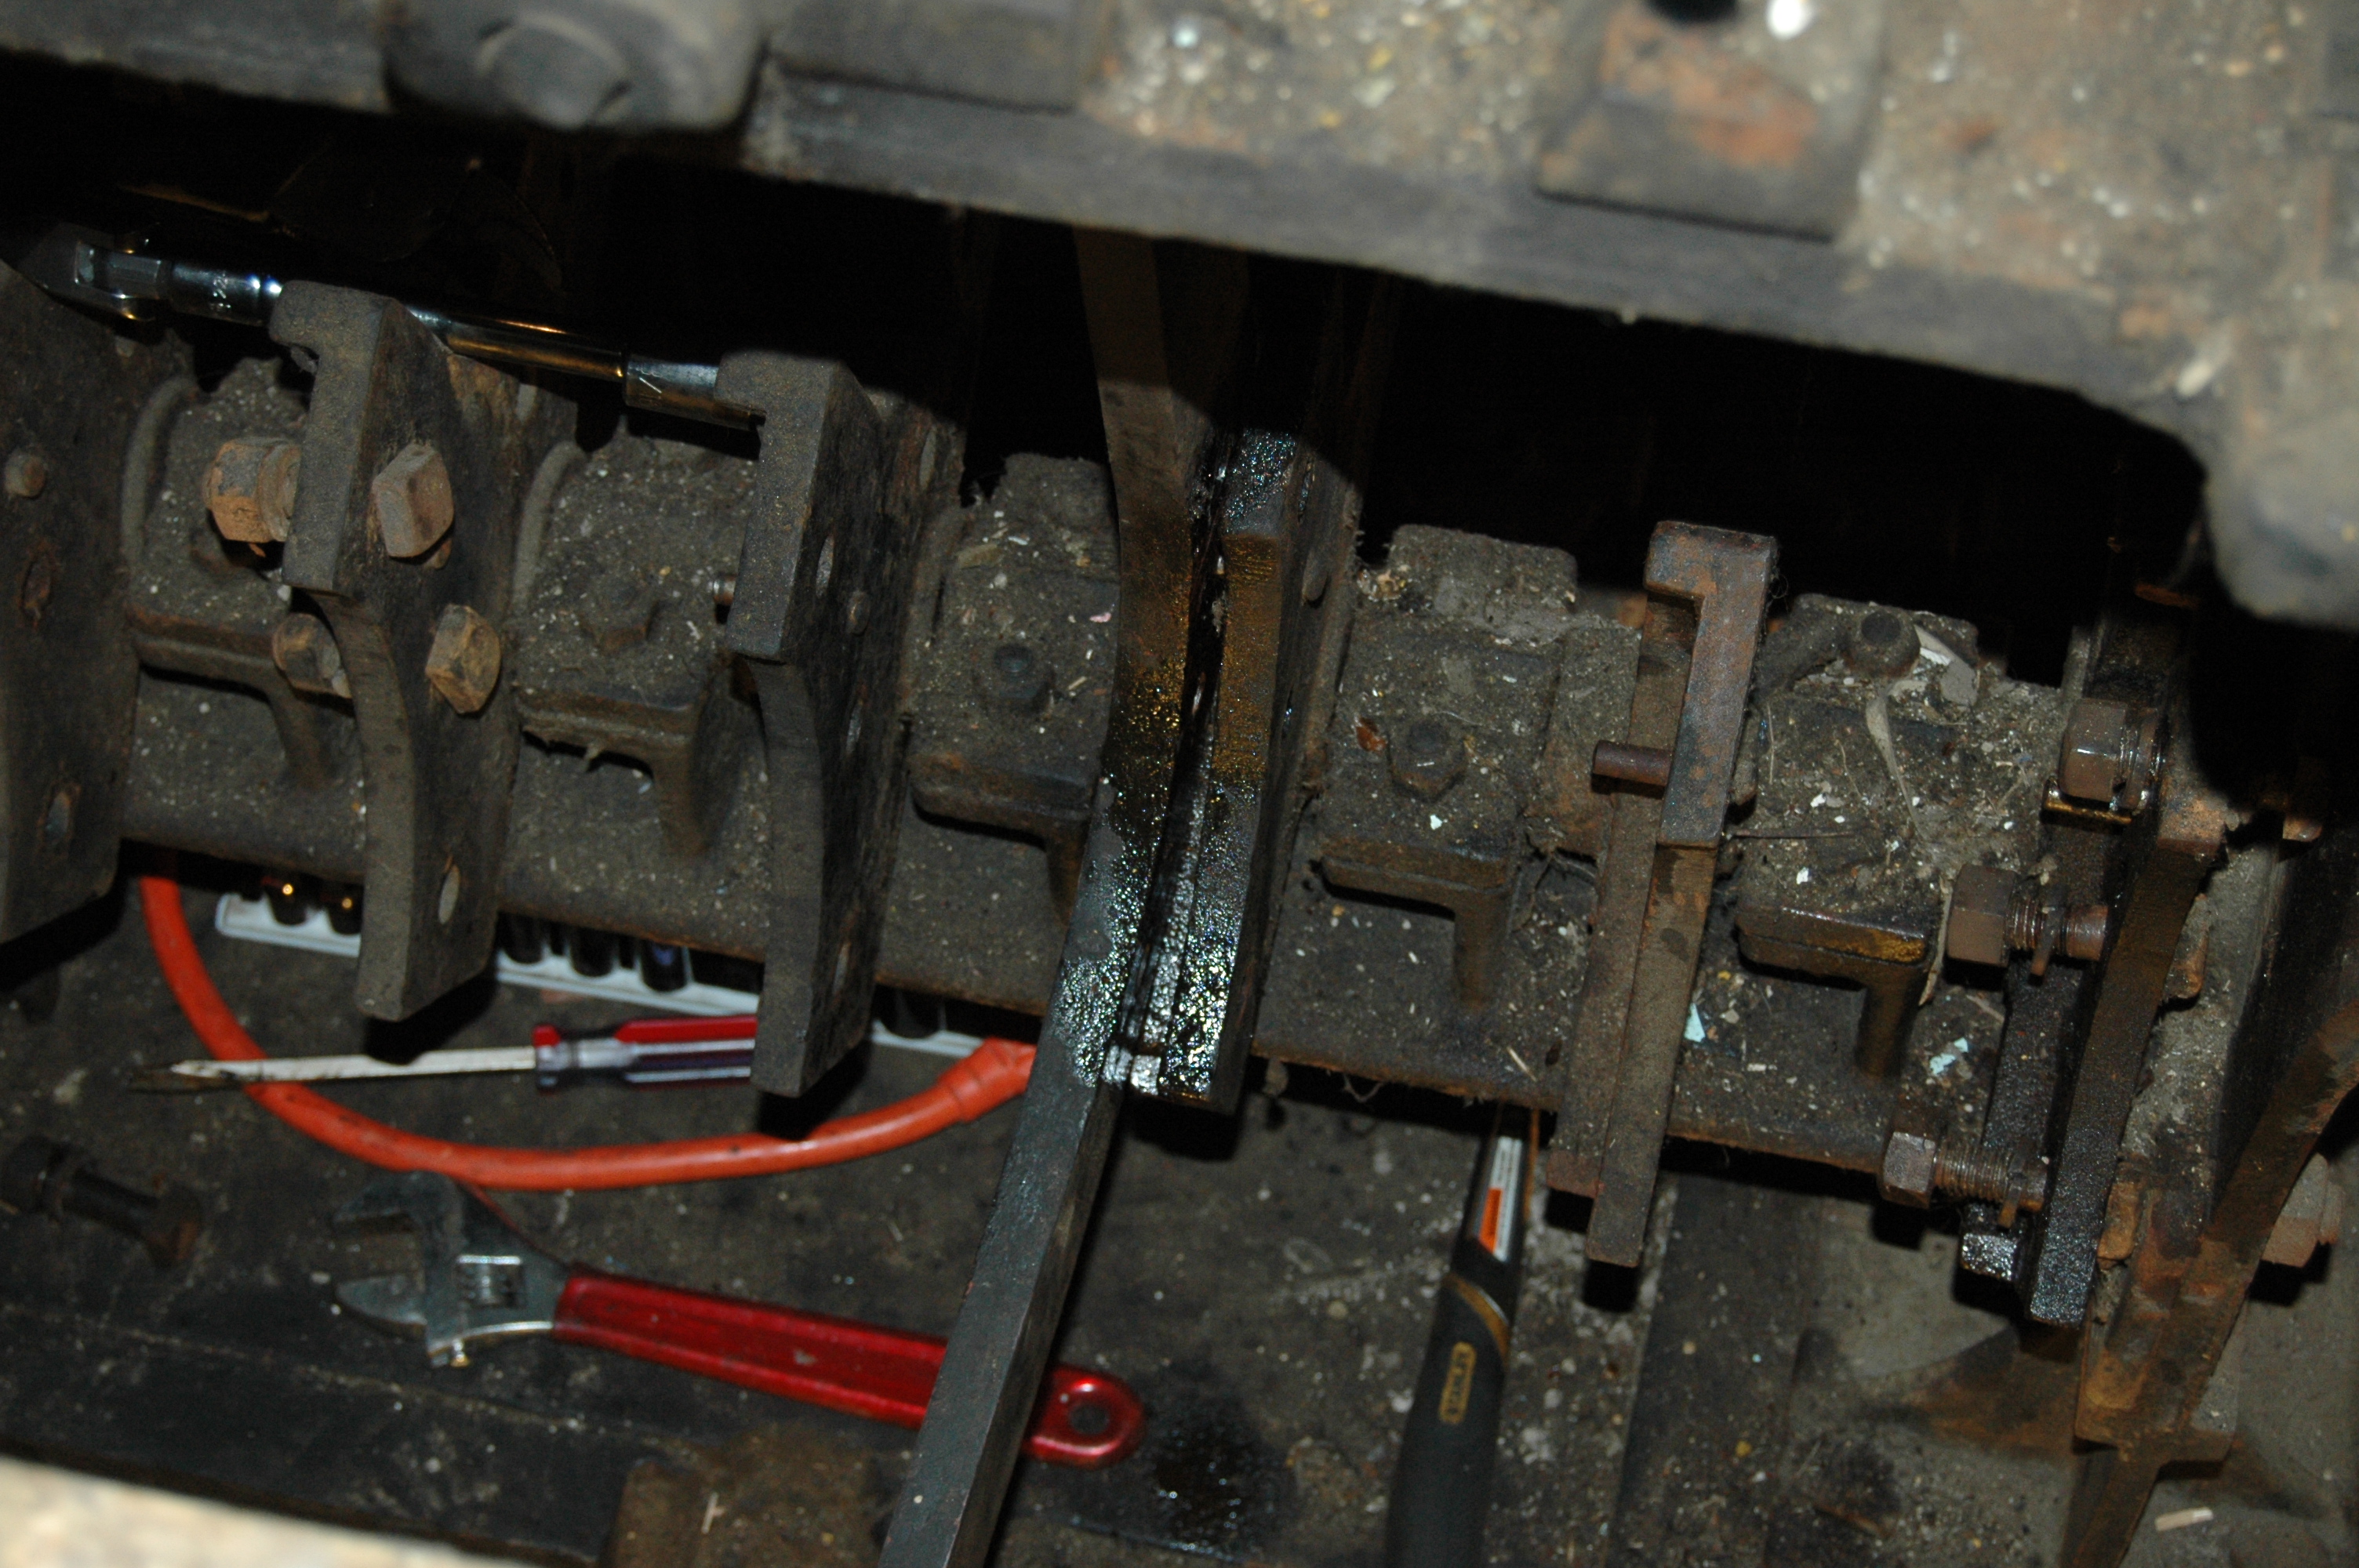
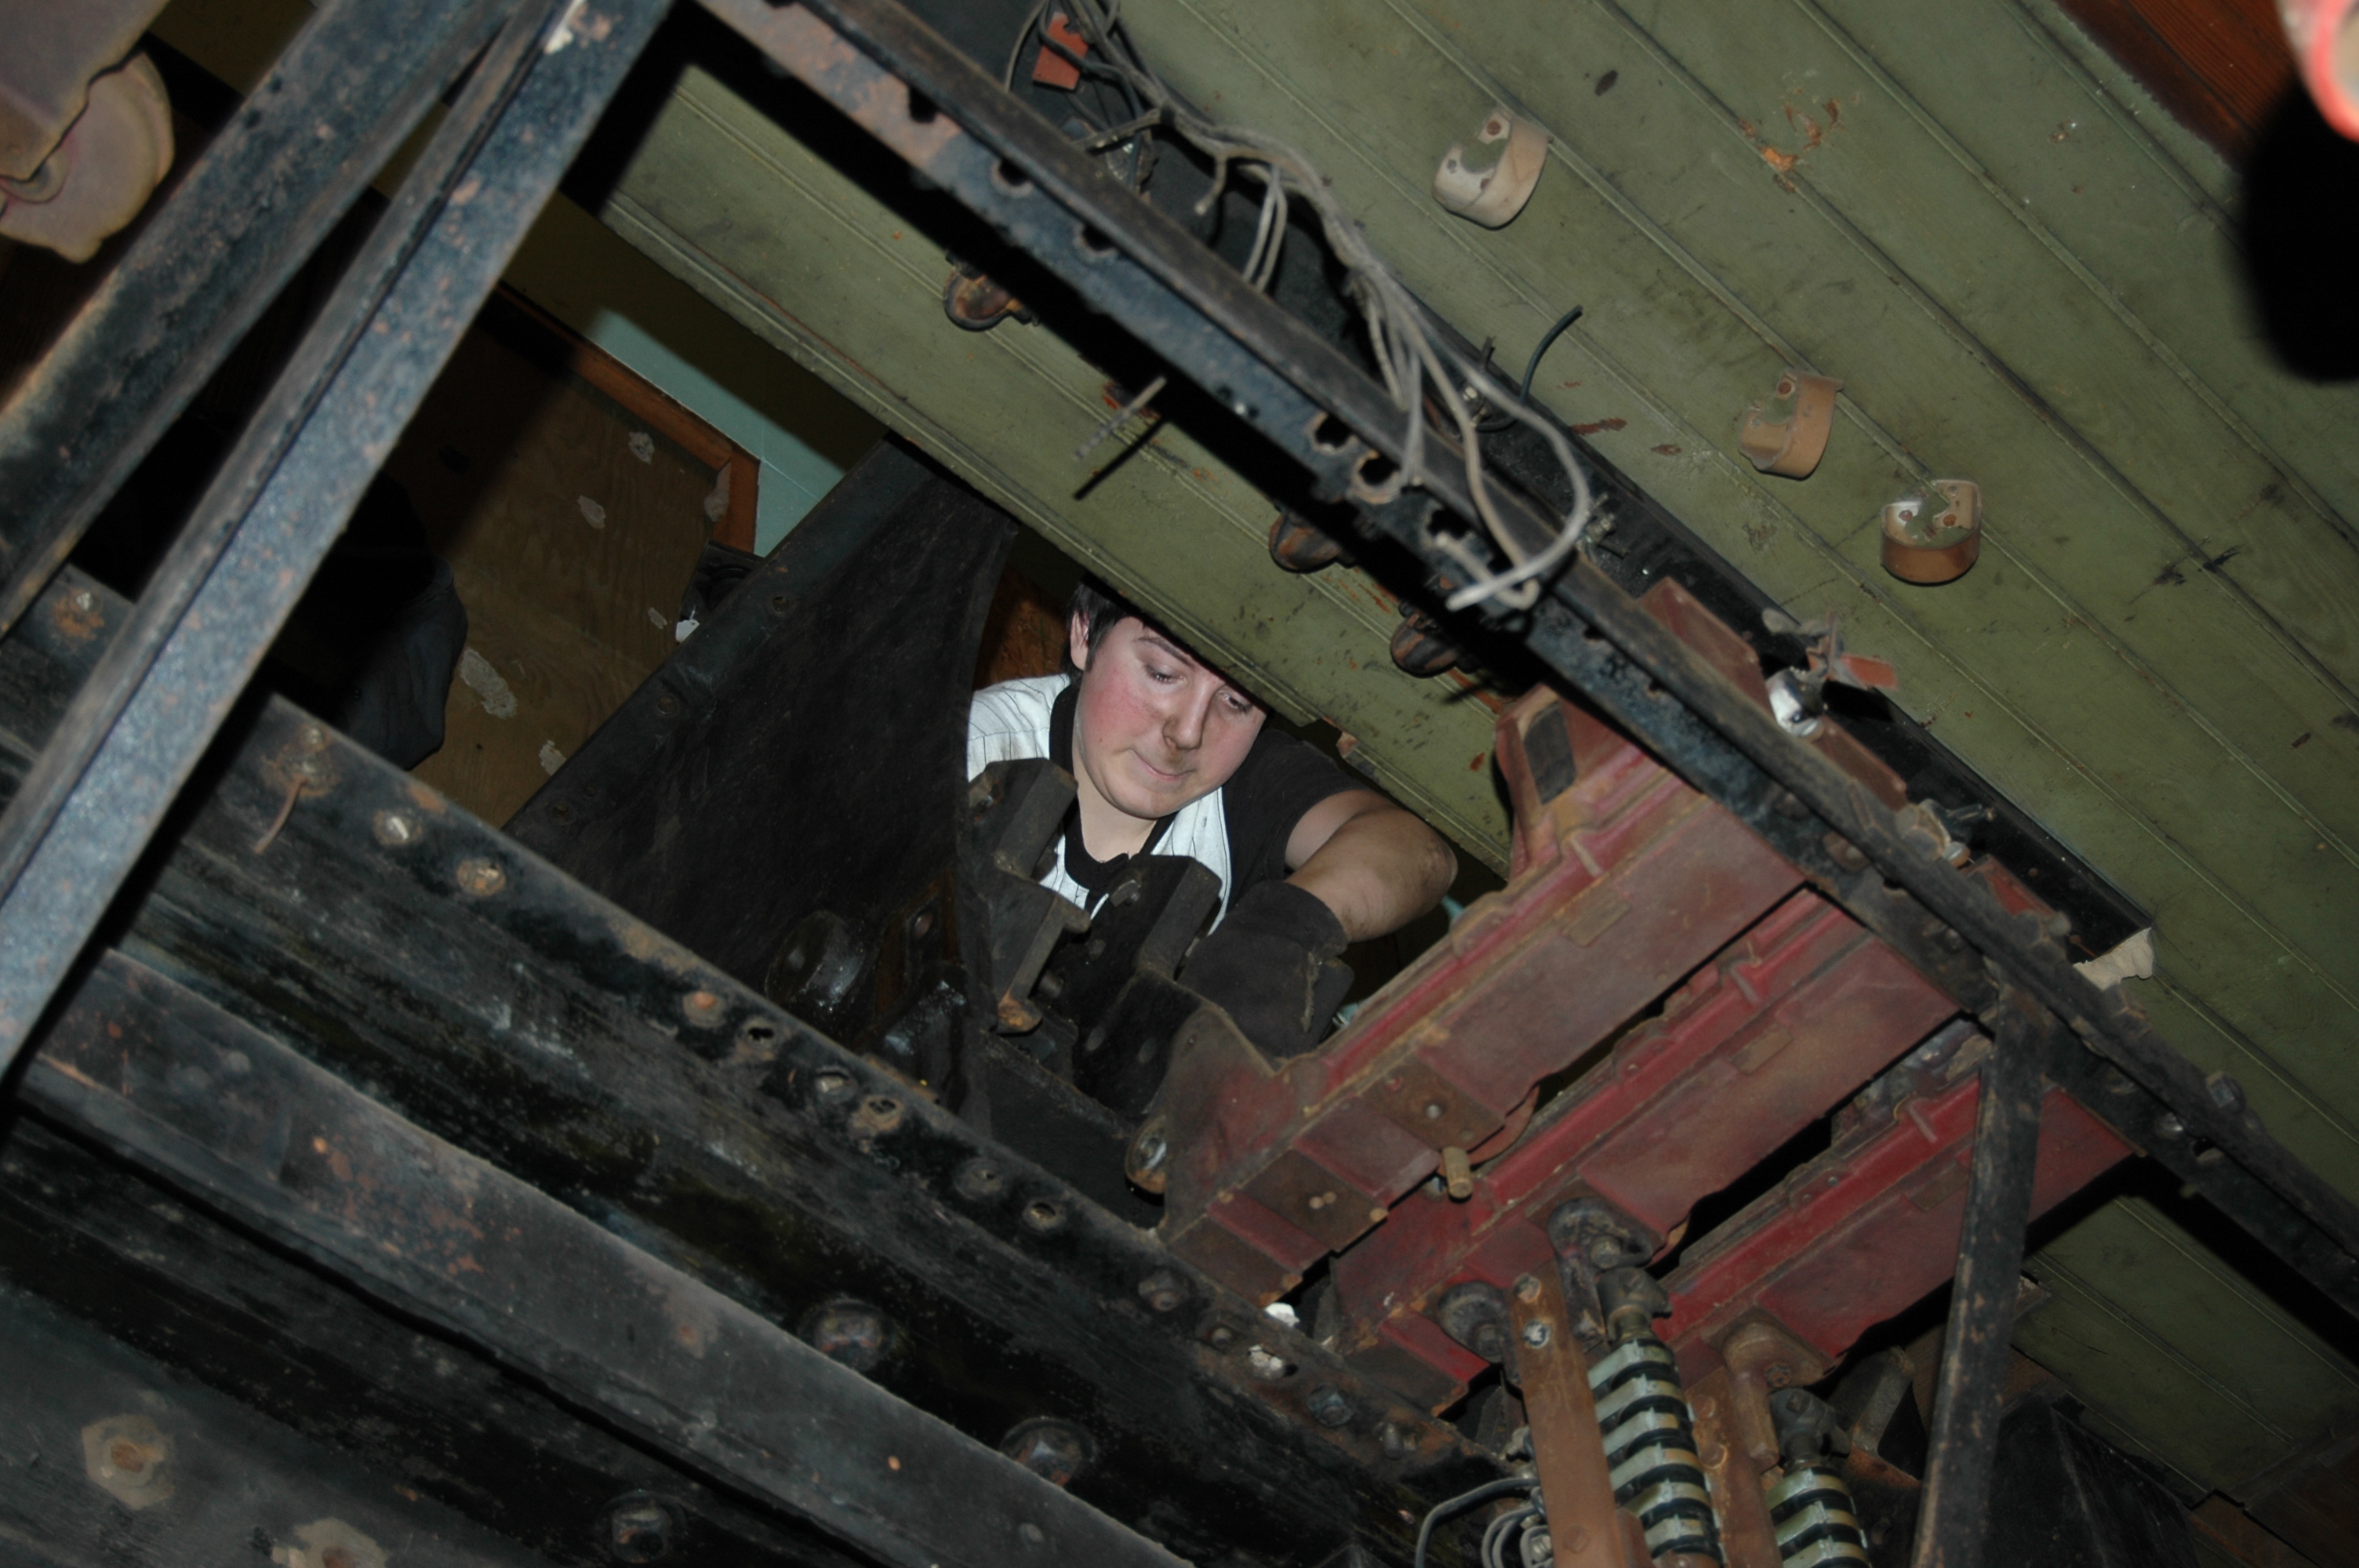
Disconnecting the Levers from the Locking Bed ~ 12.14.2009-12.20.2009
Nick went threw and disconnected all of the Universal Links[3.25] from the Locking shafts[3.29] which was slow since the levers were hard to work around.
 |
 |
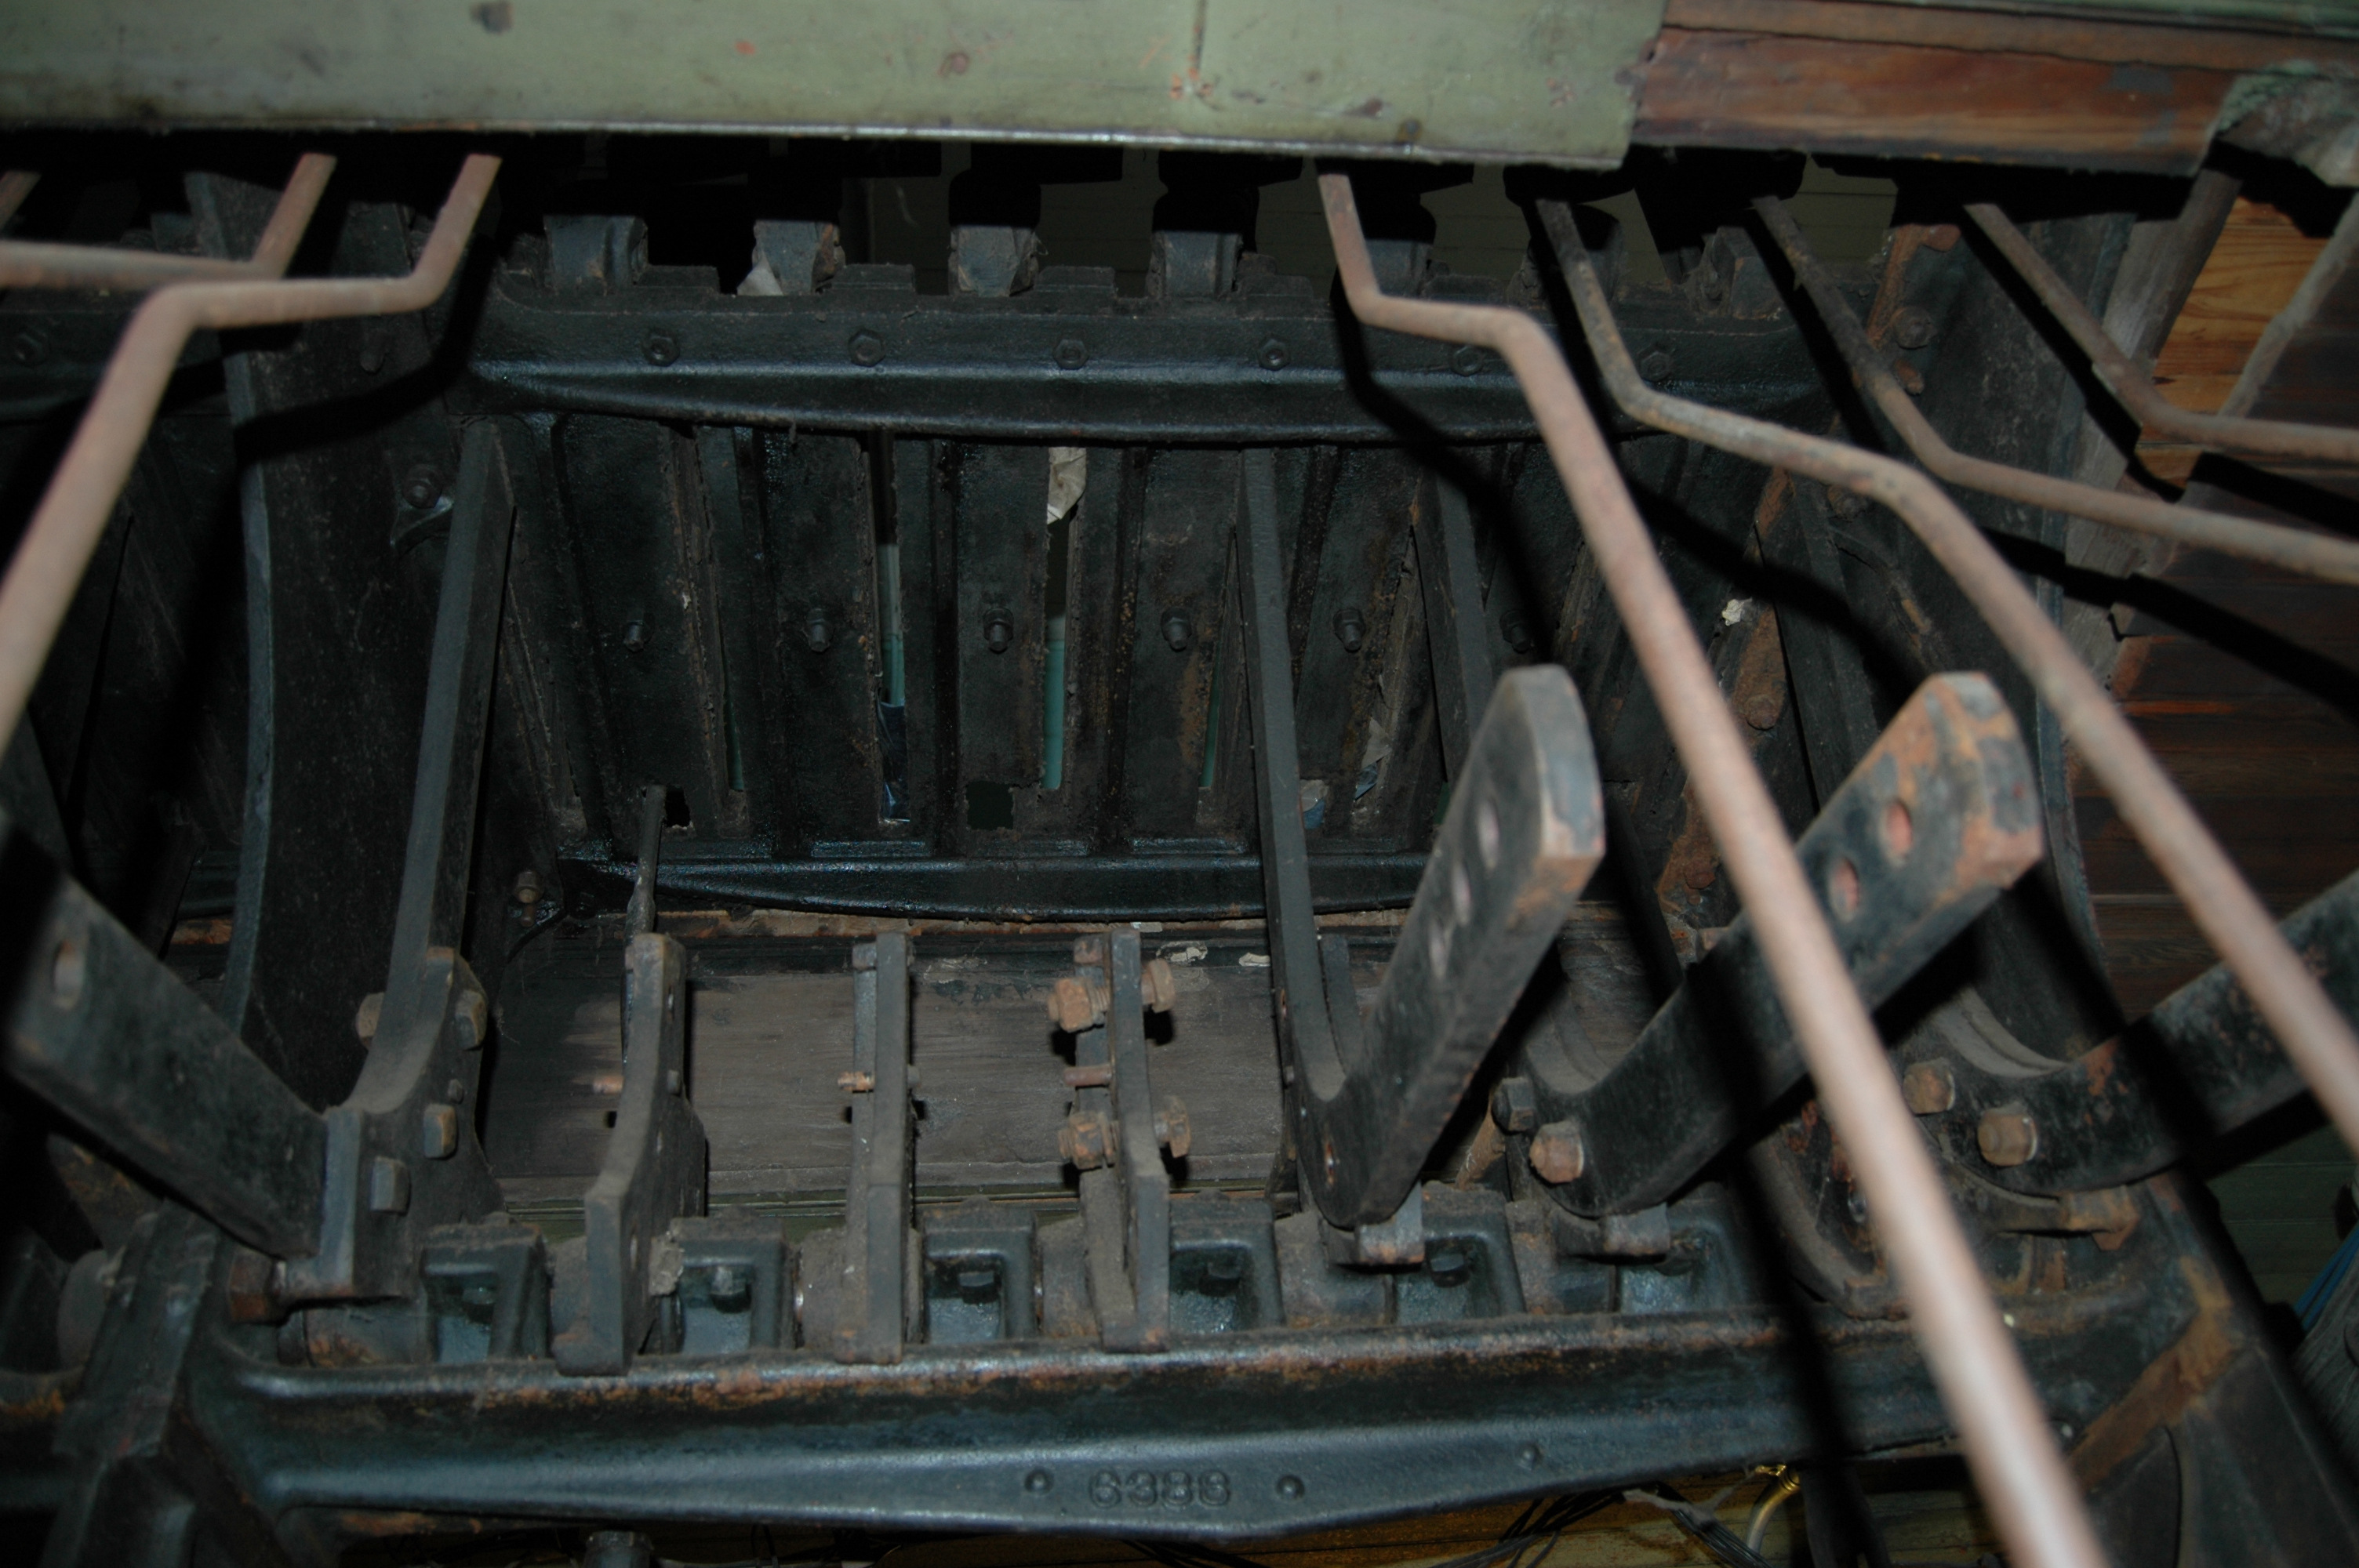
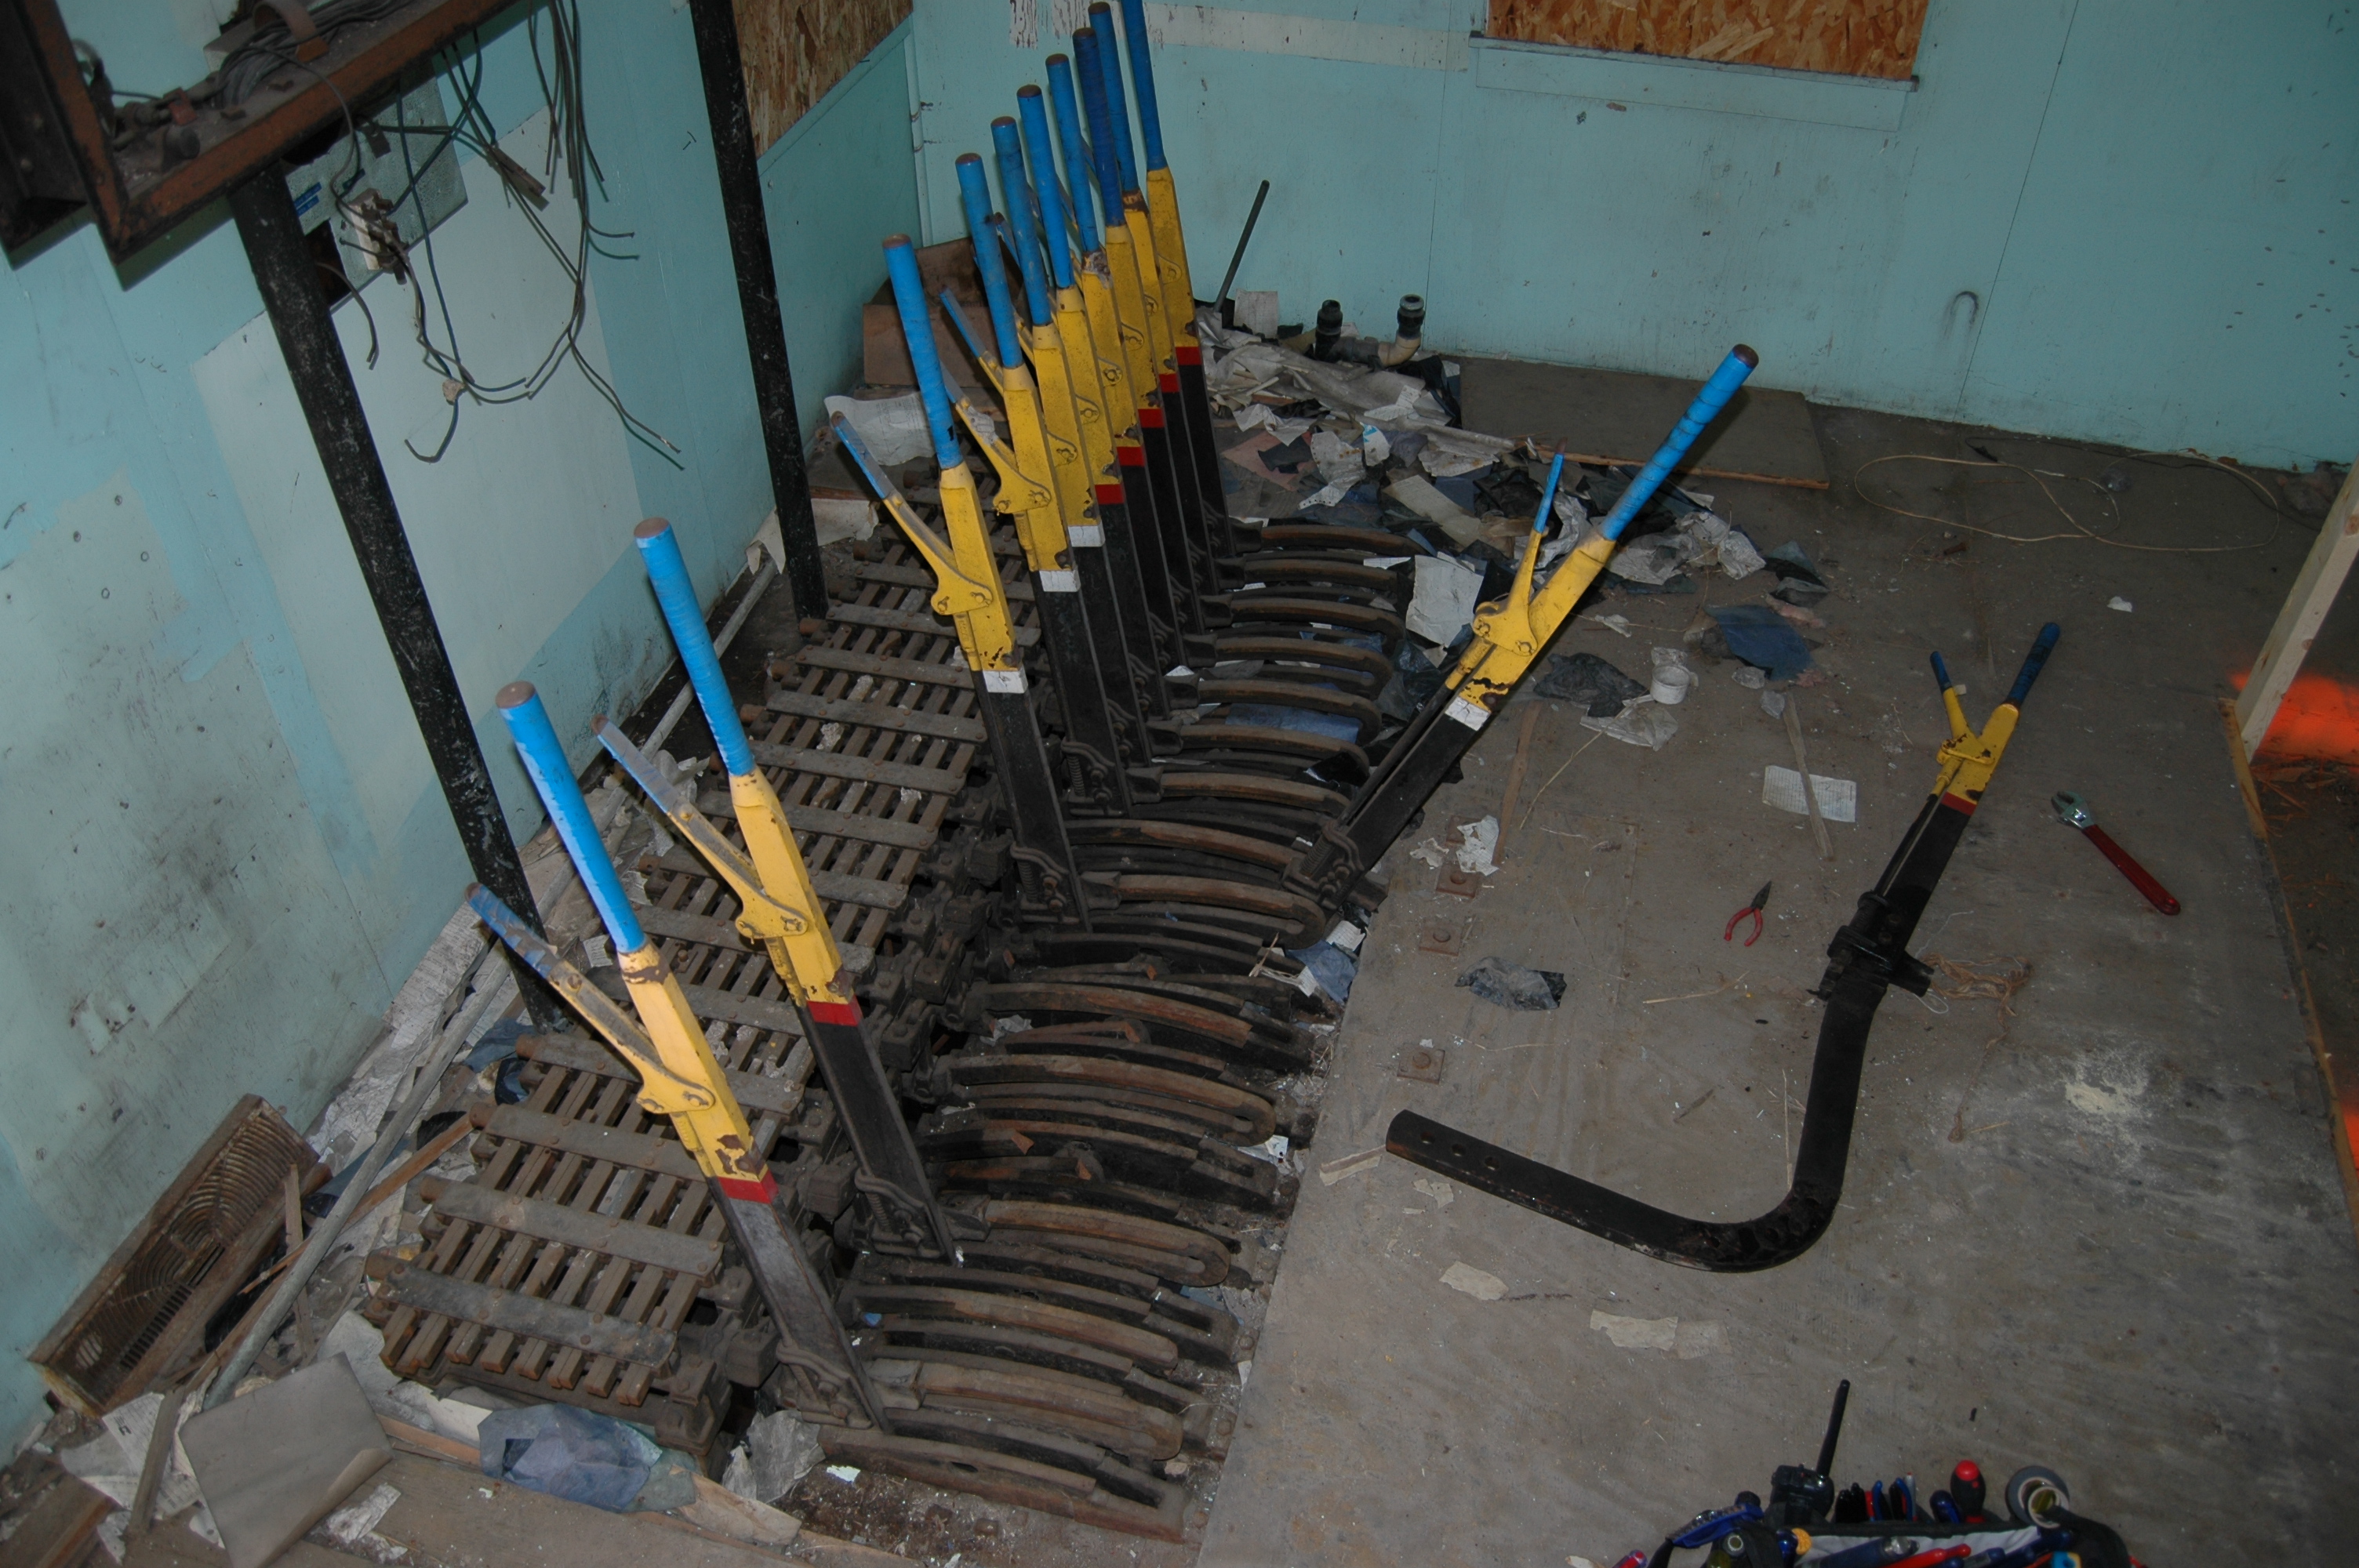
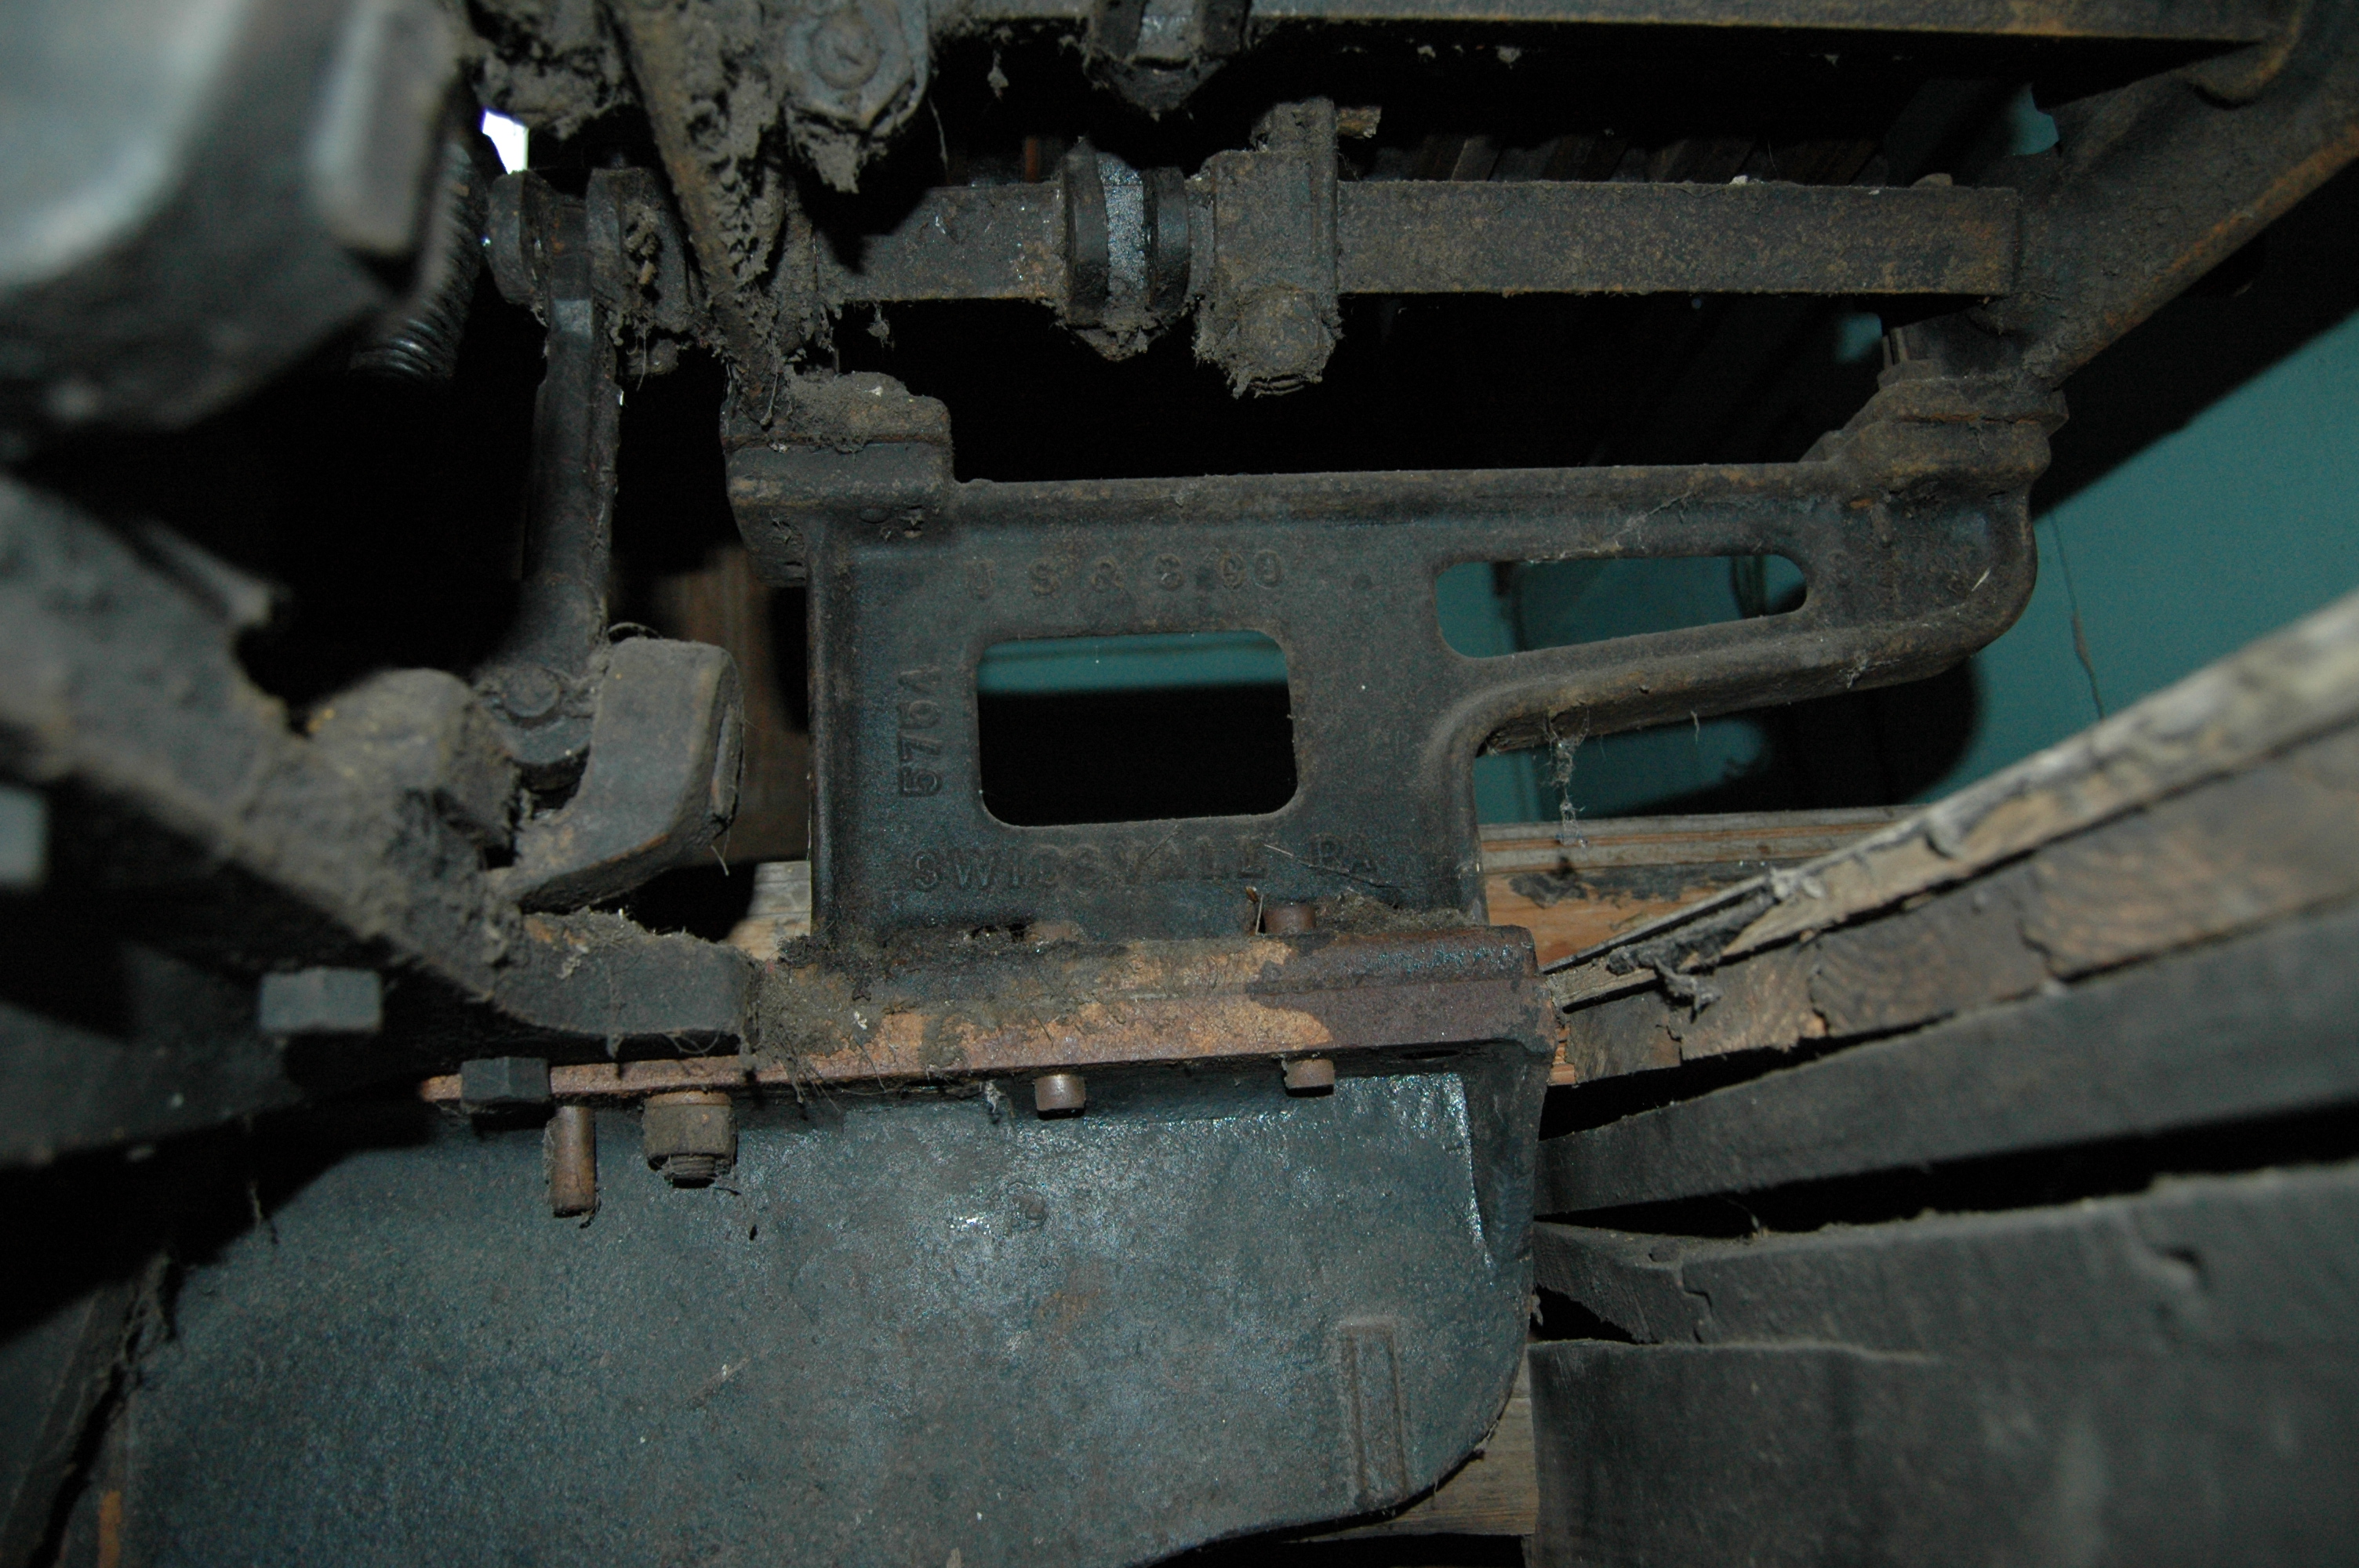
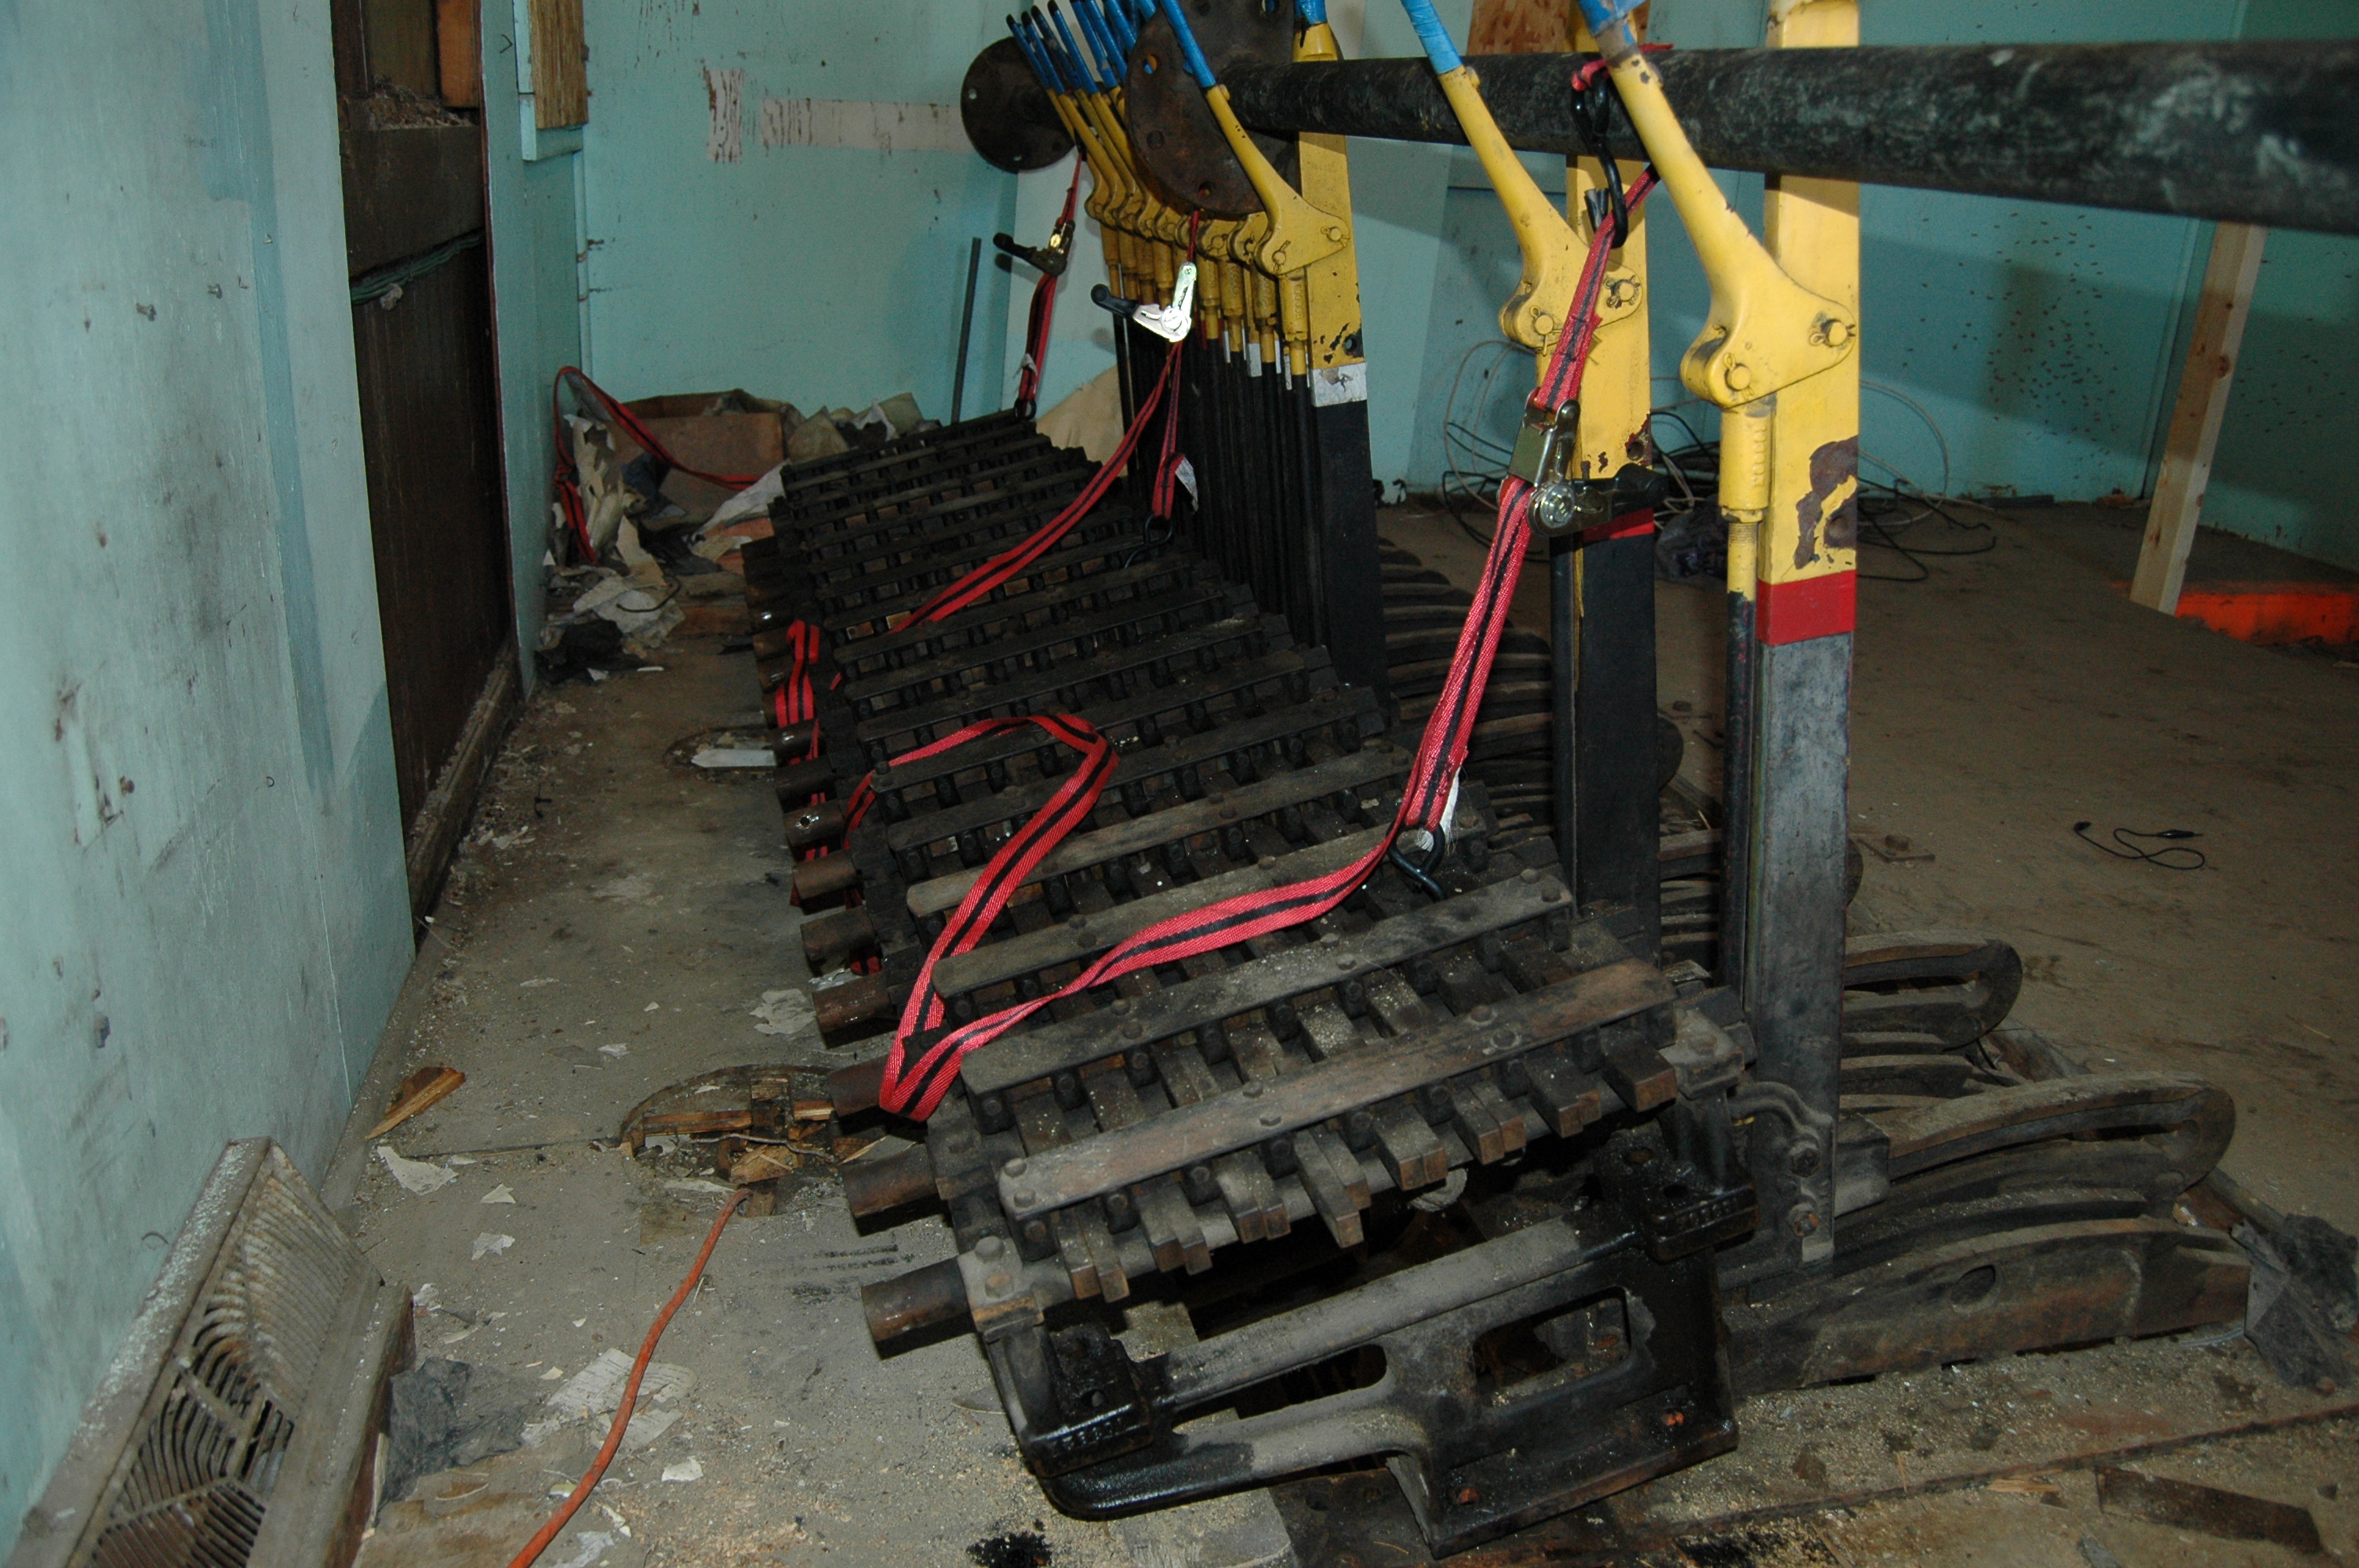
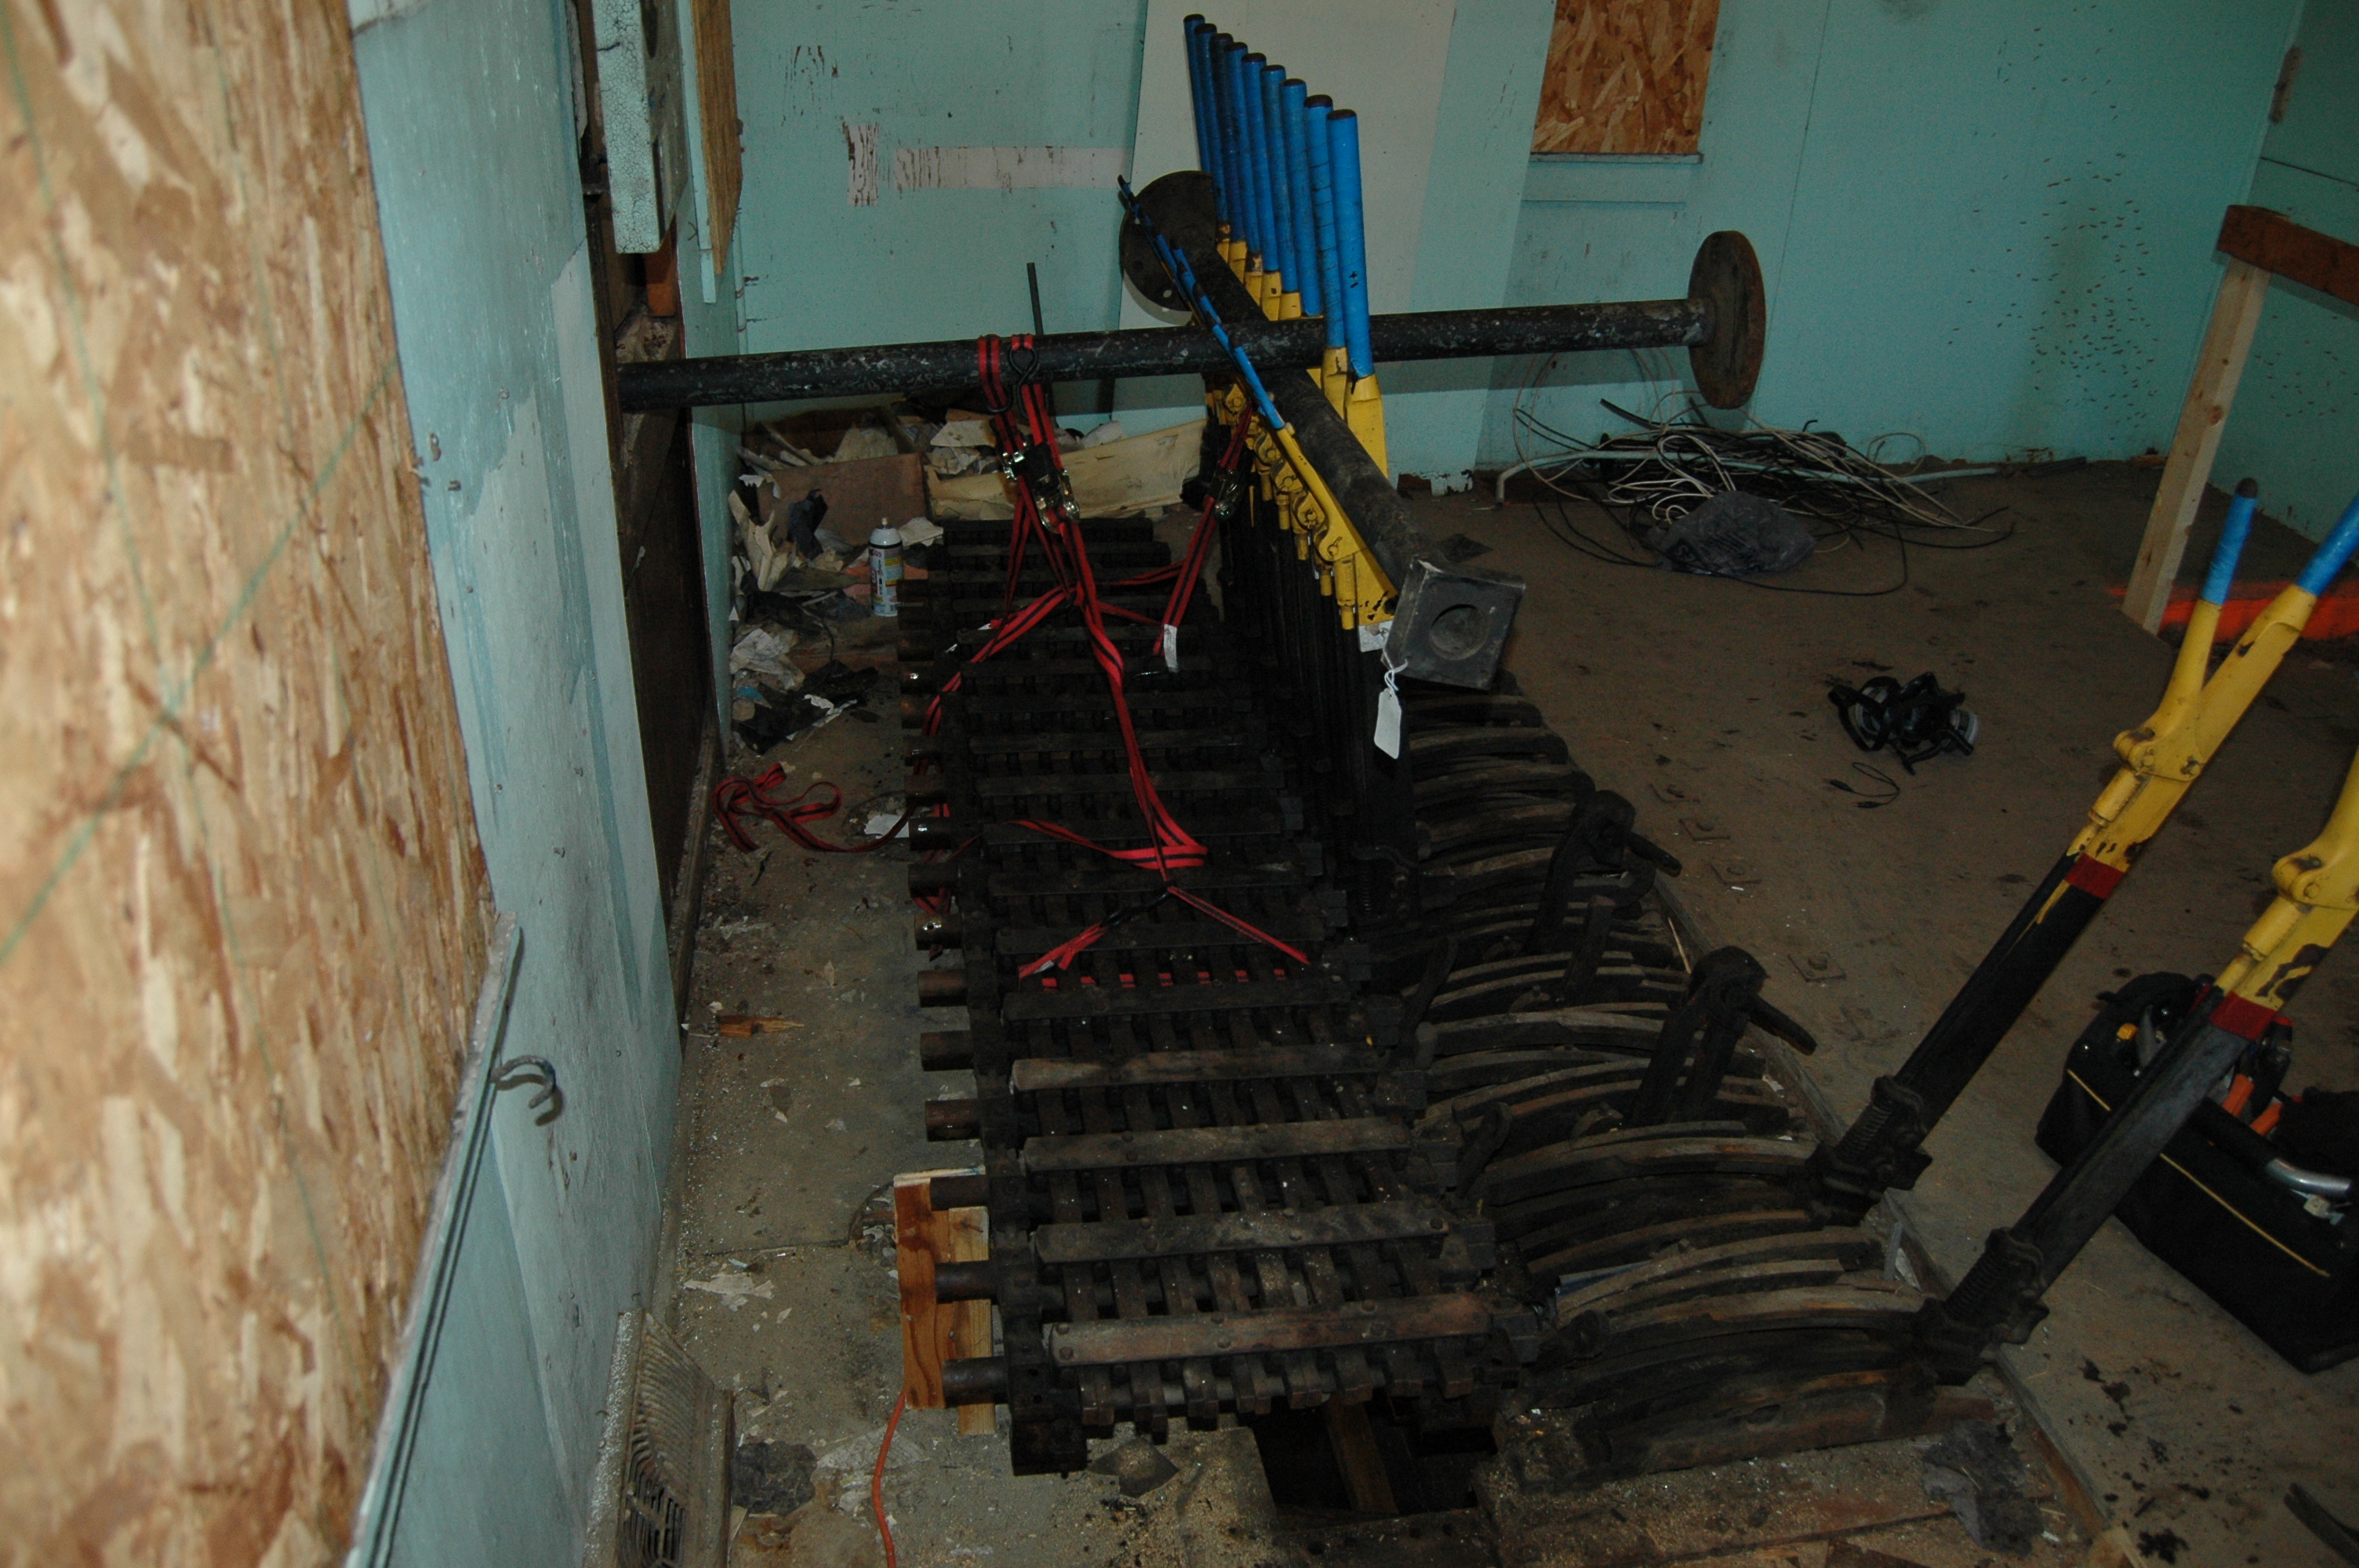
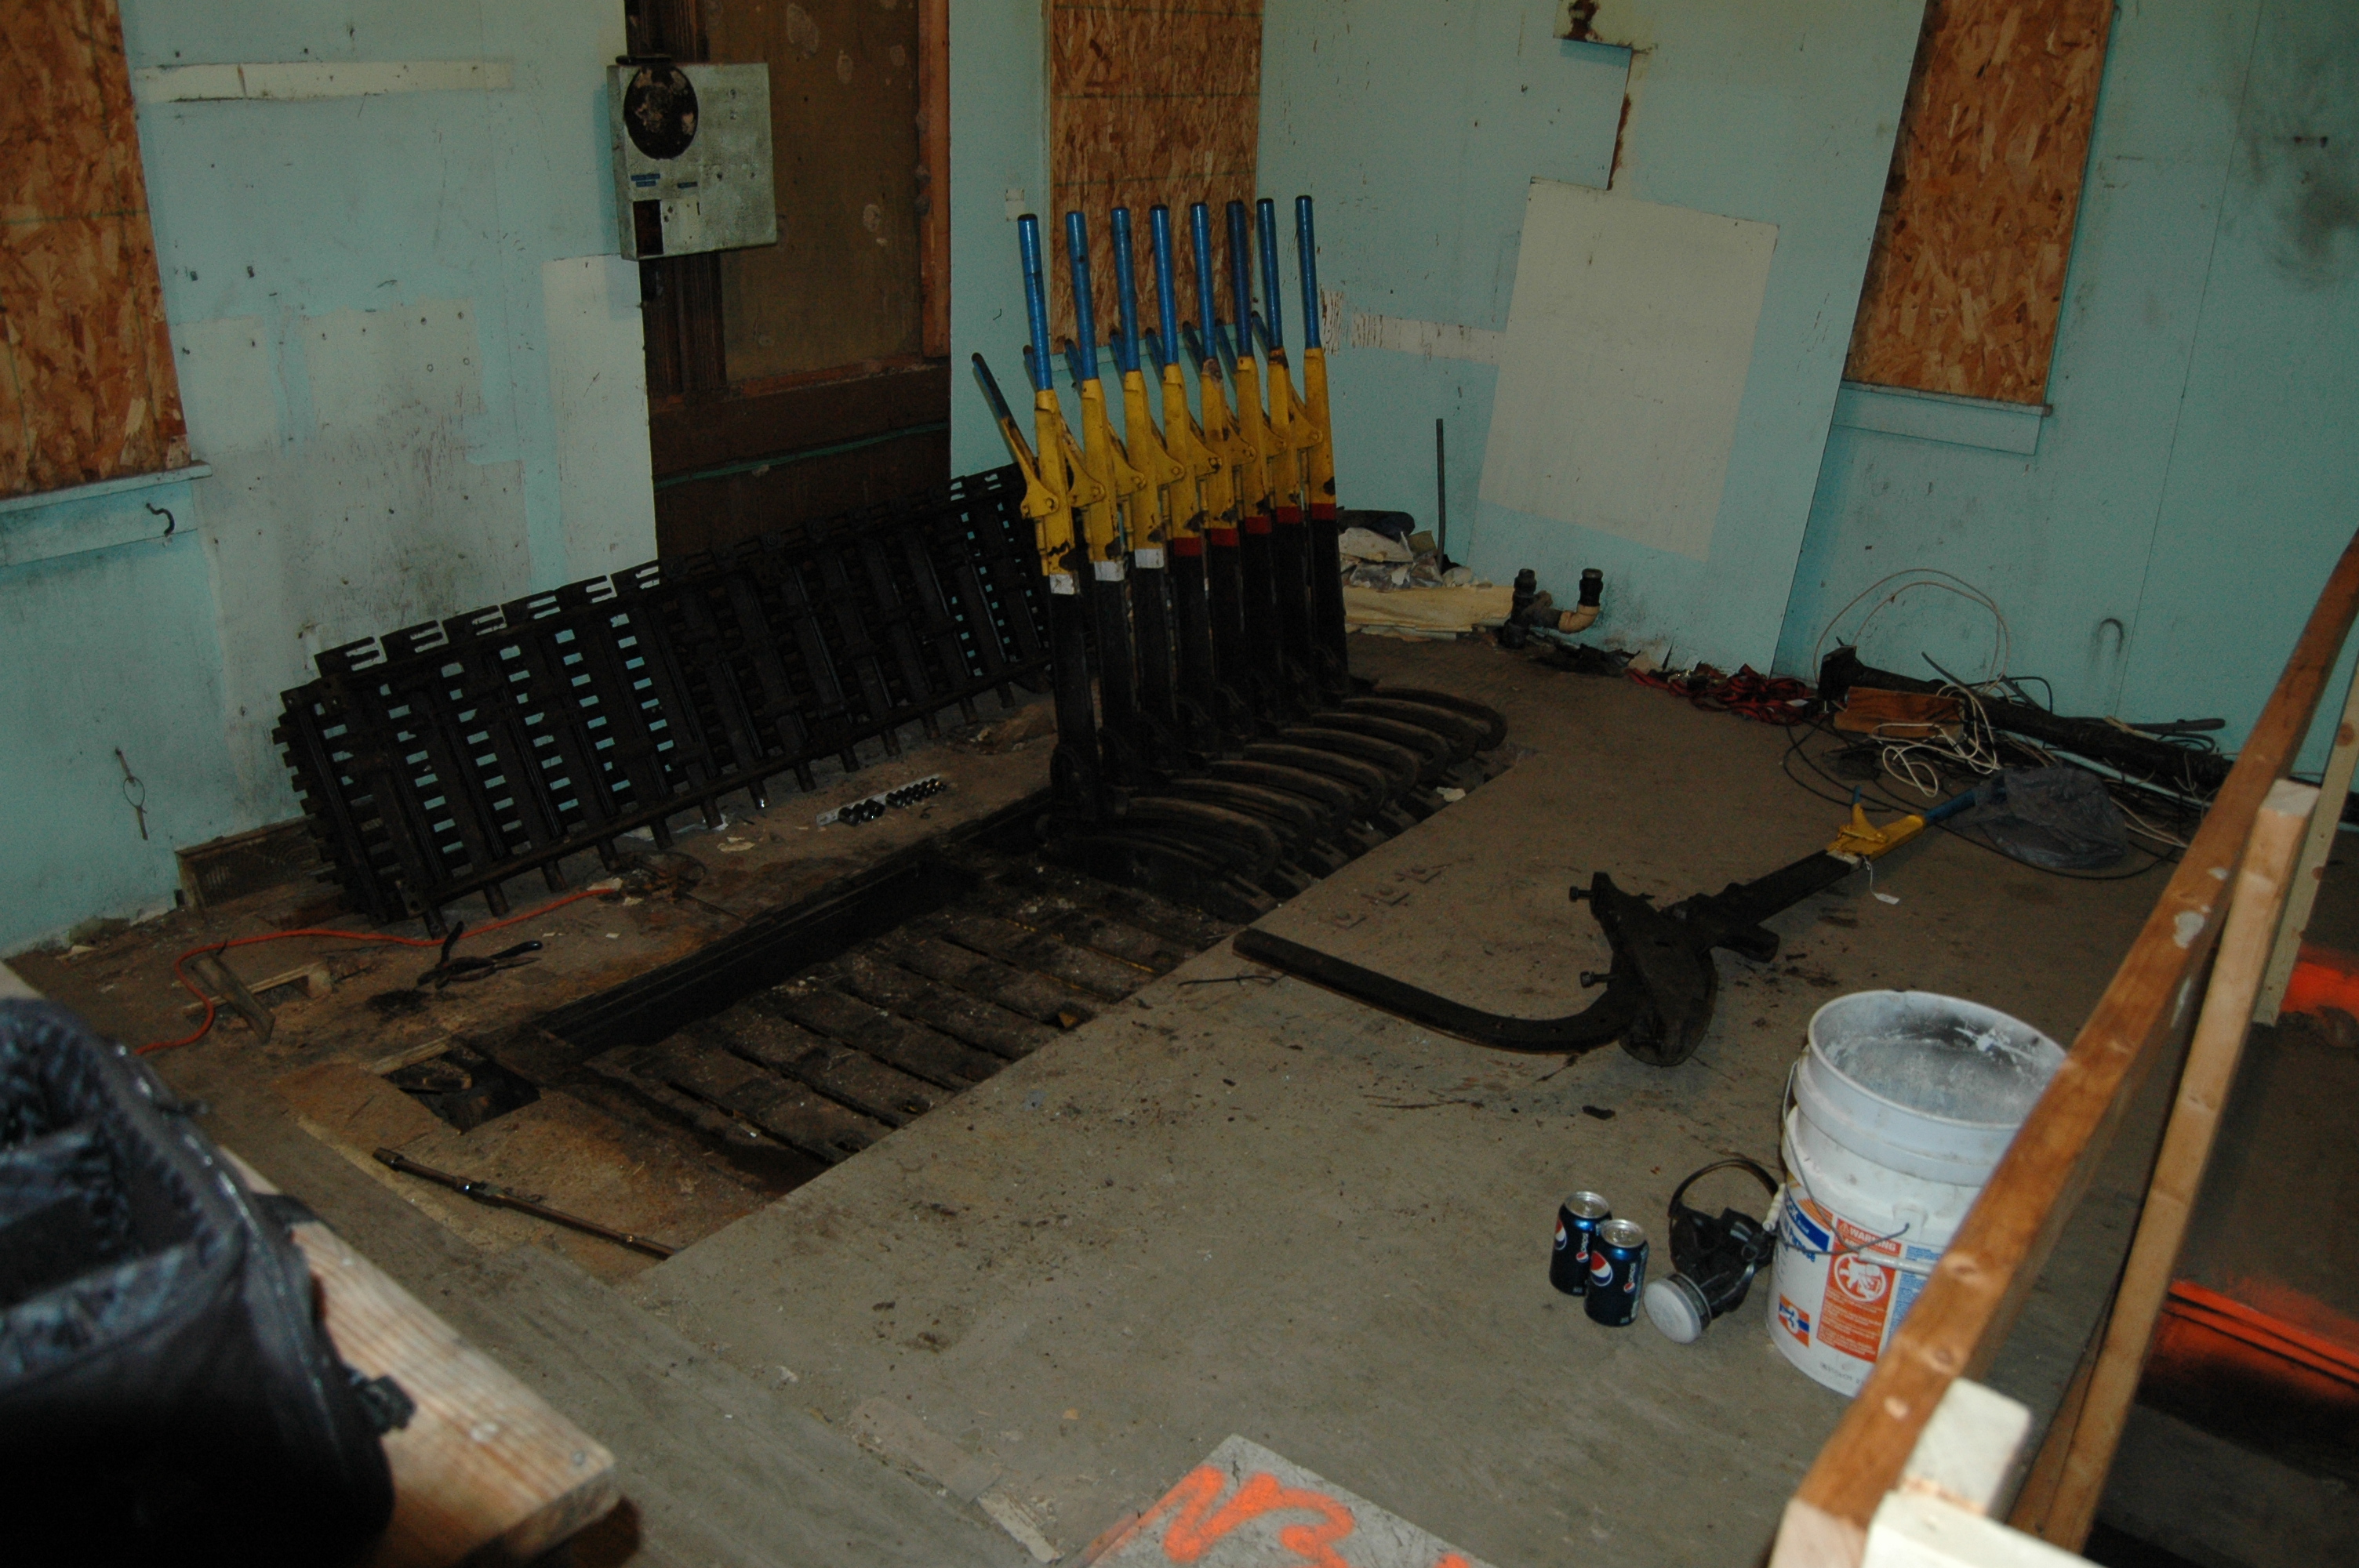
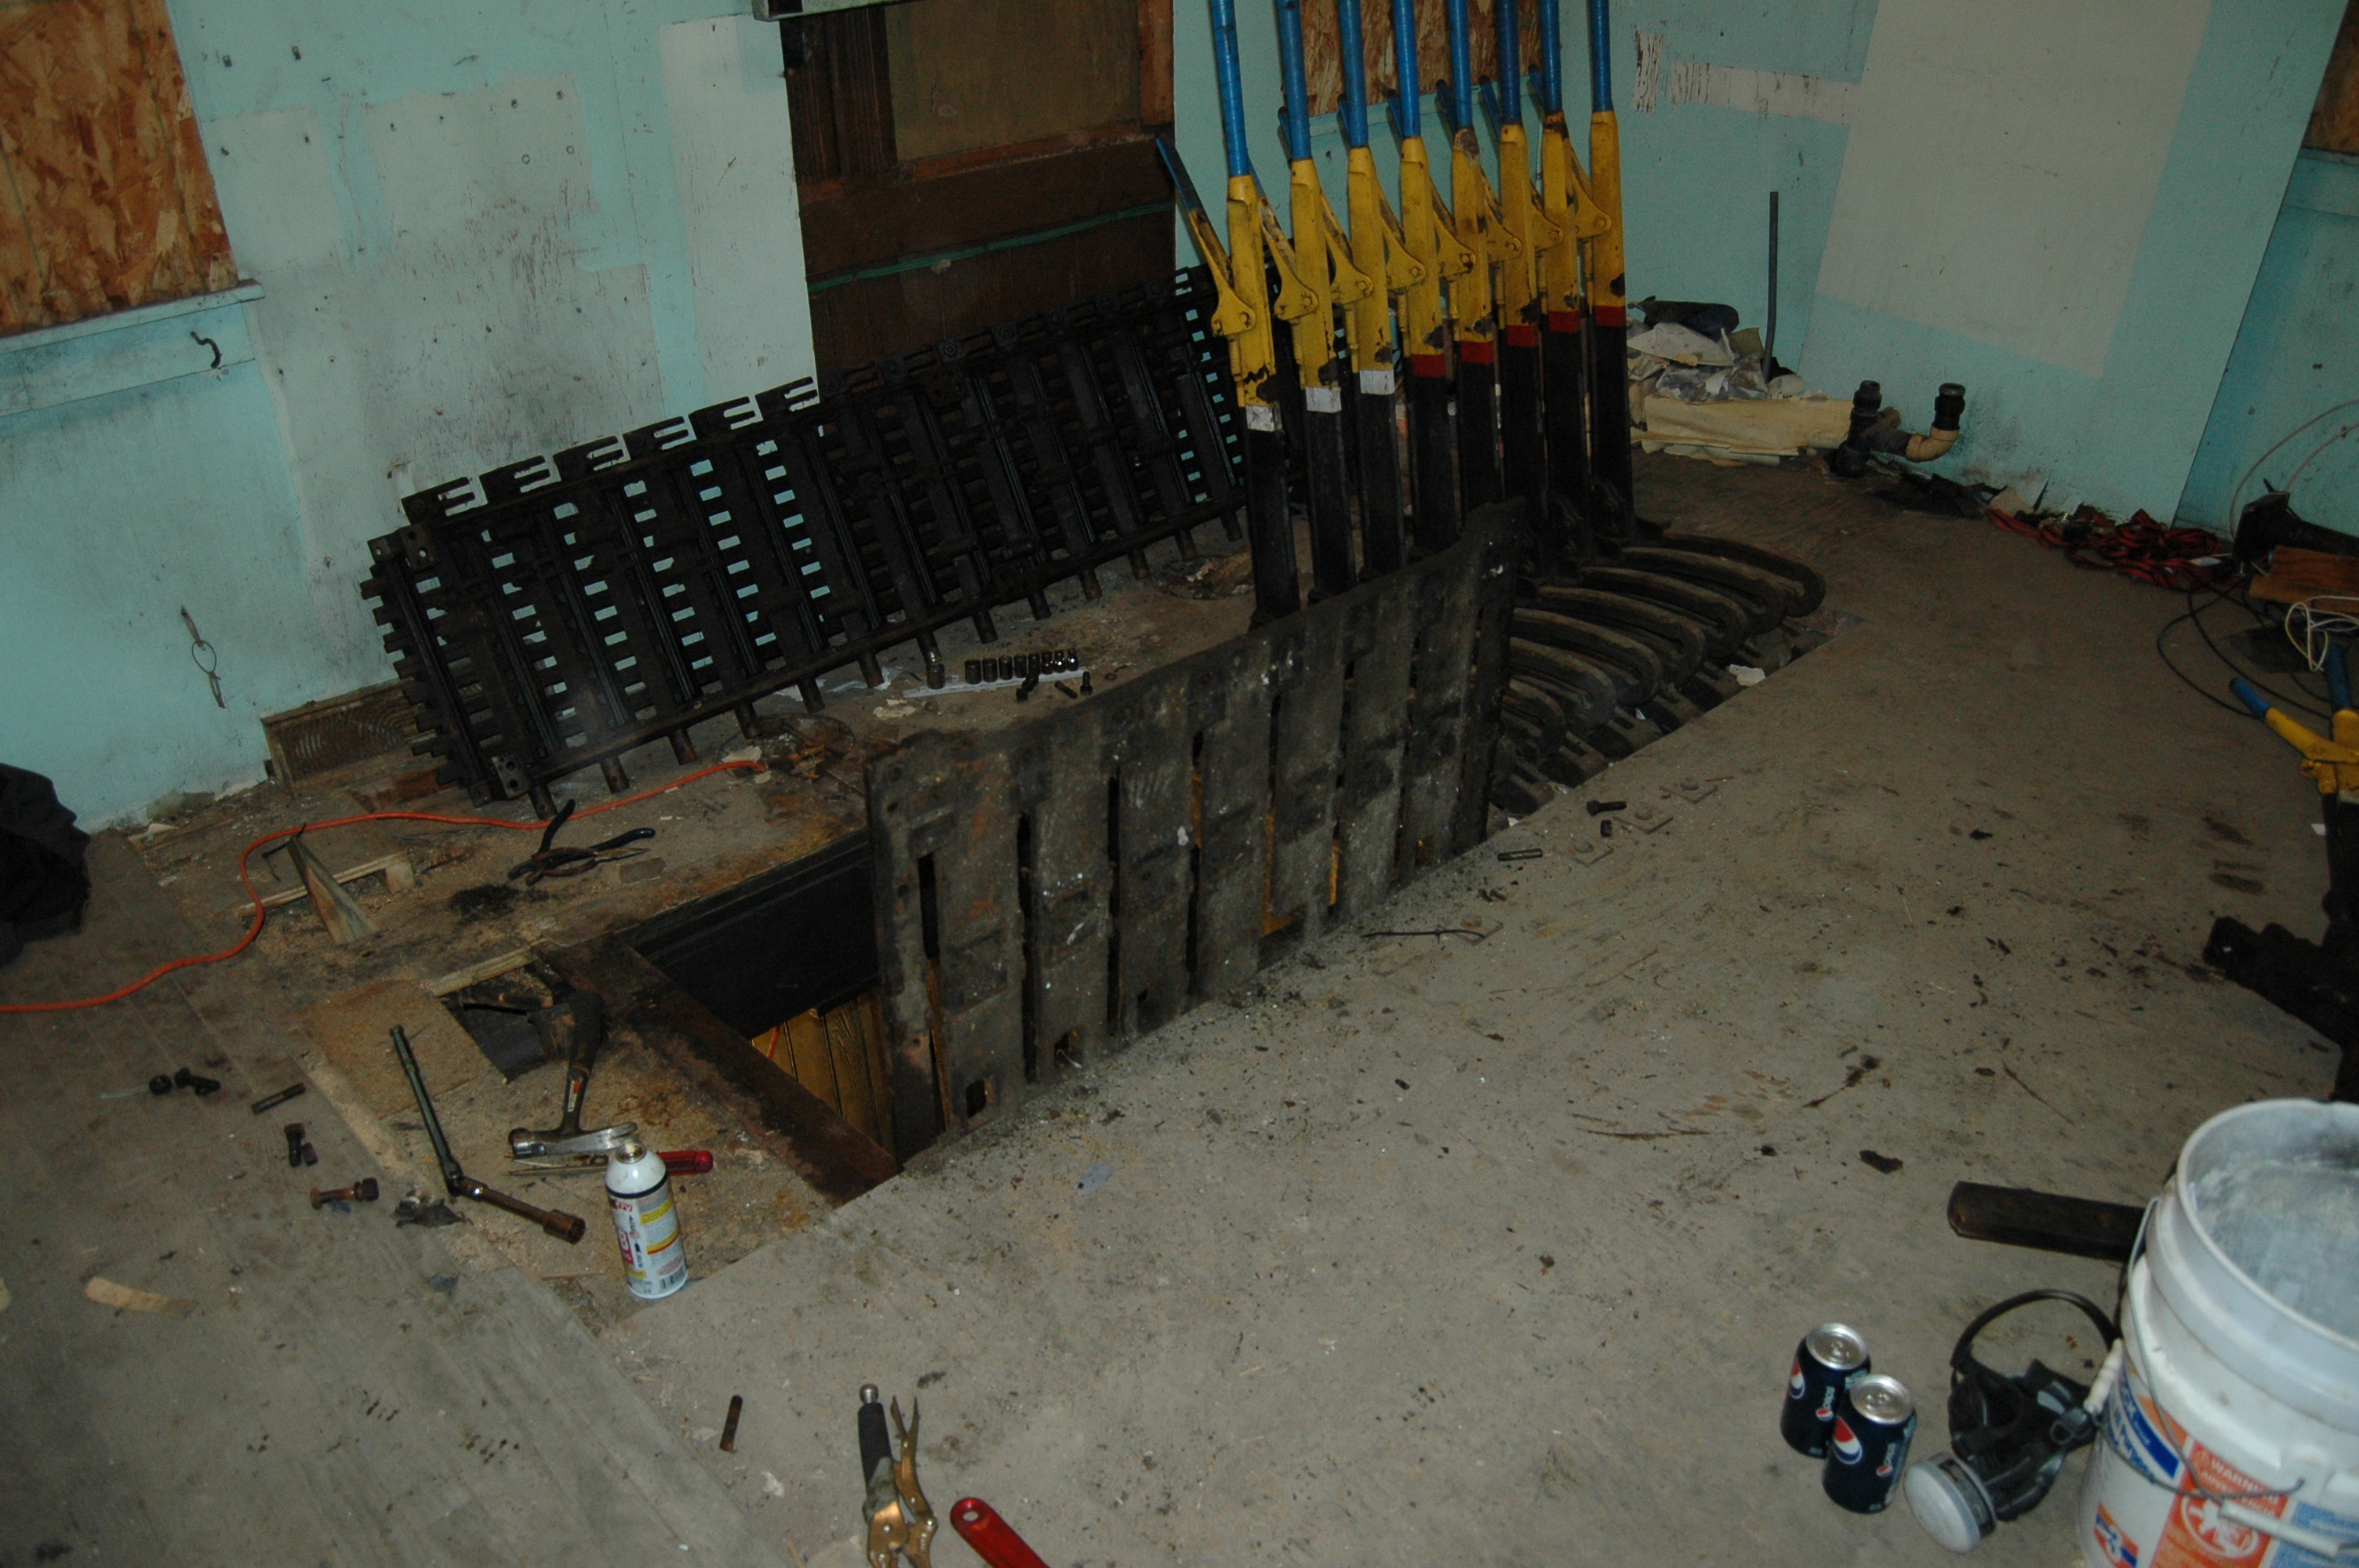
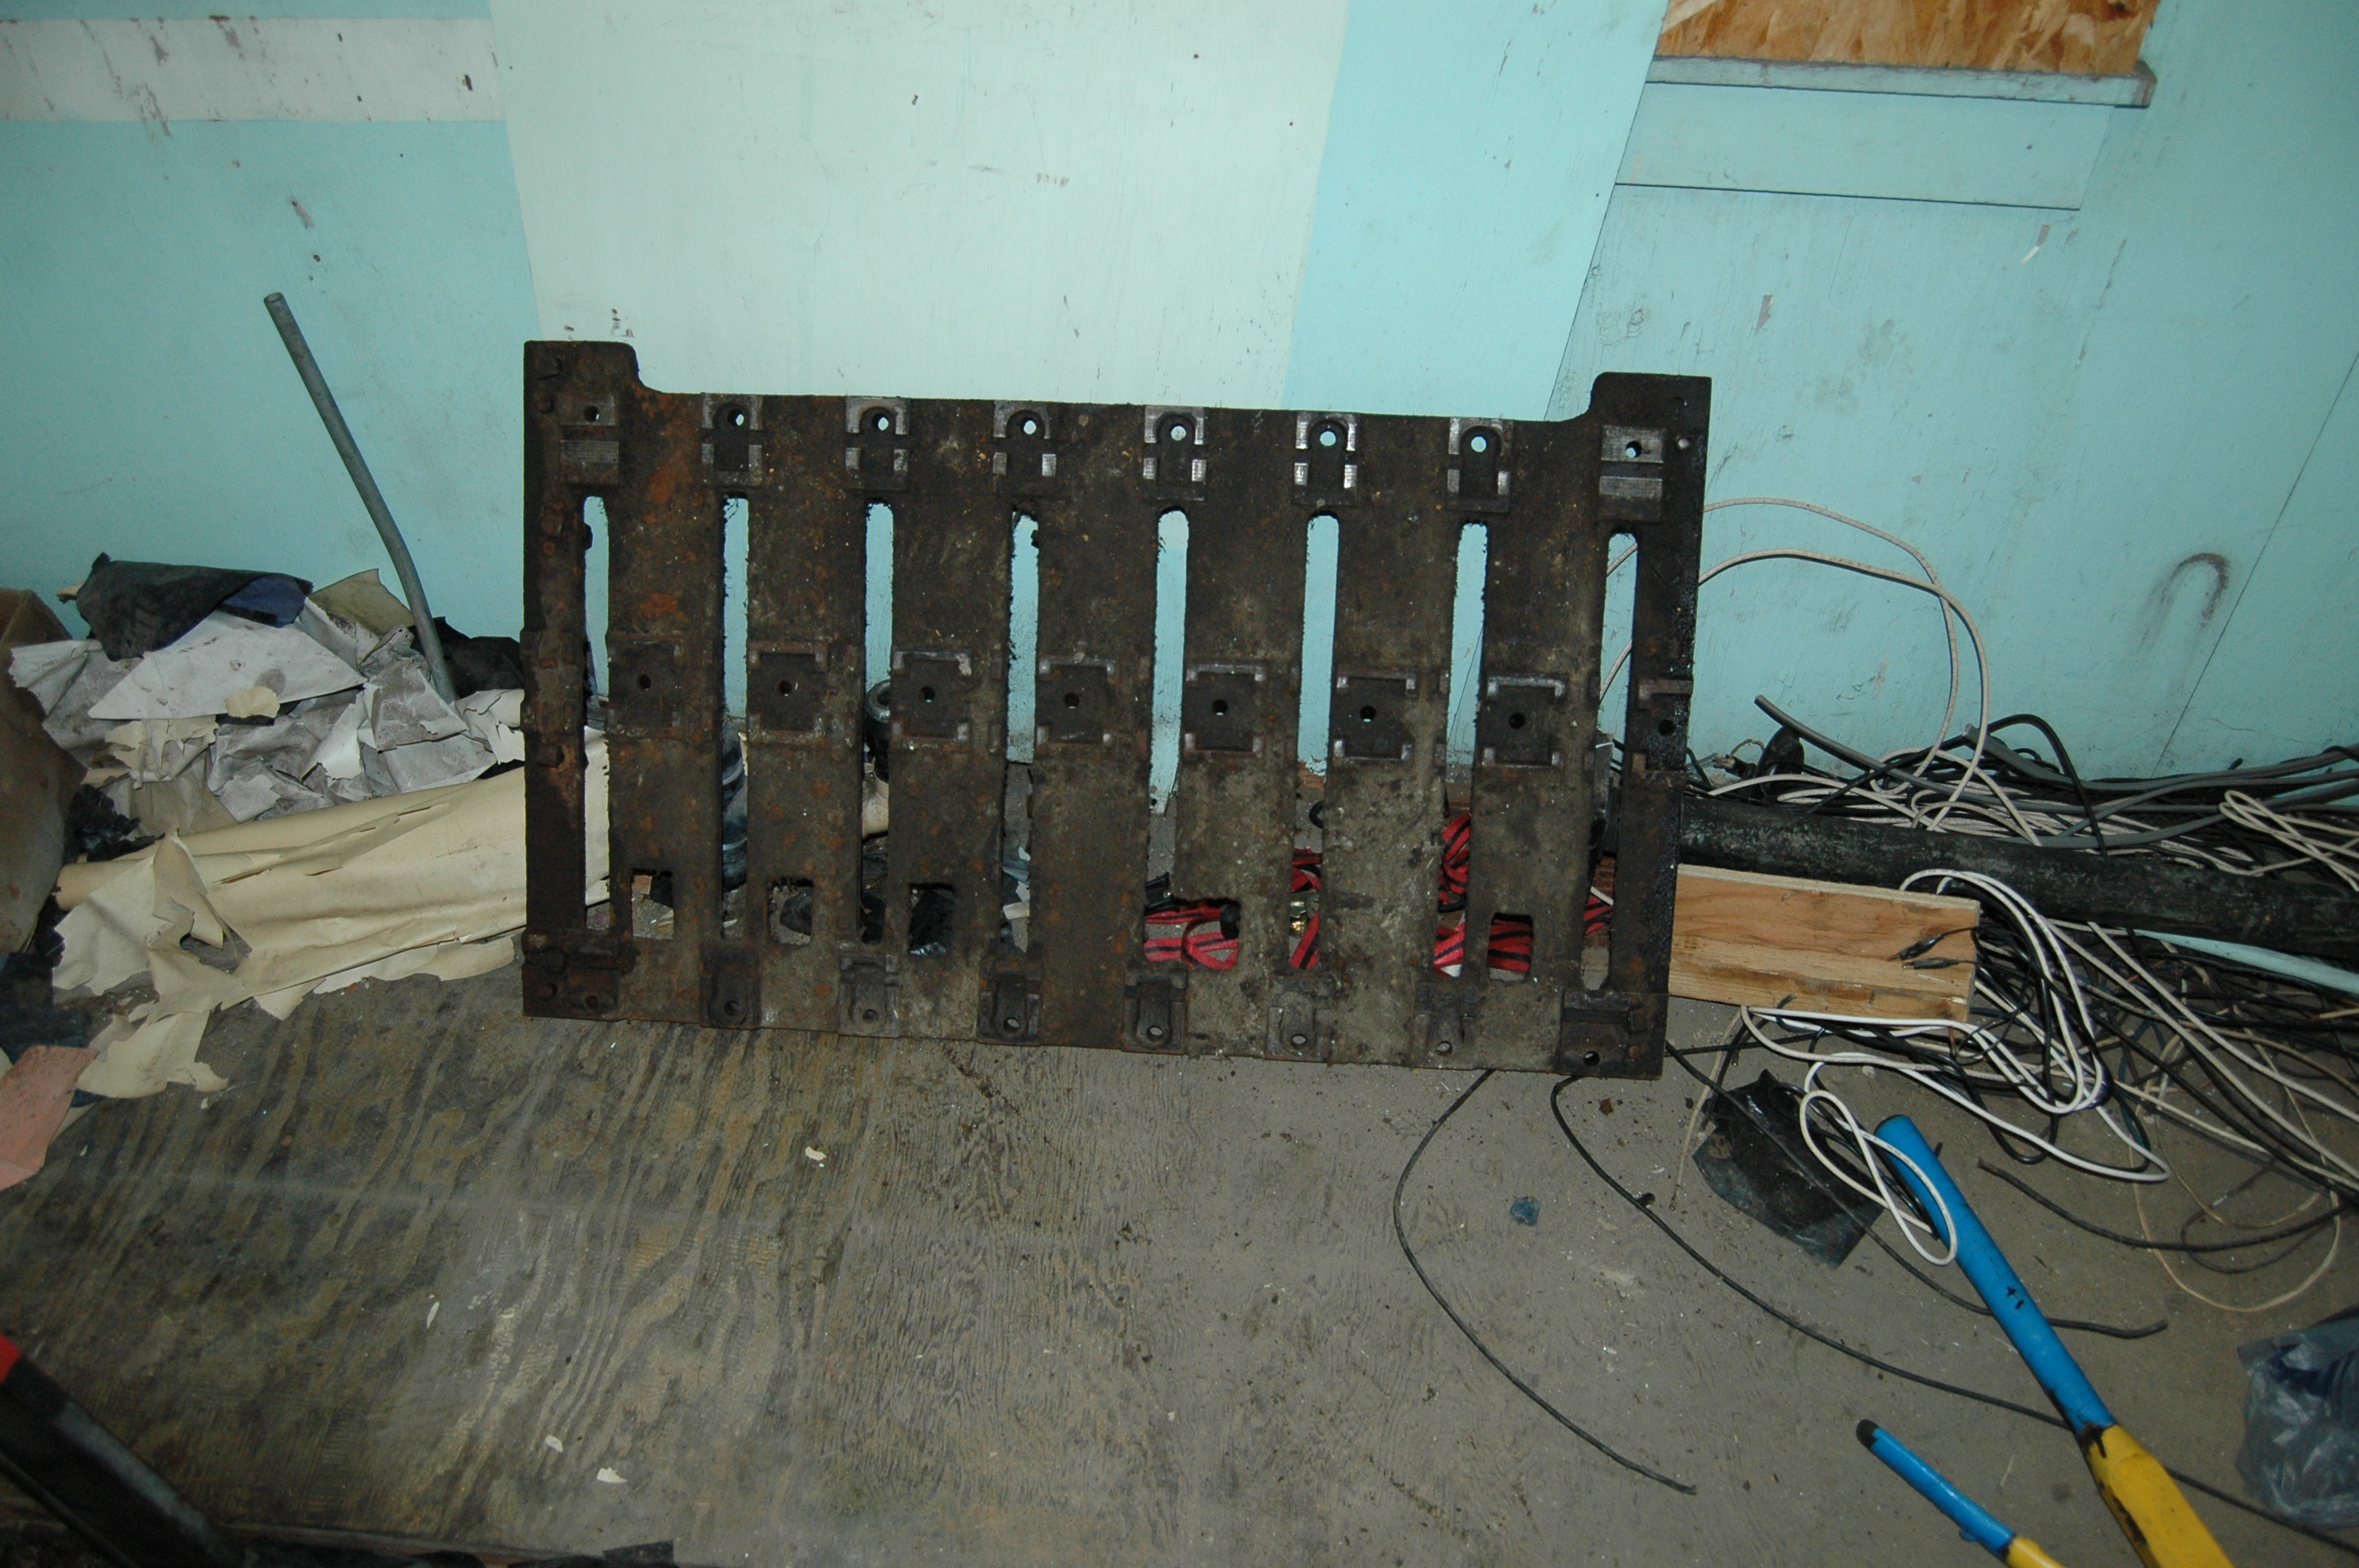
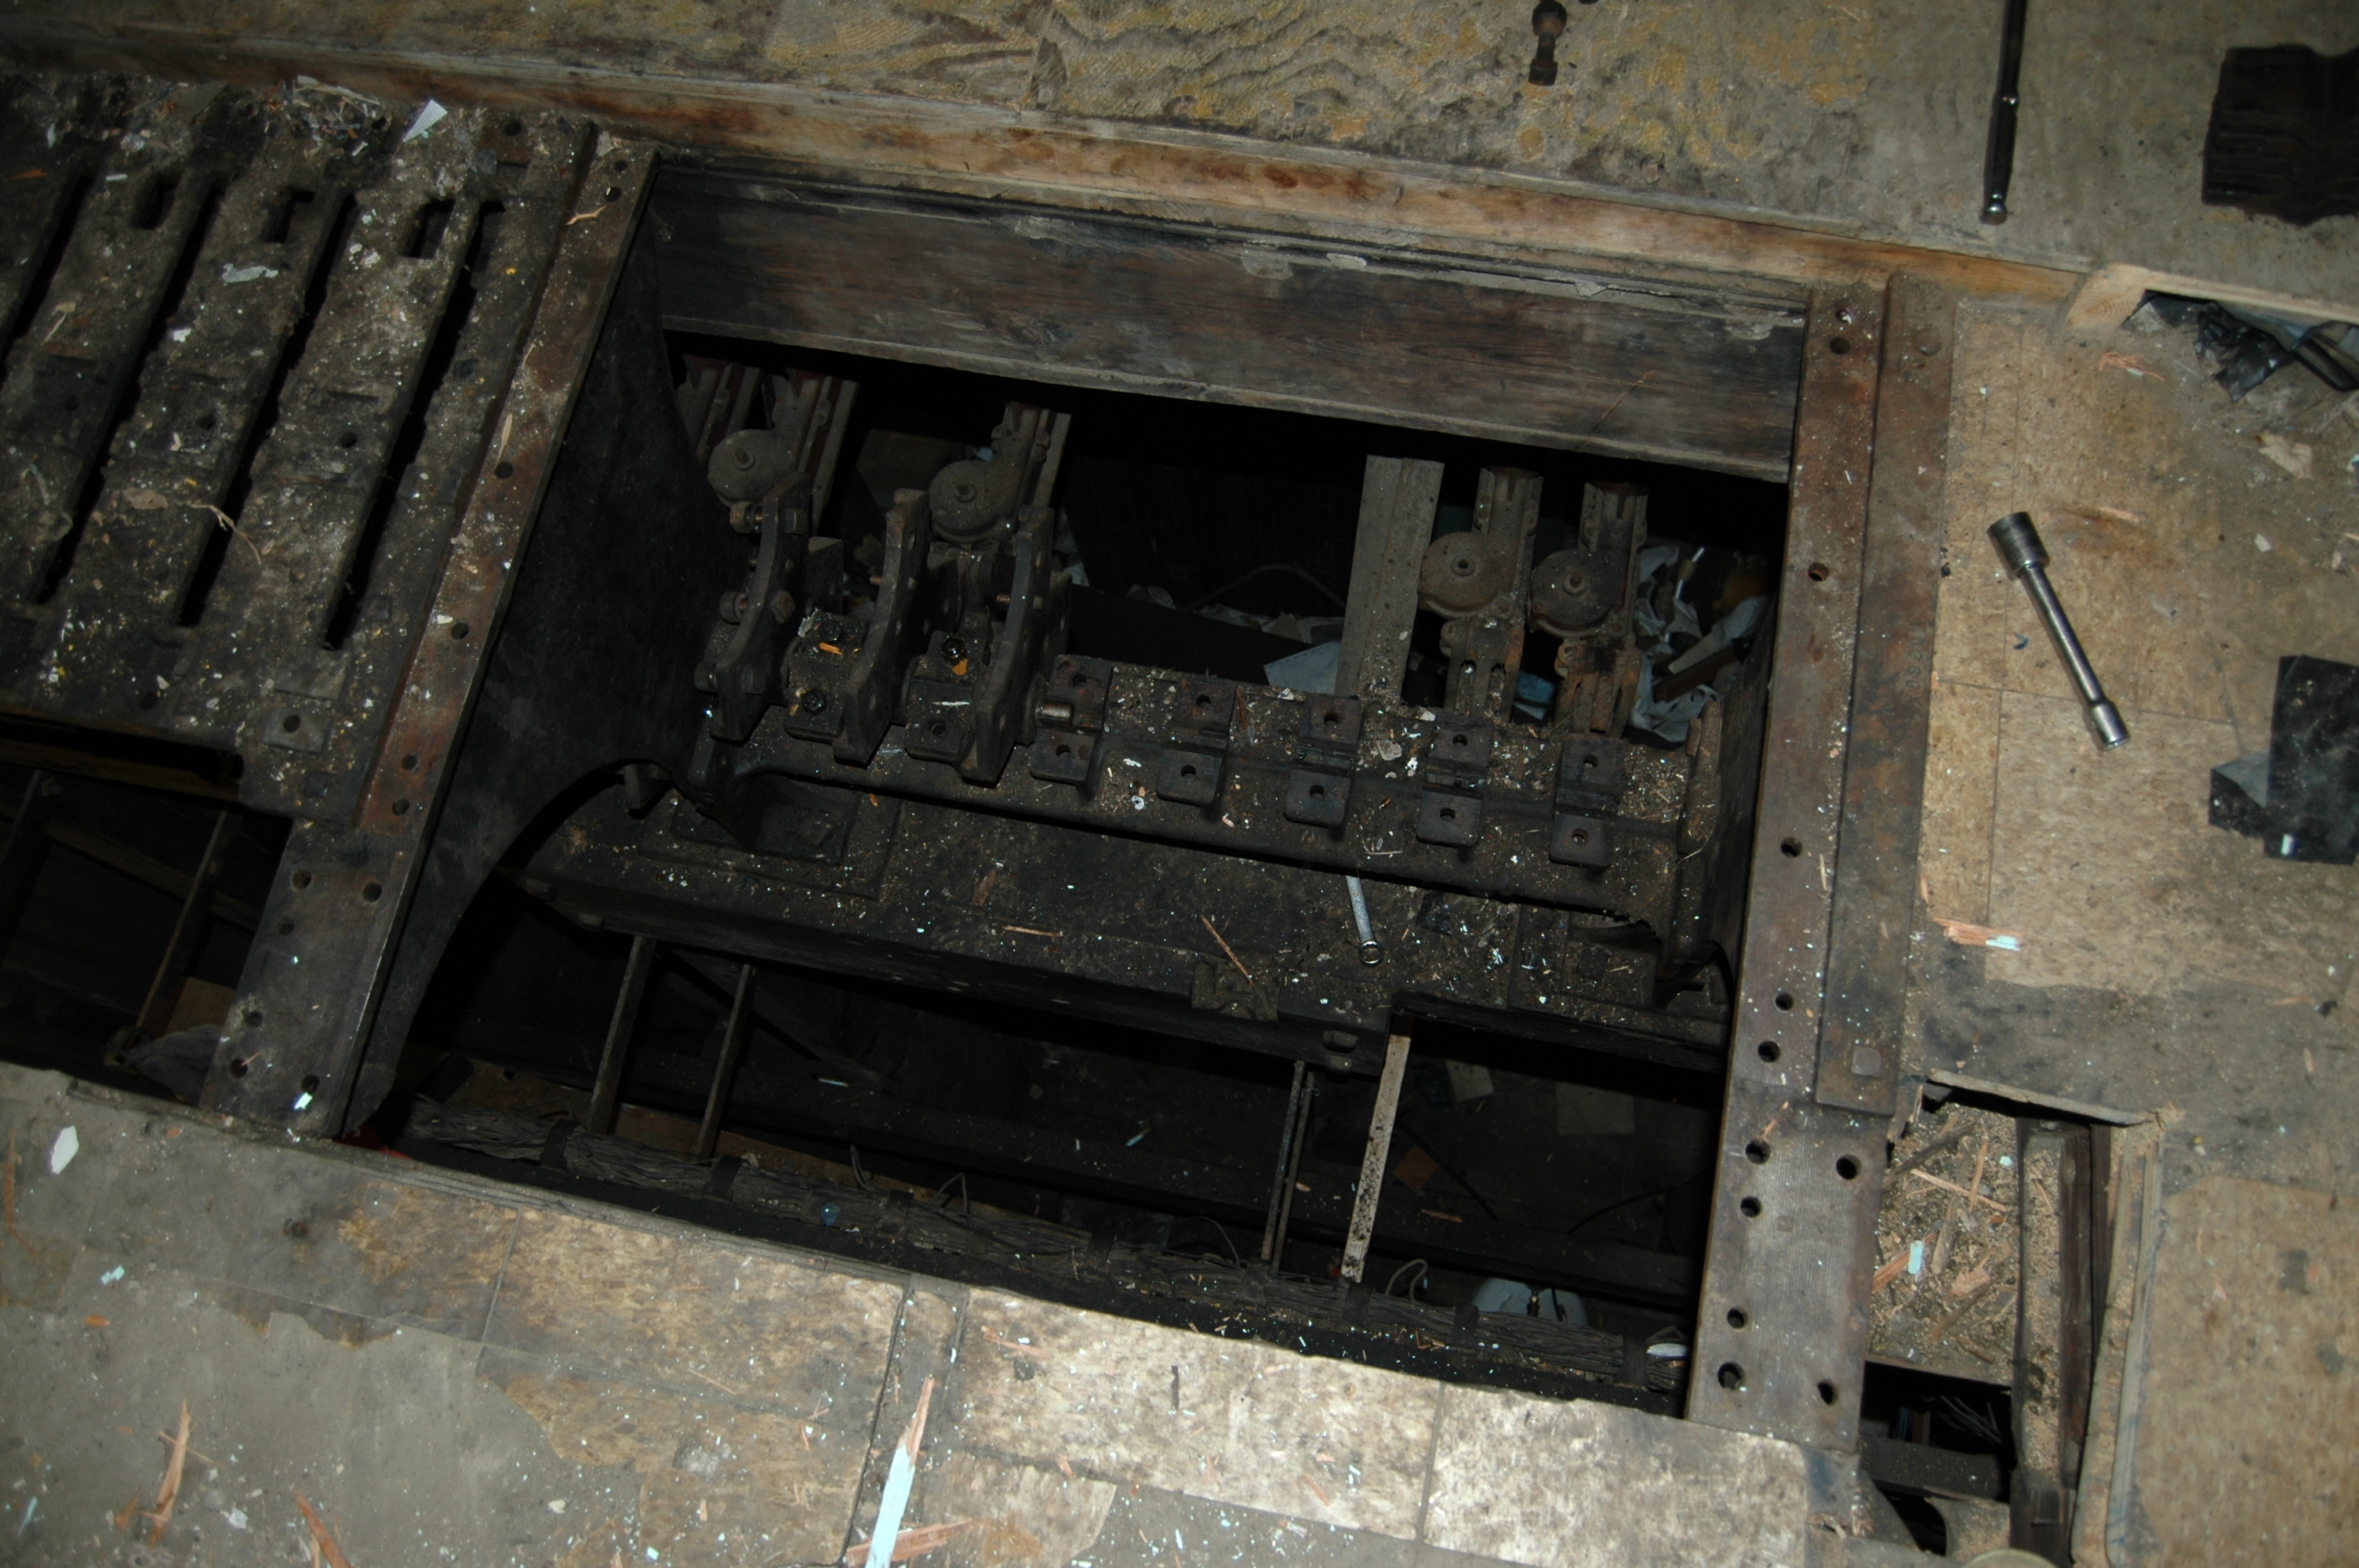
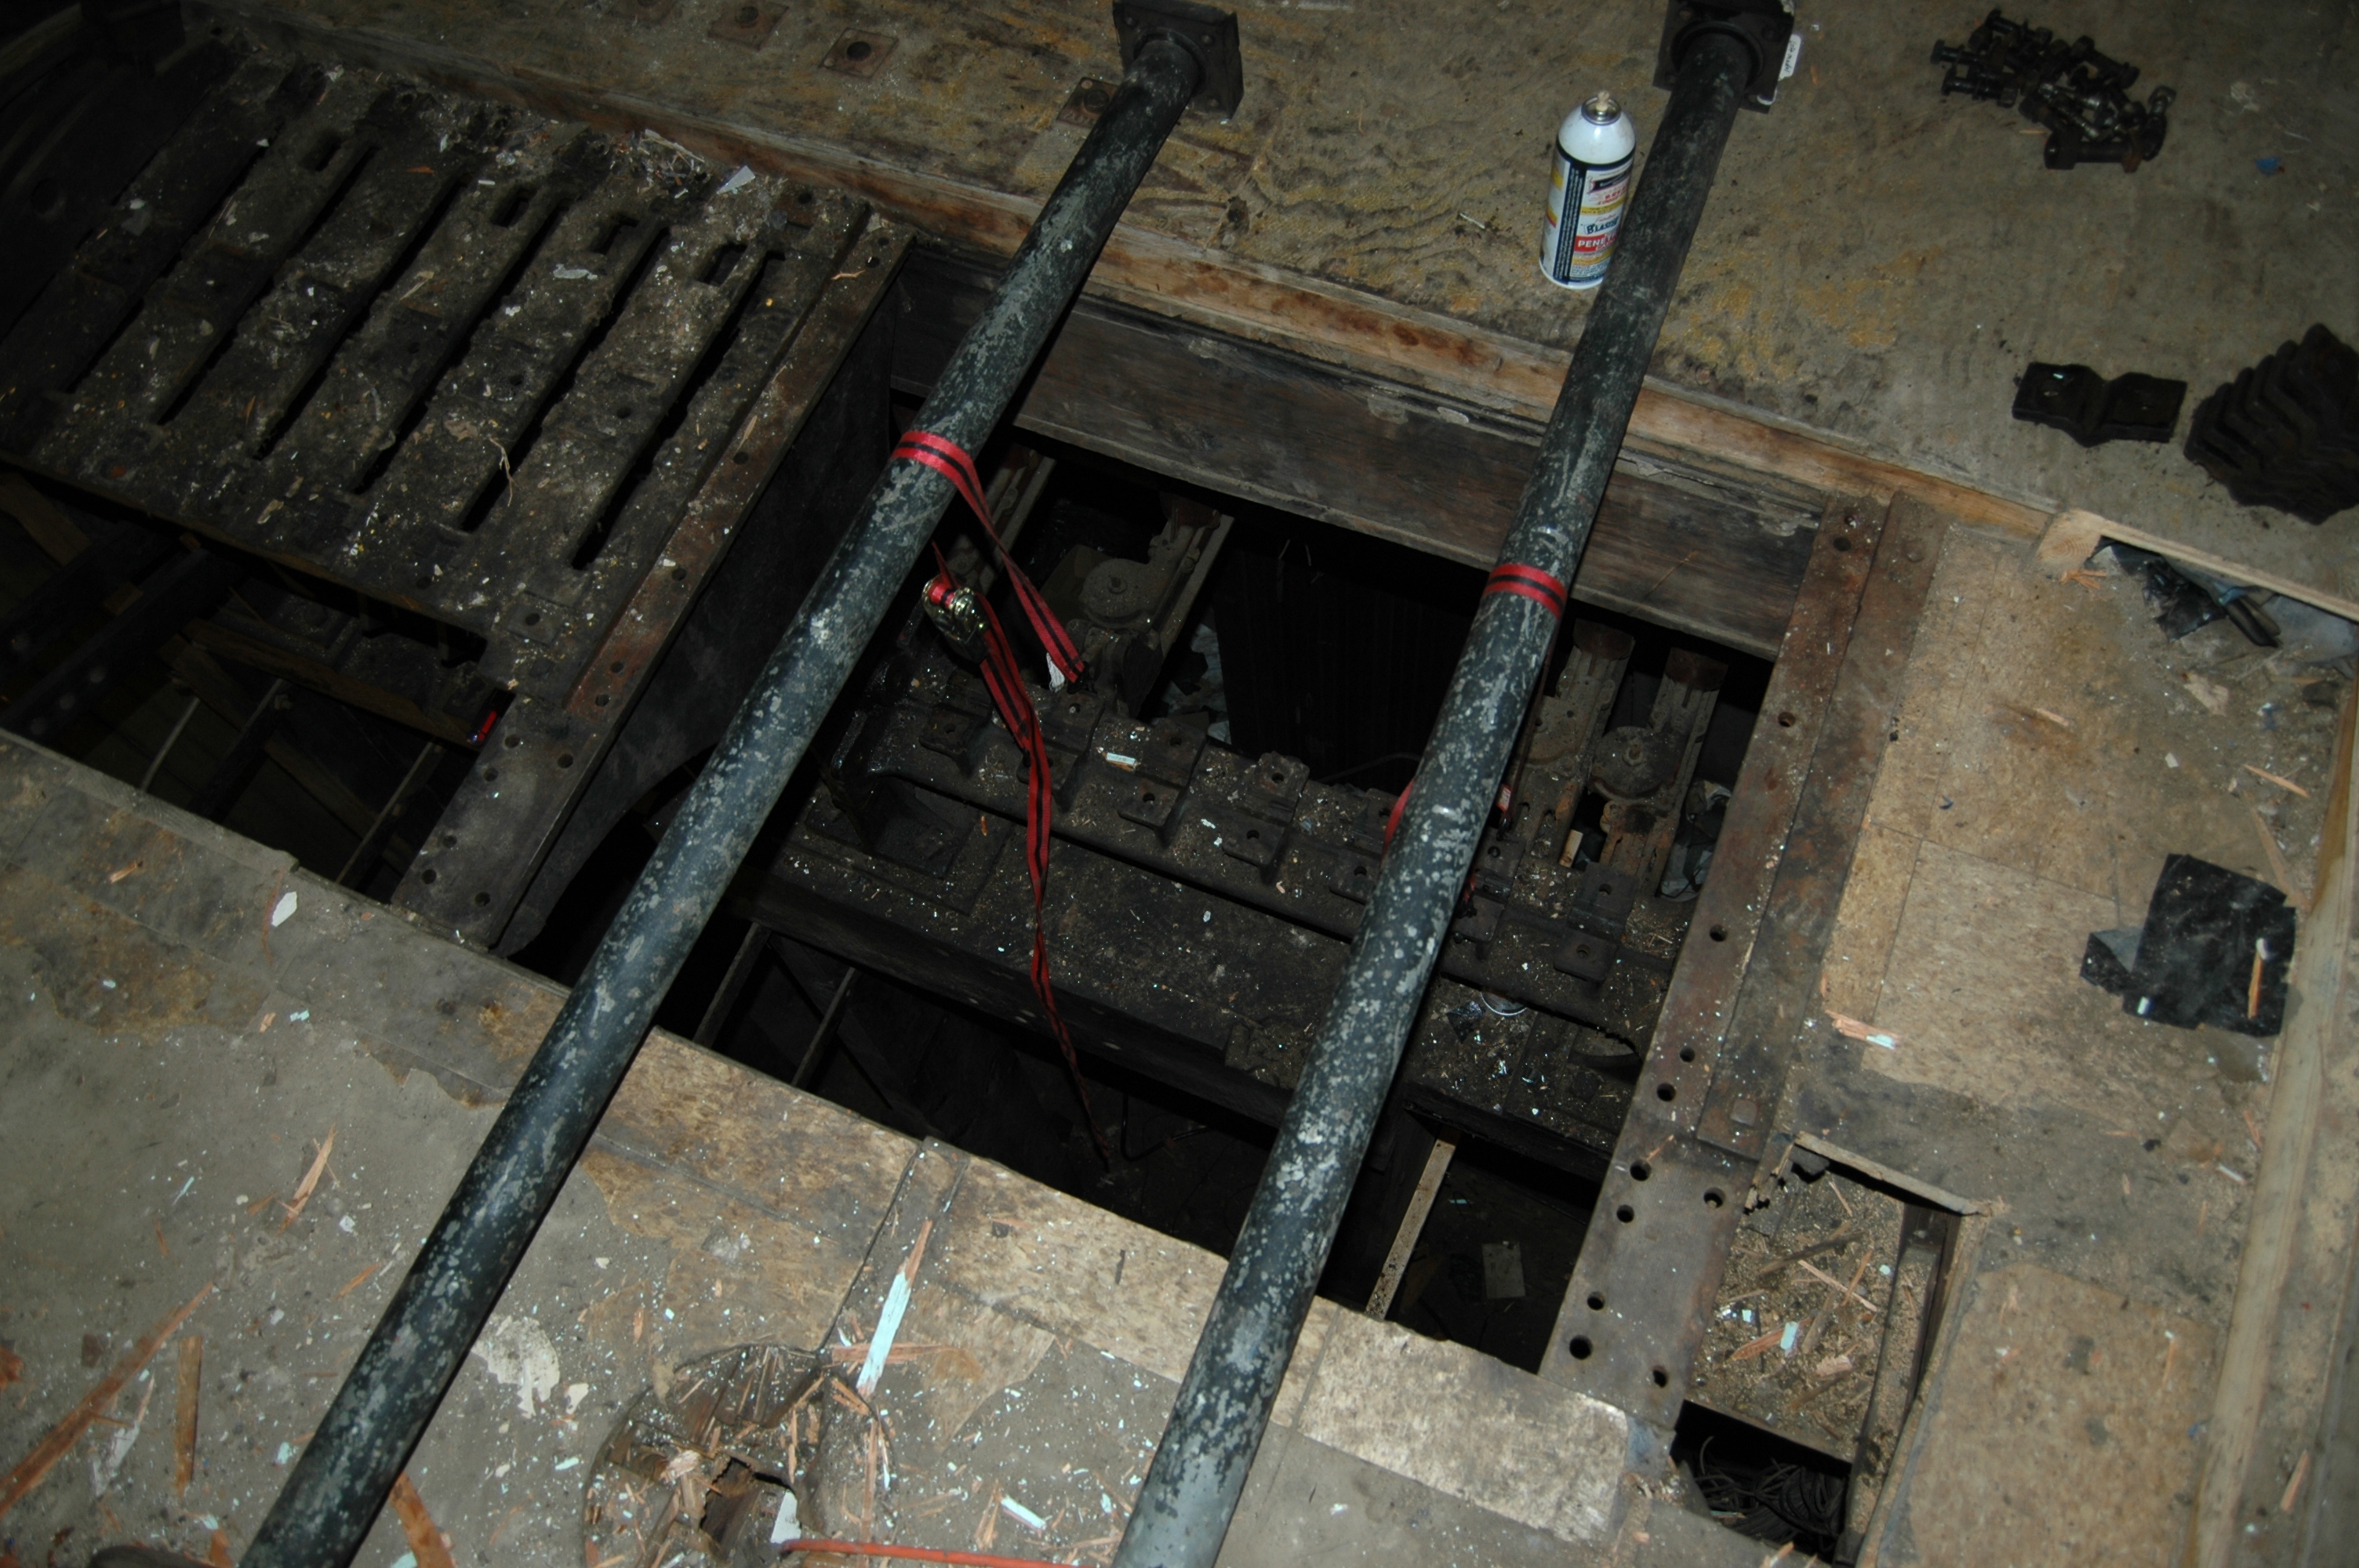
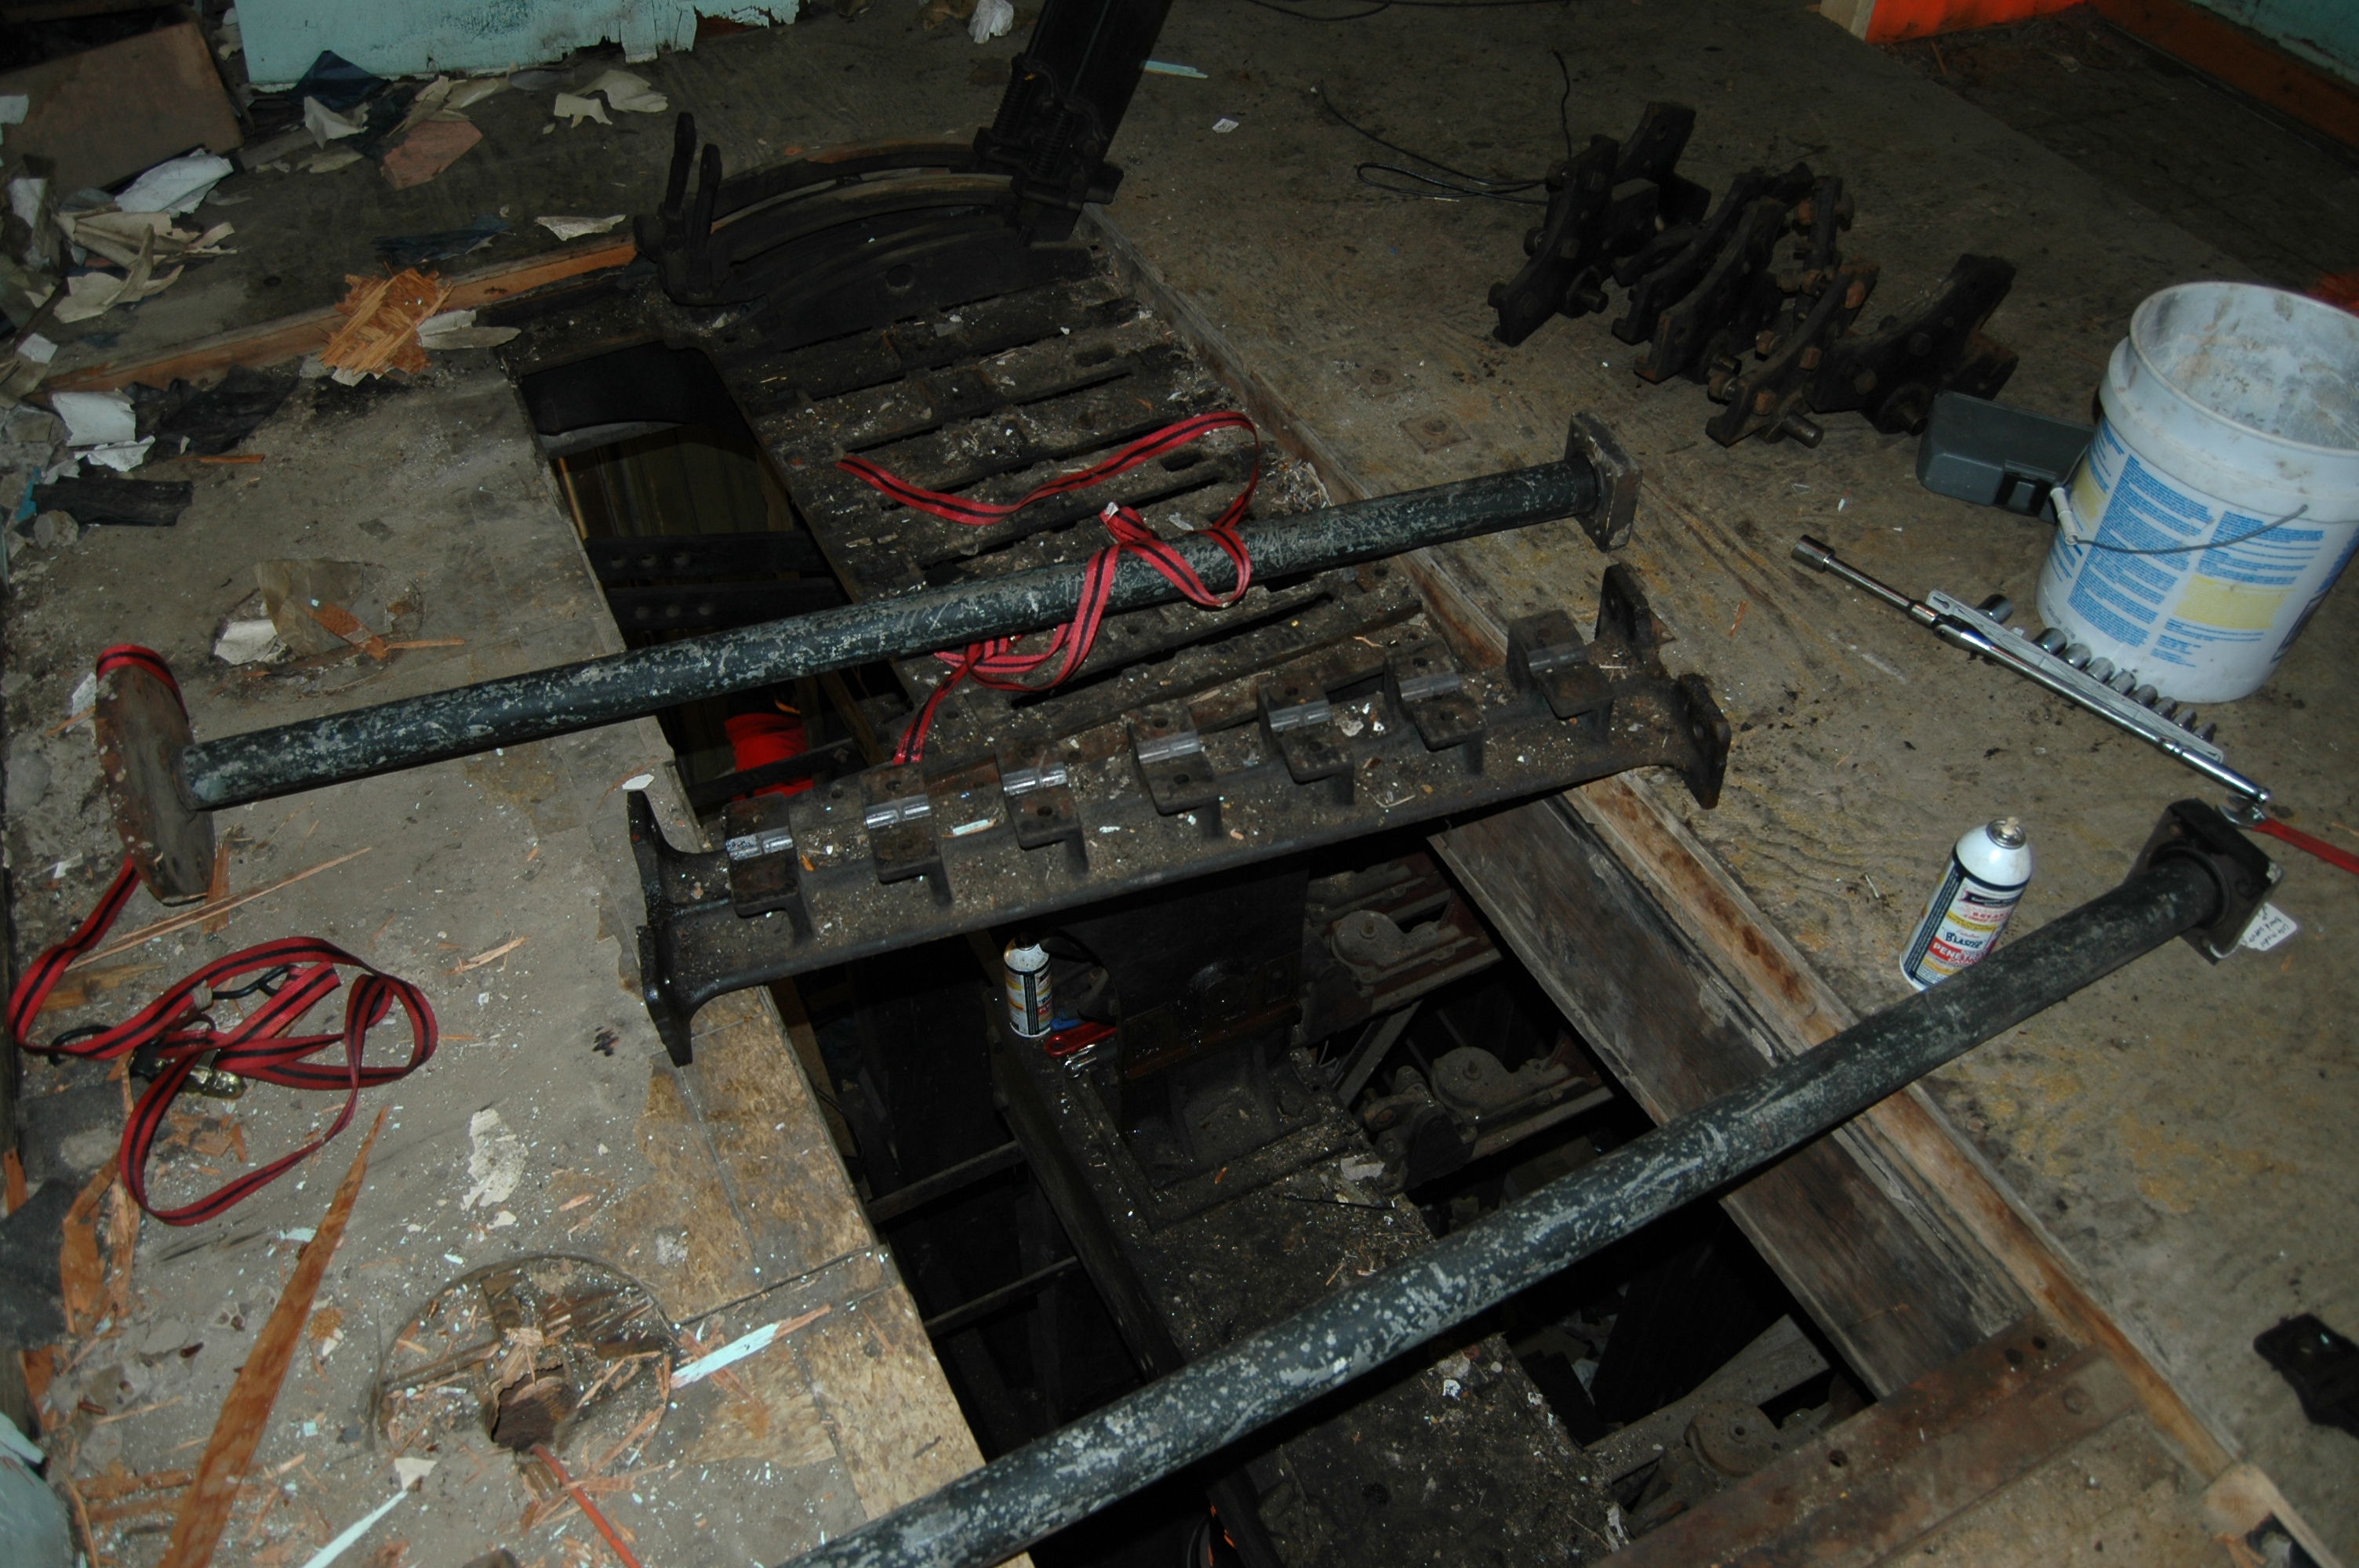
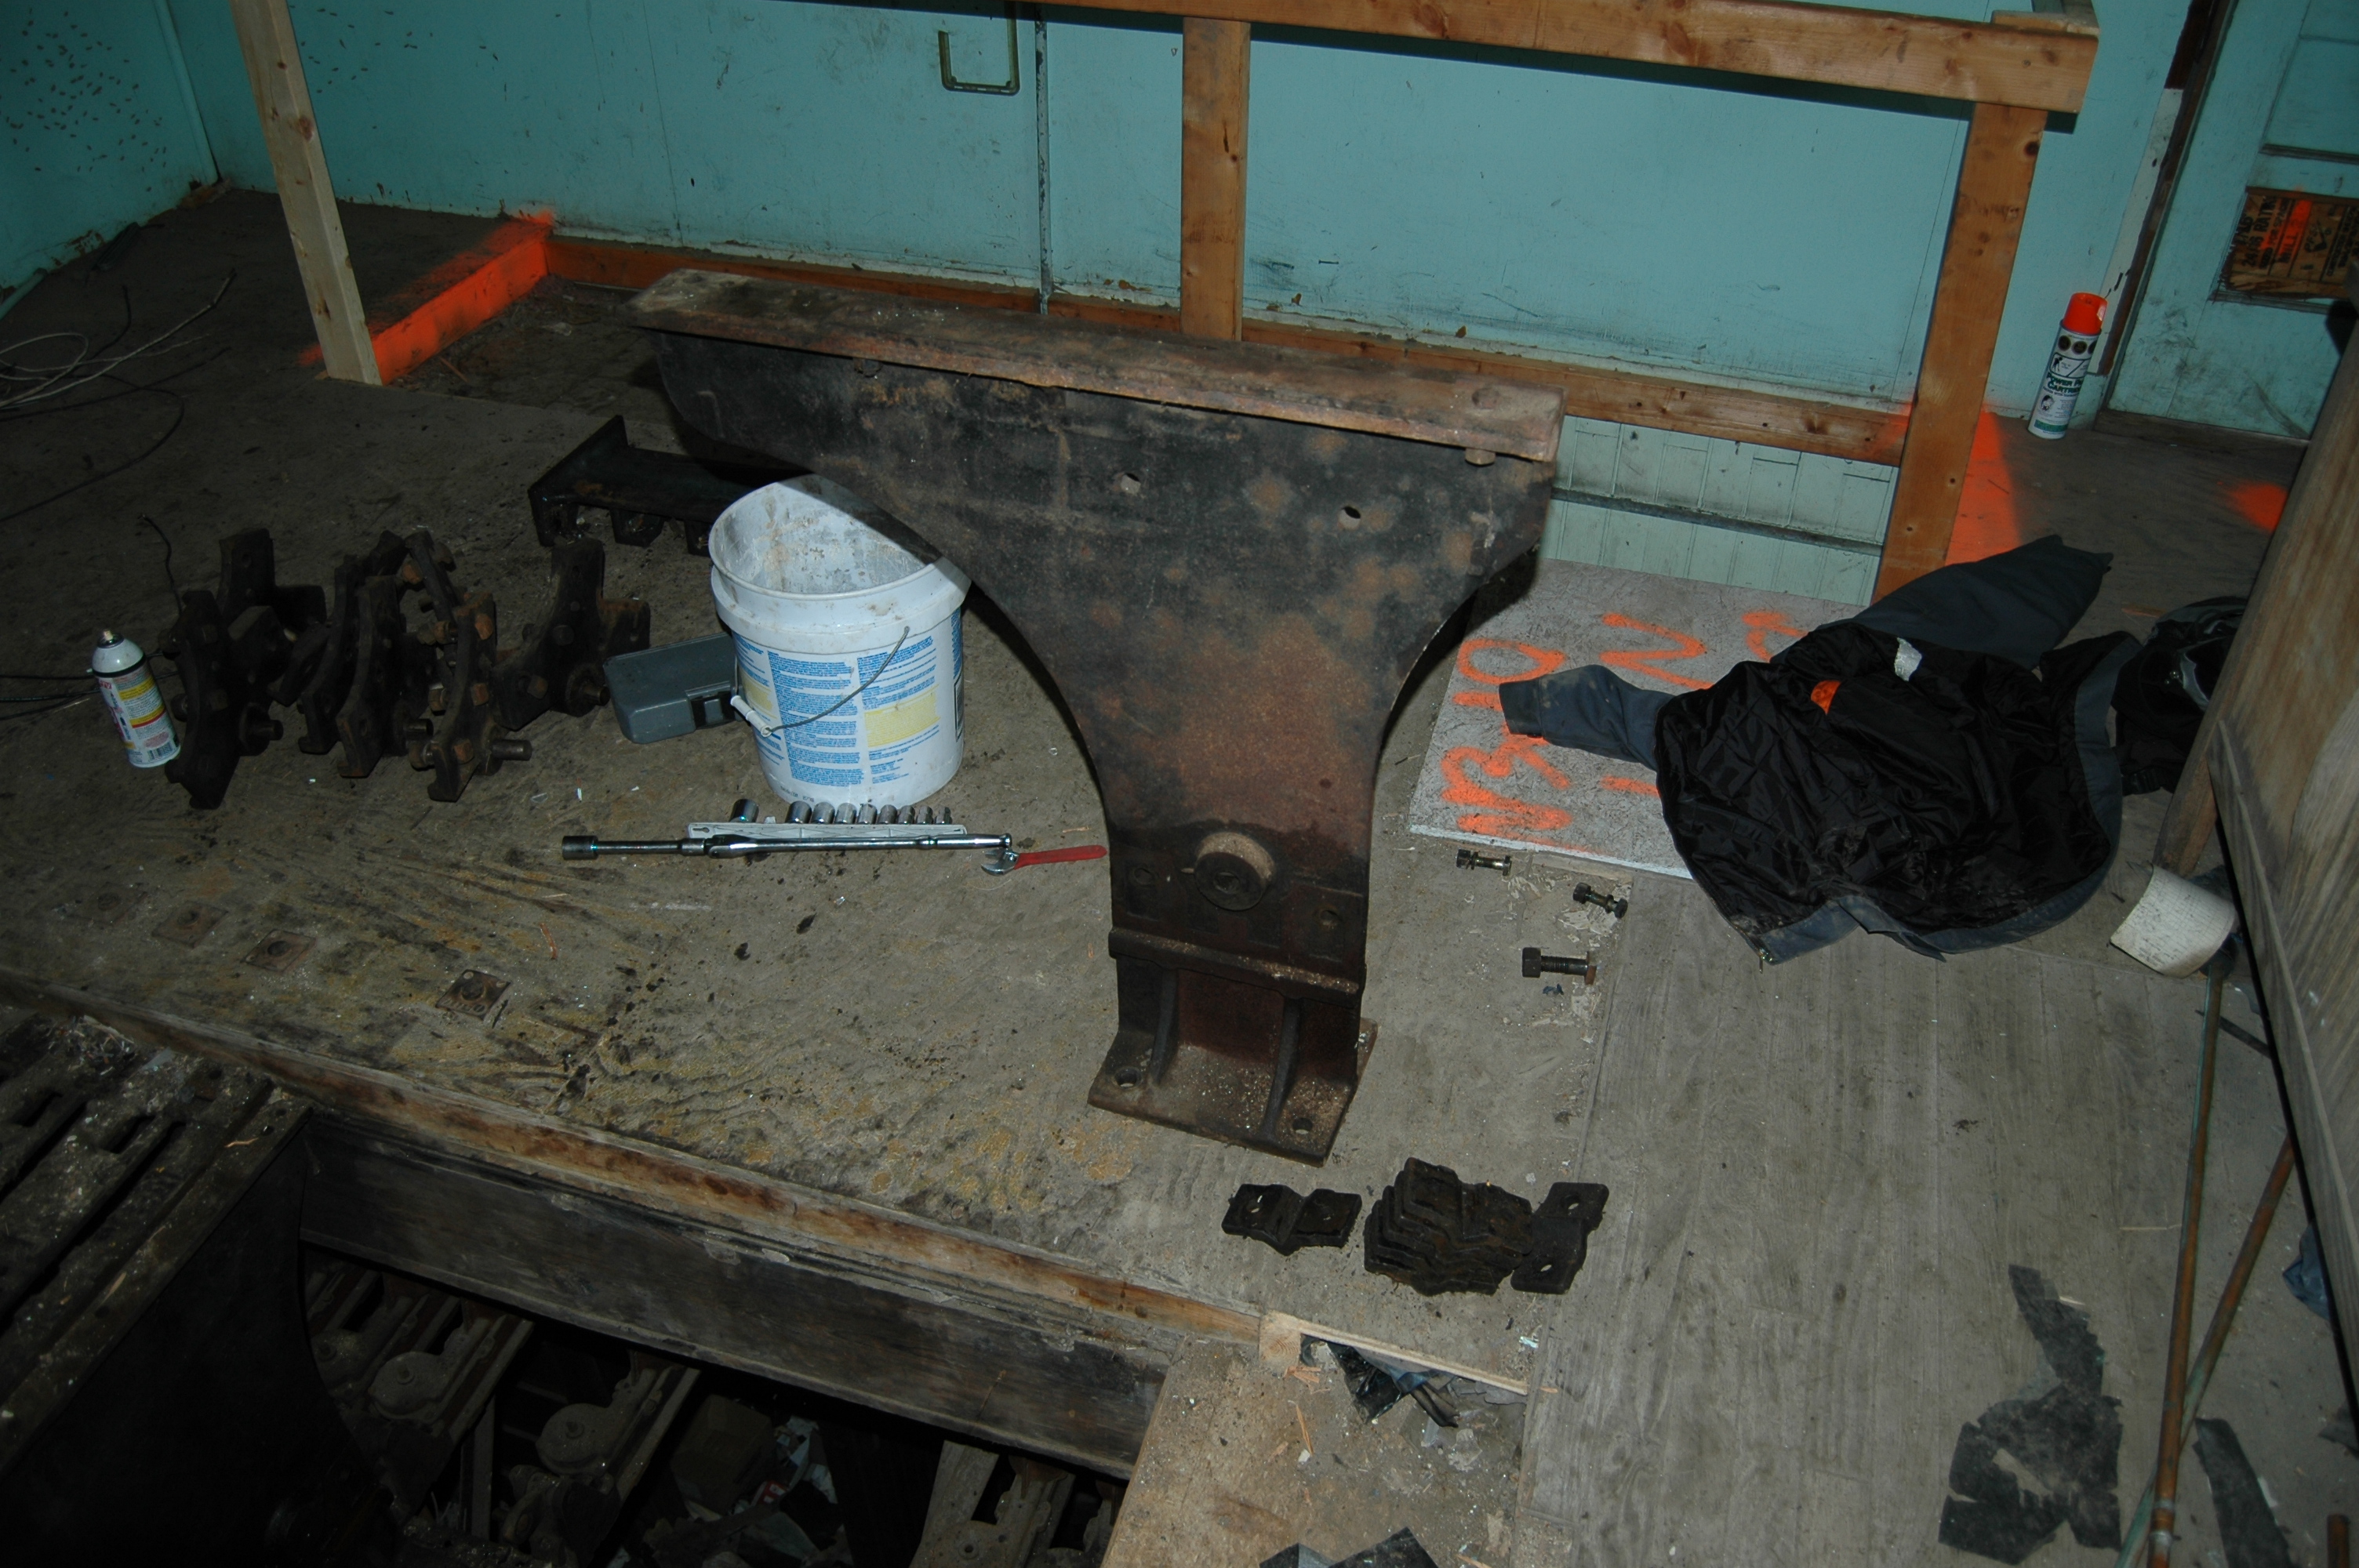
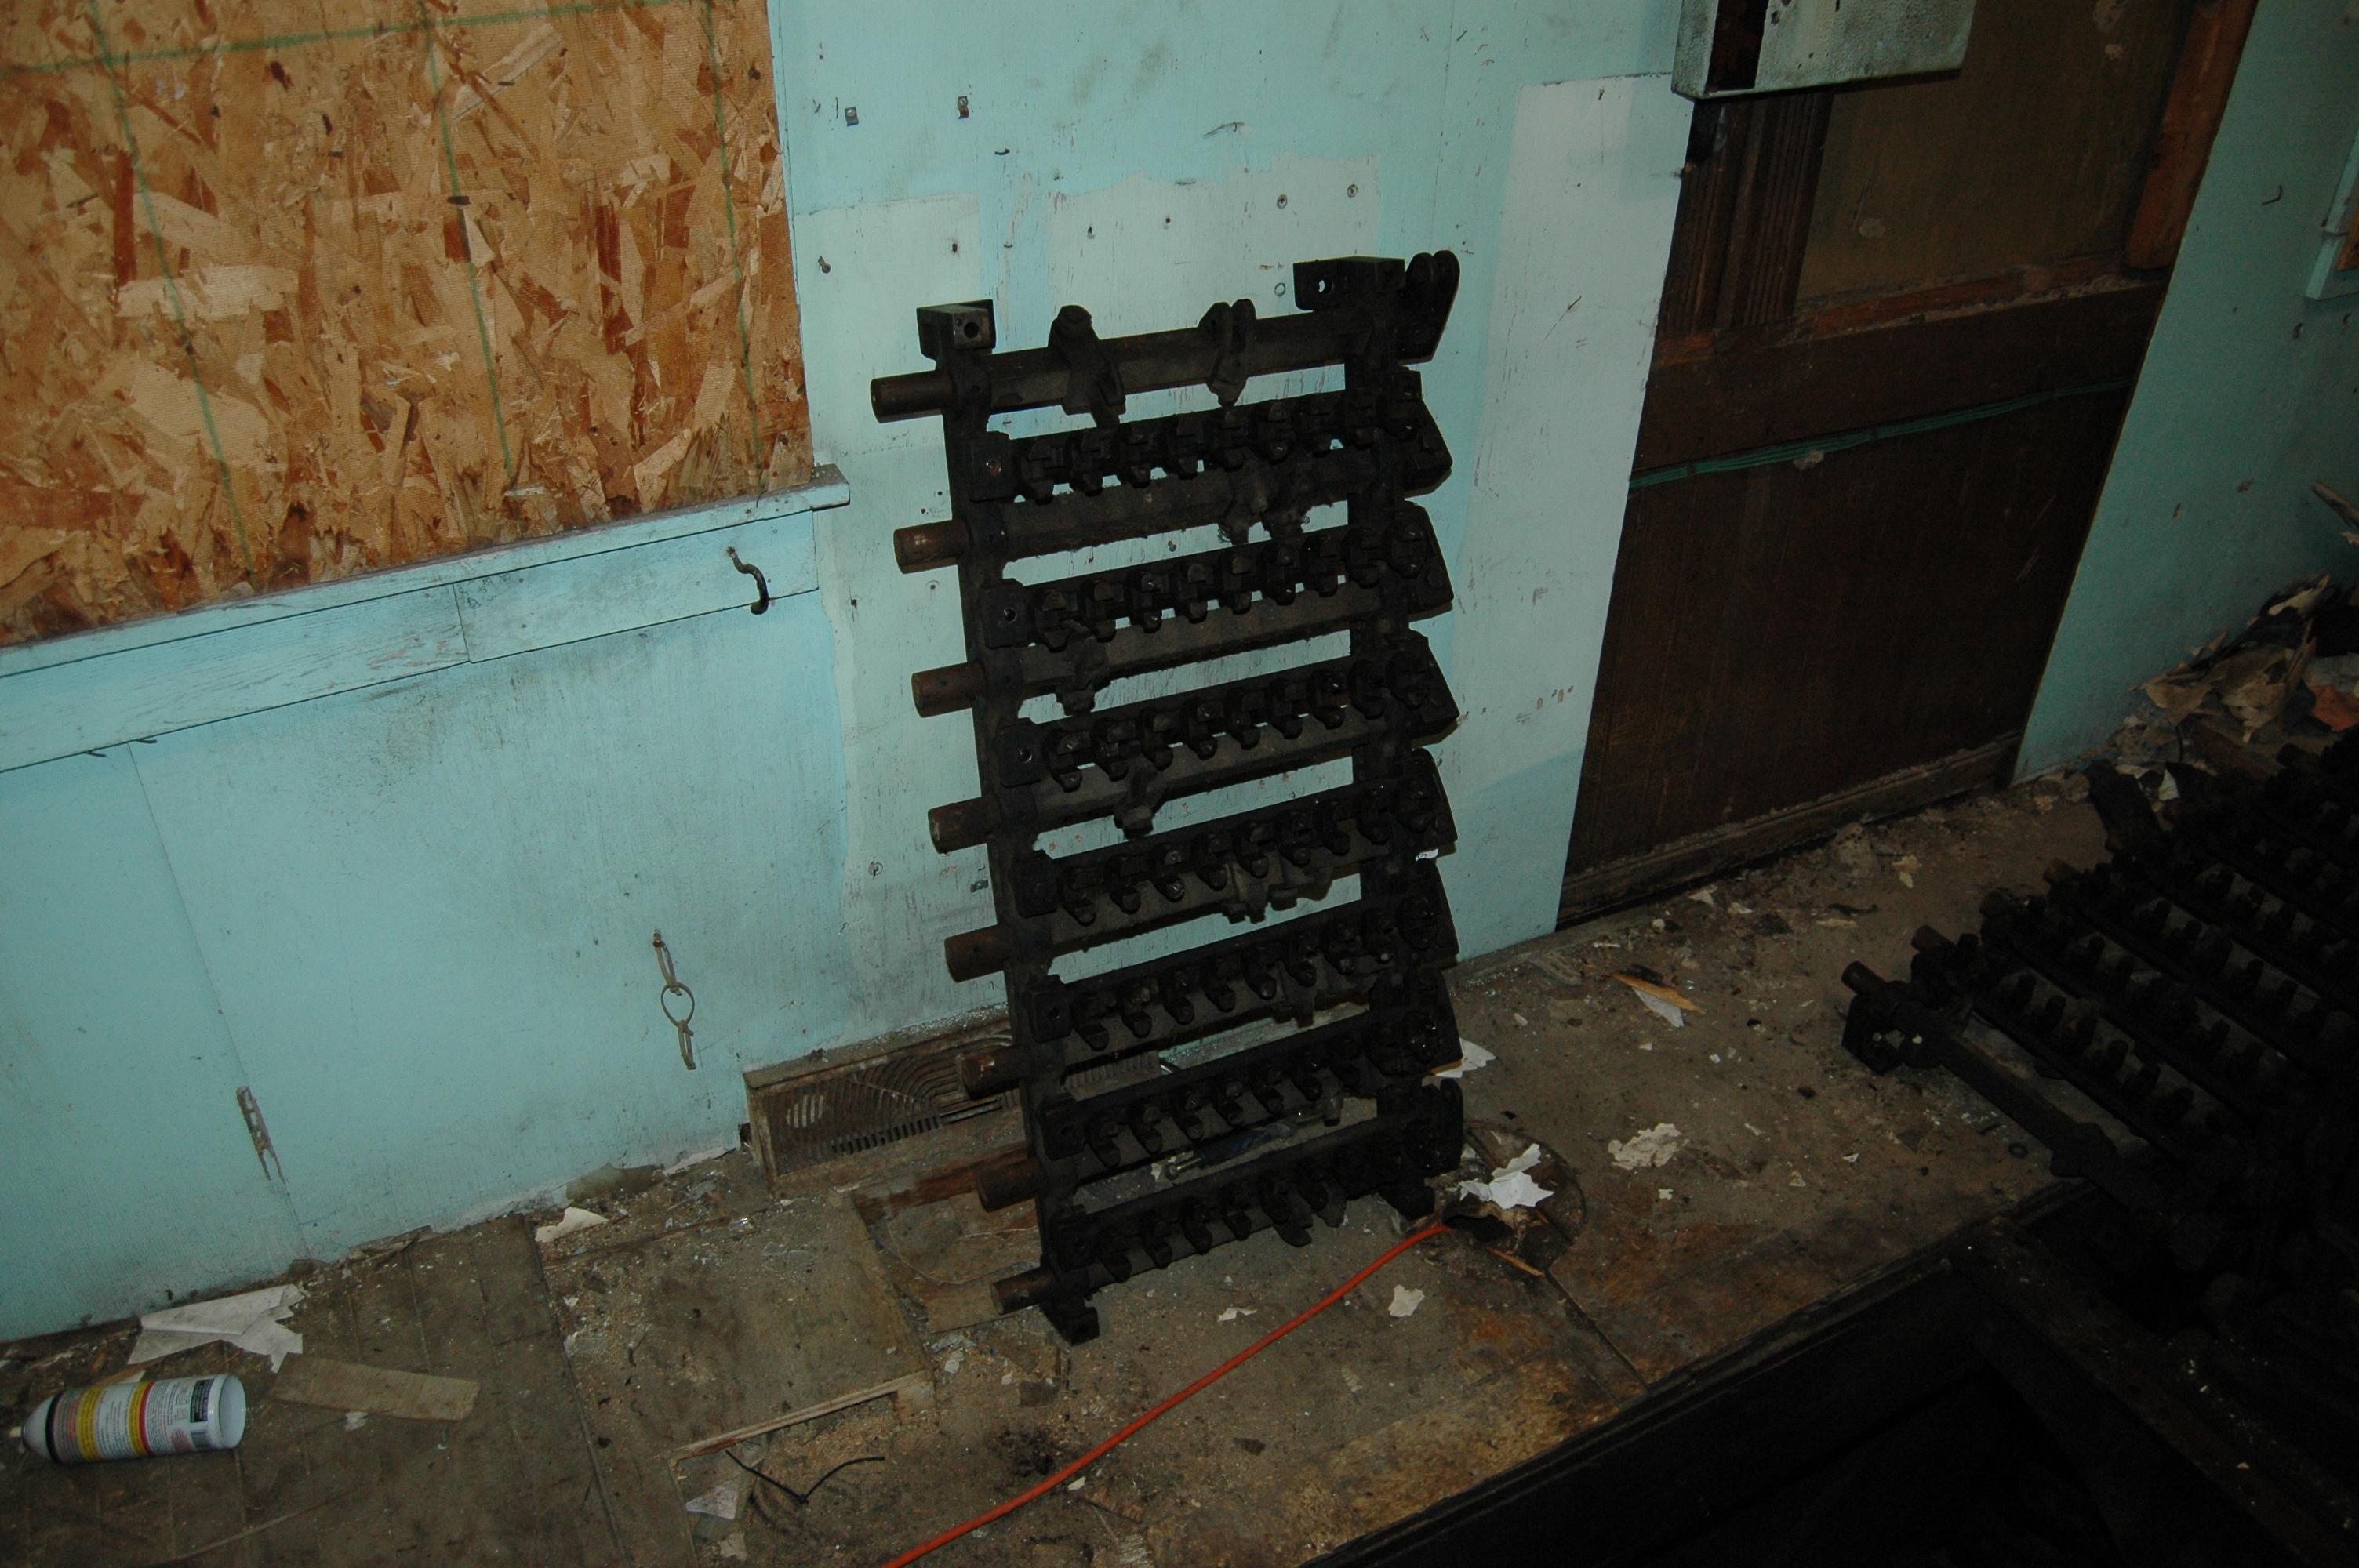
Removing the Locking Bed ~ 12.28.2009
The locking bed needed to be removed whole to ensure that nothing was changed in the locking. It would be much easier to take it all apart but we then run the risk of never getting it back the same way it was before. To remove the locking bed we had to unbolt the 4 bolts on the supports[3.9], there are 3 supports and 4 bolts a support. The supports were made by Union Switch and Signal Company, two bolts were always easy to reach but the other two were covered by the support itself and was a heck of a time to get them out. Once we got all the bolts off we had to raise the locking bed straight up because the supports had pins in them. The locking bed is 400 pounds so to save our backs we put the model board supports in the levers then used ratchet straps to raise the bed up. Once that was done we knocked a hole on the wall and put the model board support in the hole and across the other support. This allowed us to move and work to get the locking bed supports off. Since the lever beds come in 8 lever sections the middle support helped keep the locking bed together. Now we have to make a small metal part to bolt back on the locking bed to move it.
 |
 |
 |
 |
 |
 |
 |
 |
 |
 |
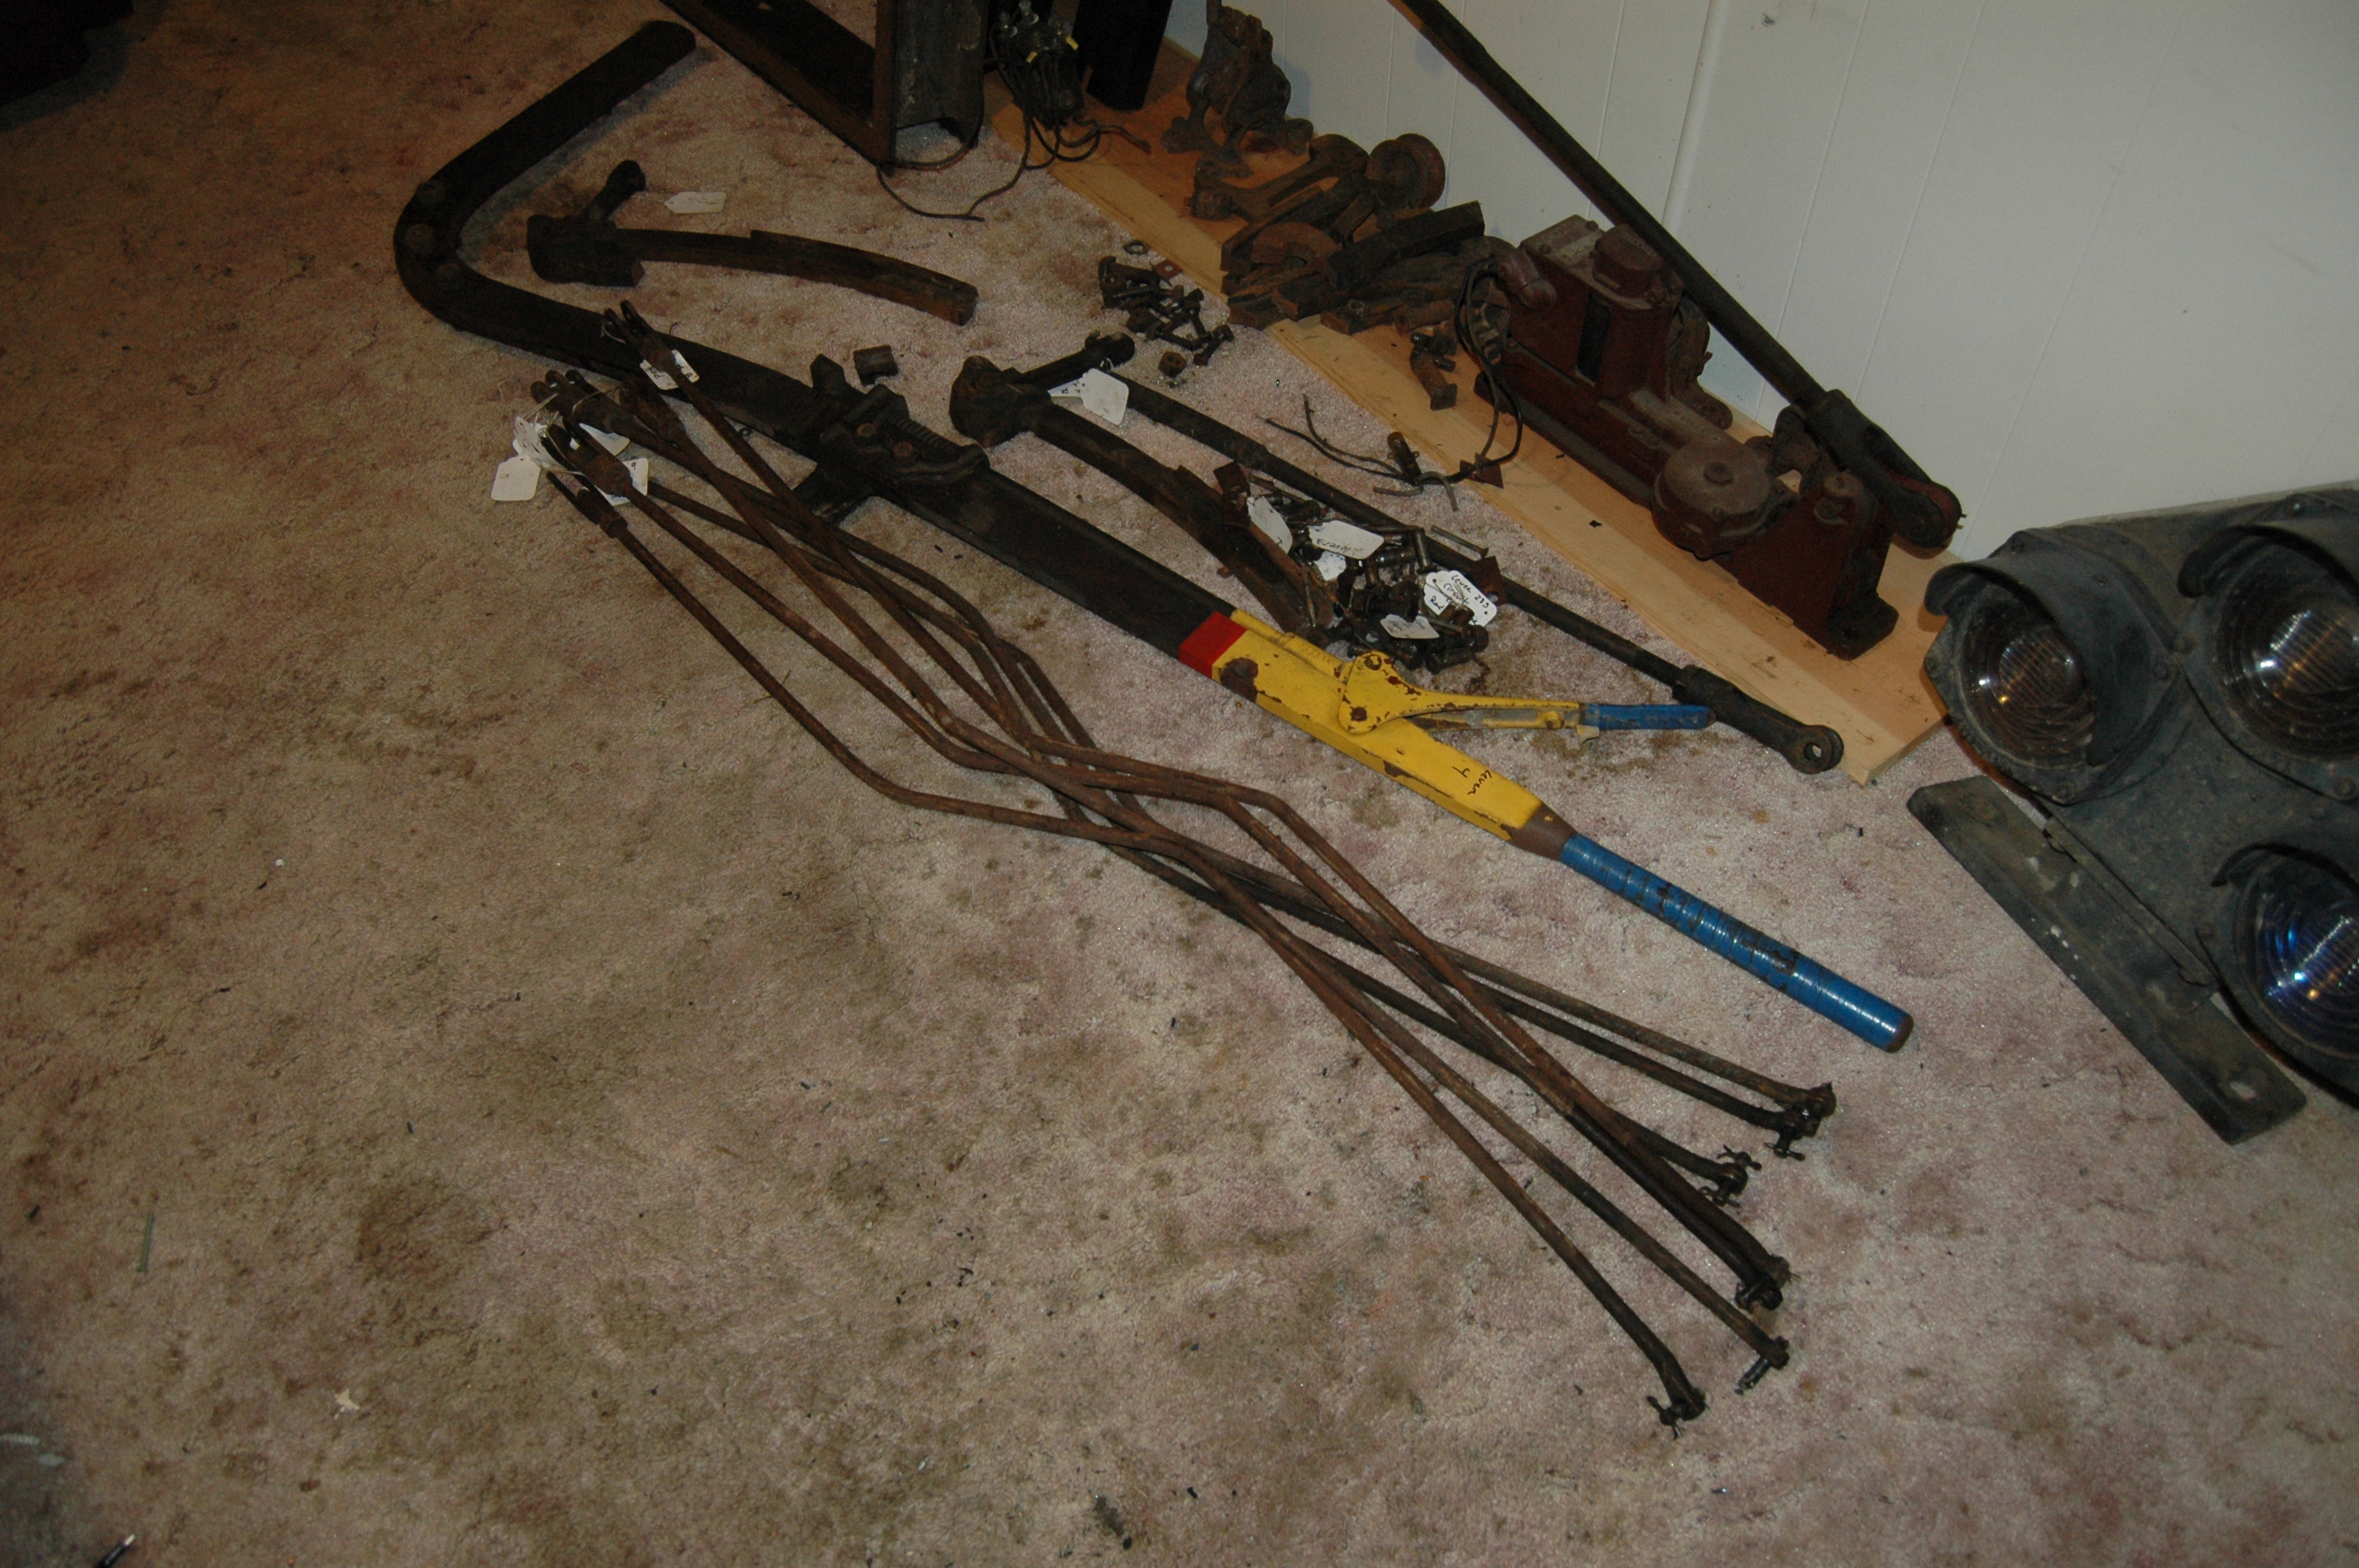
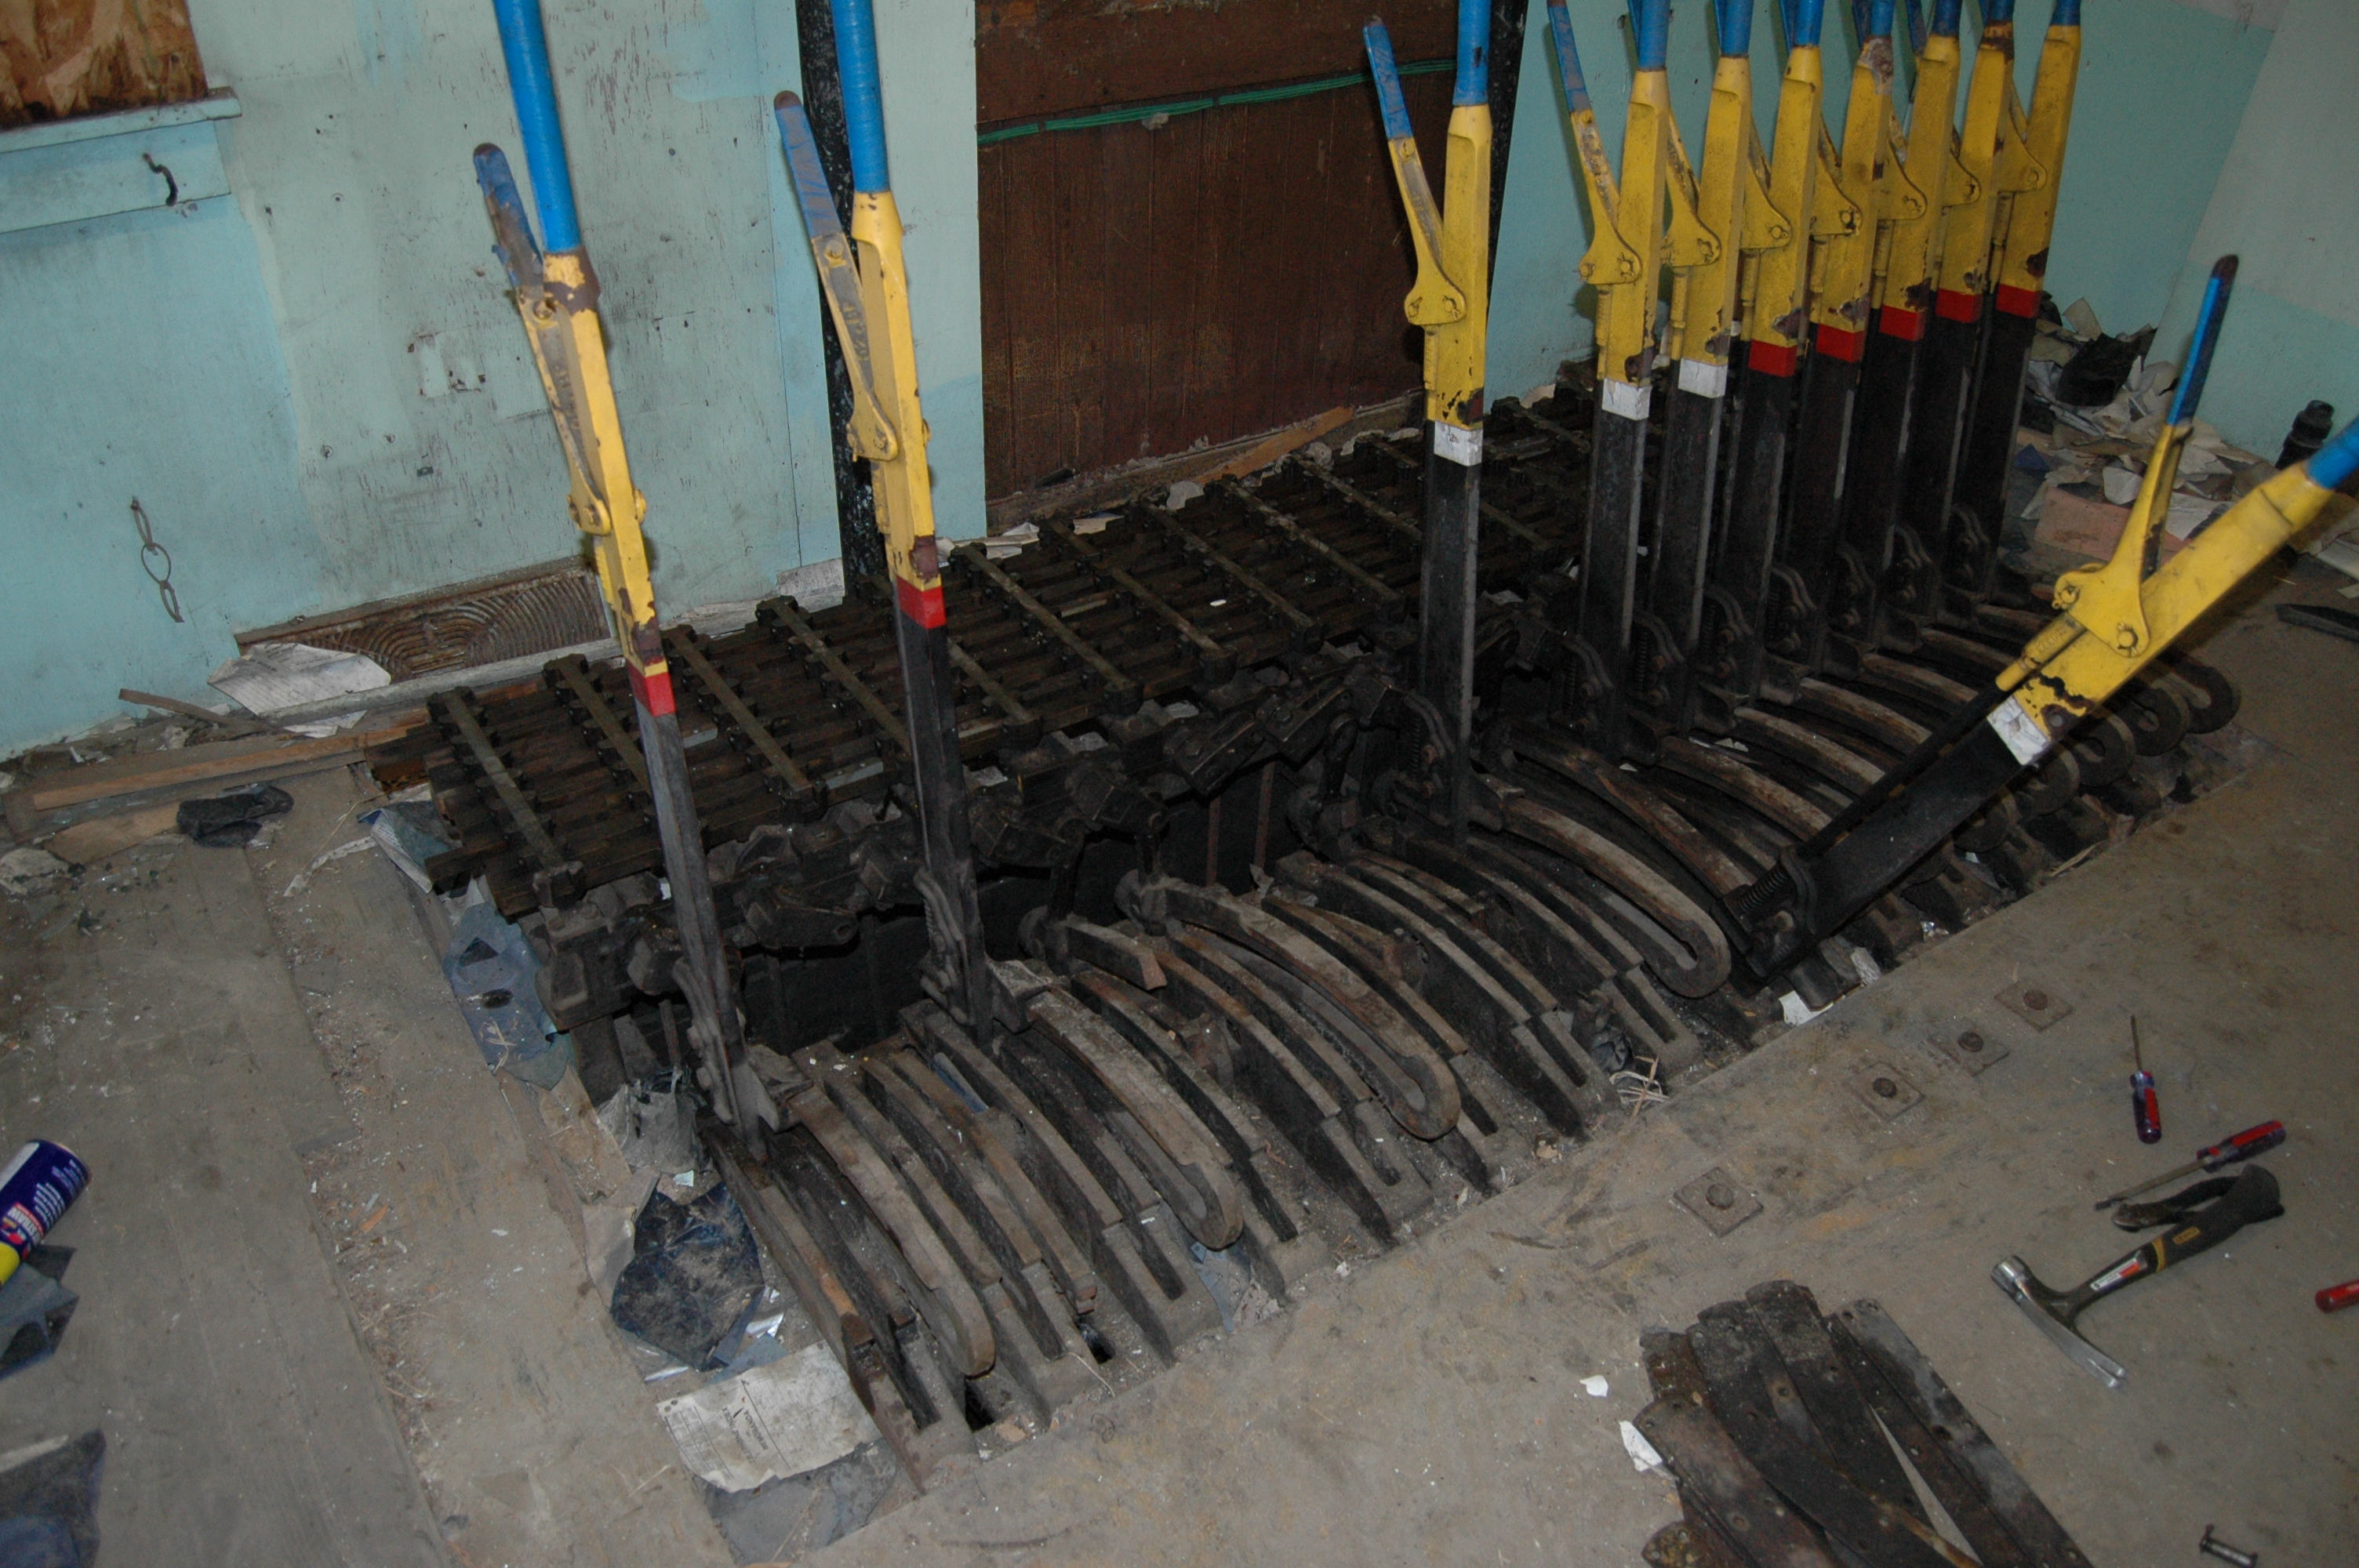
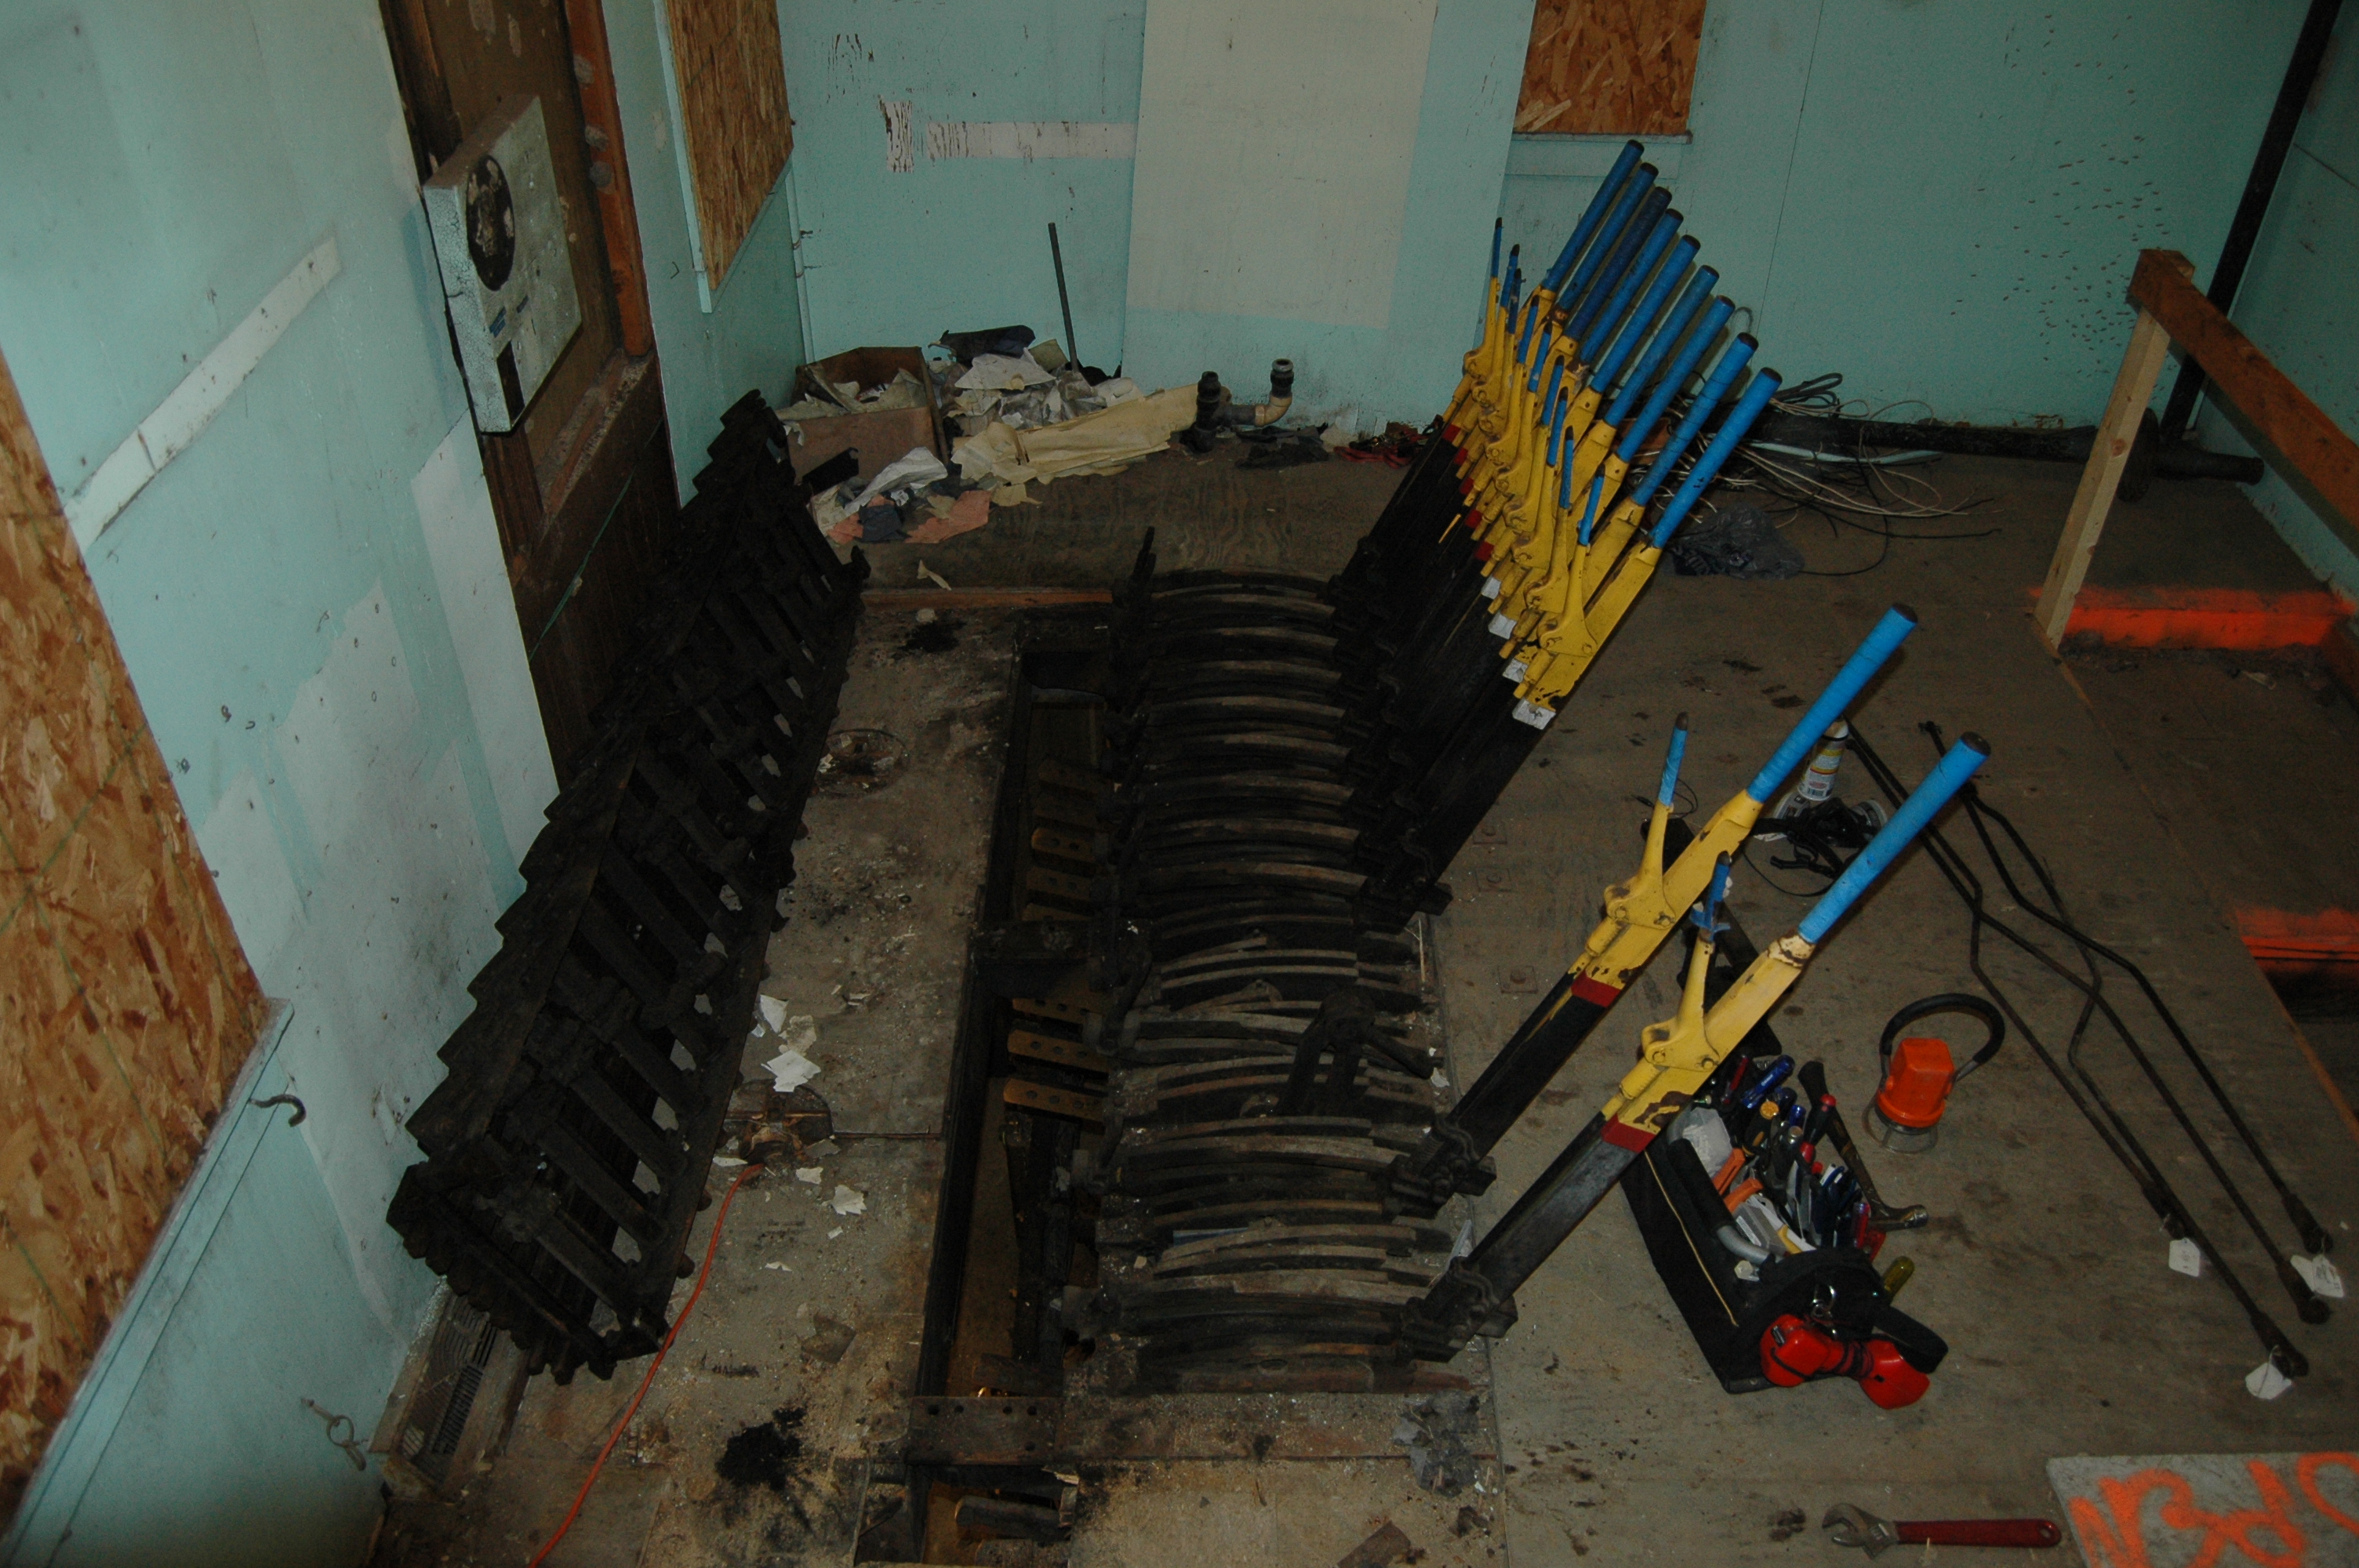
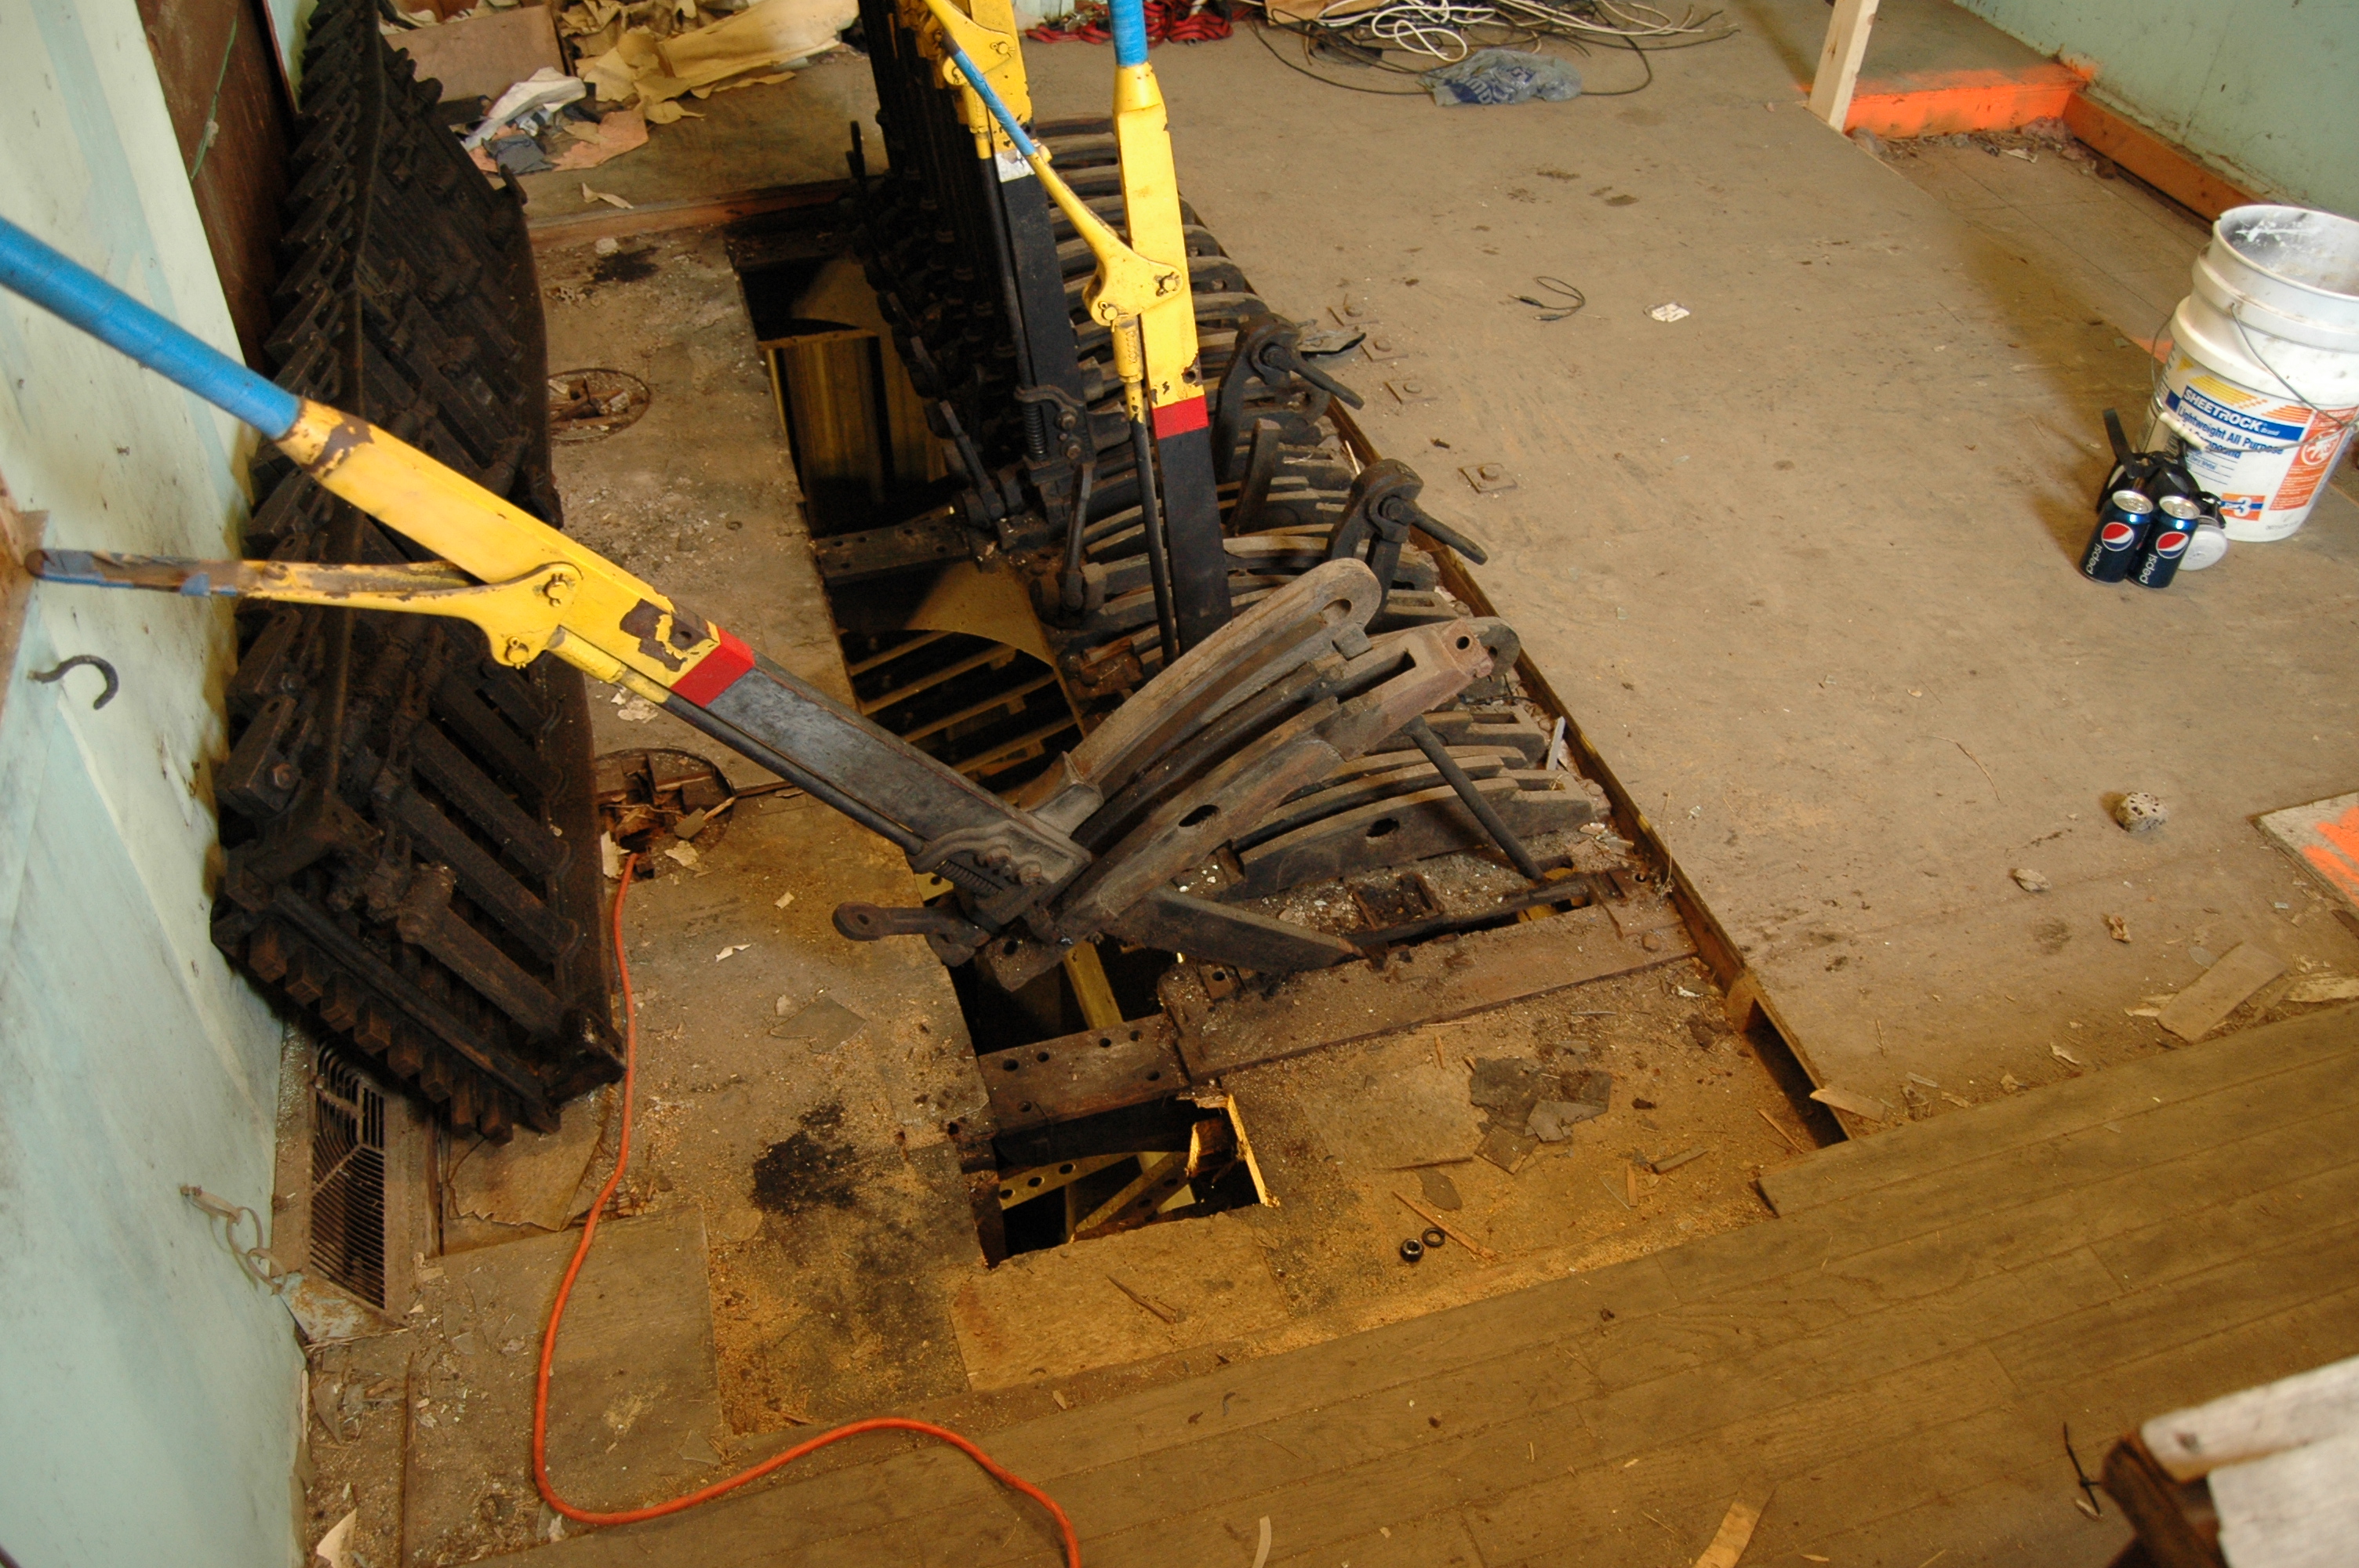
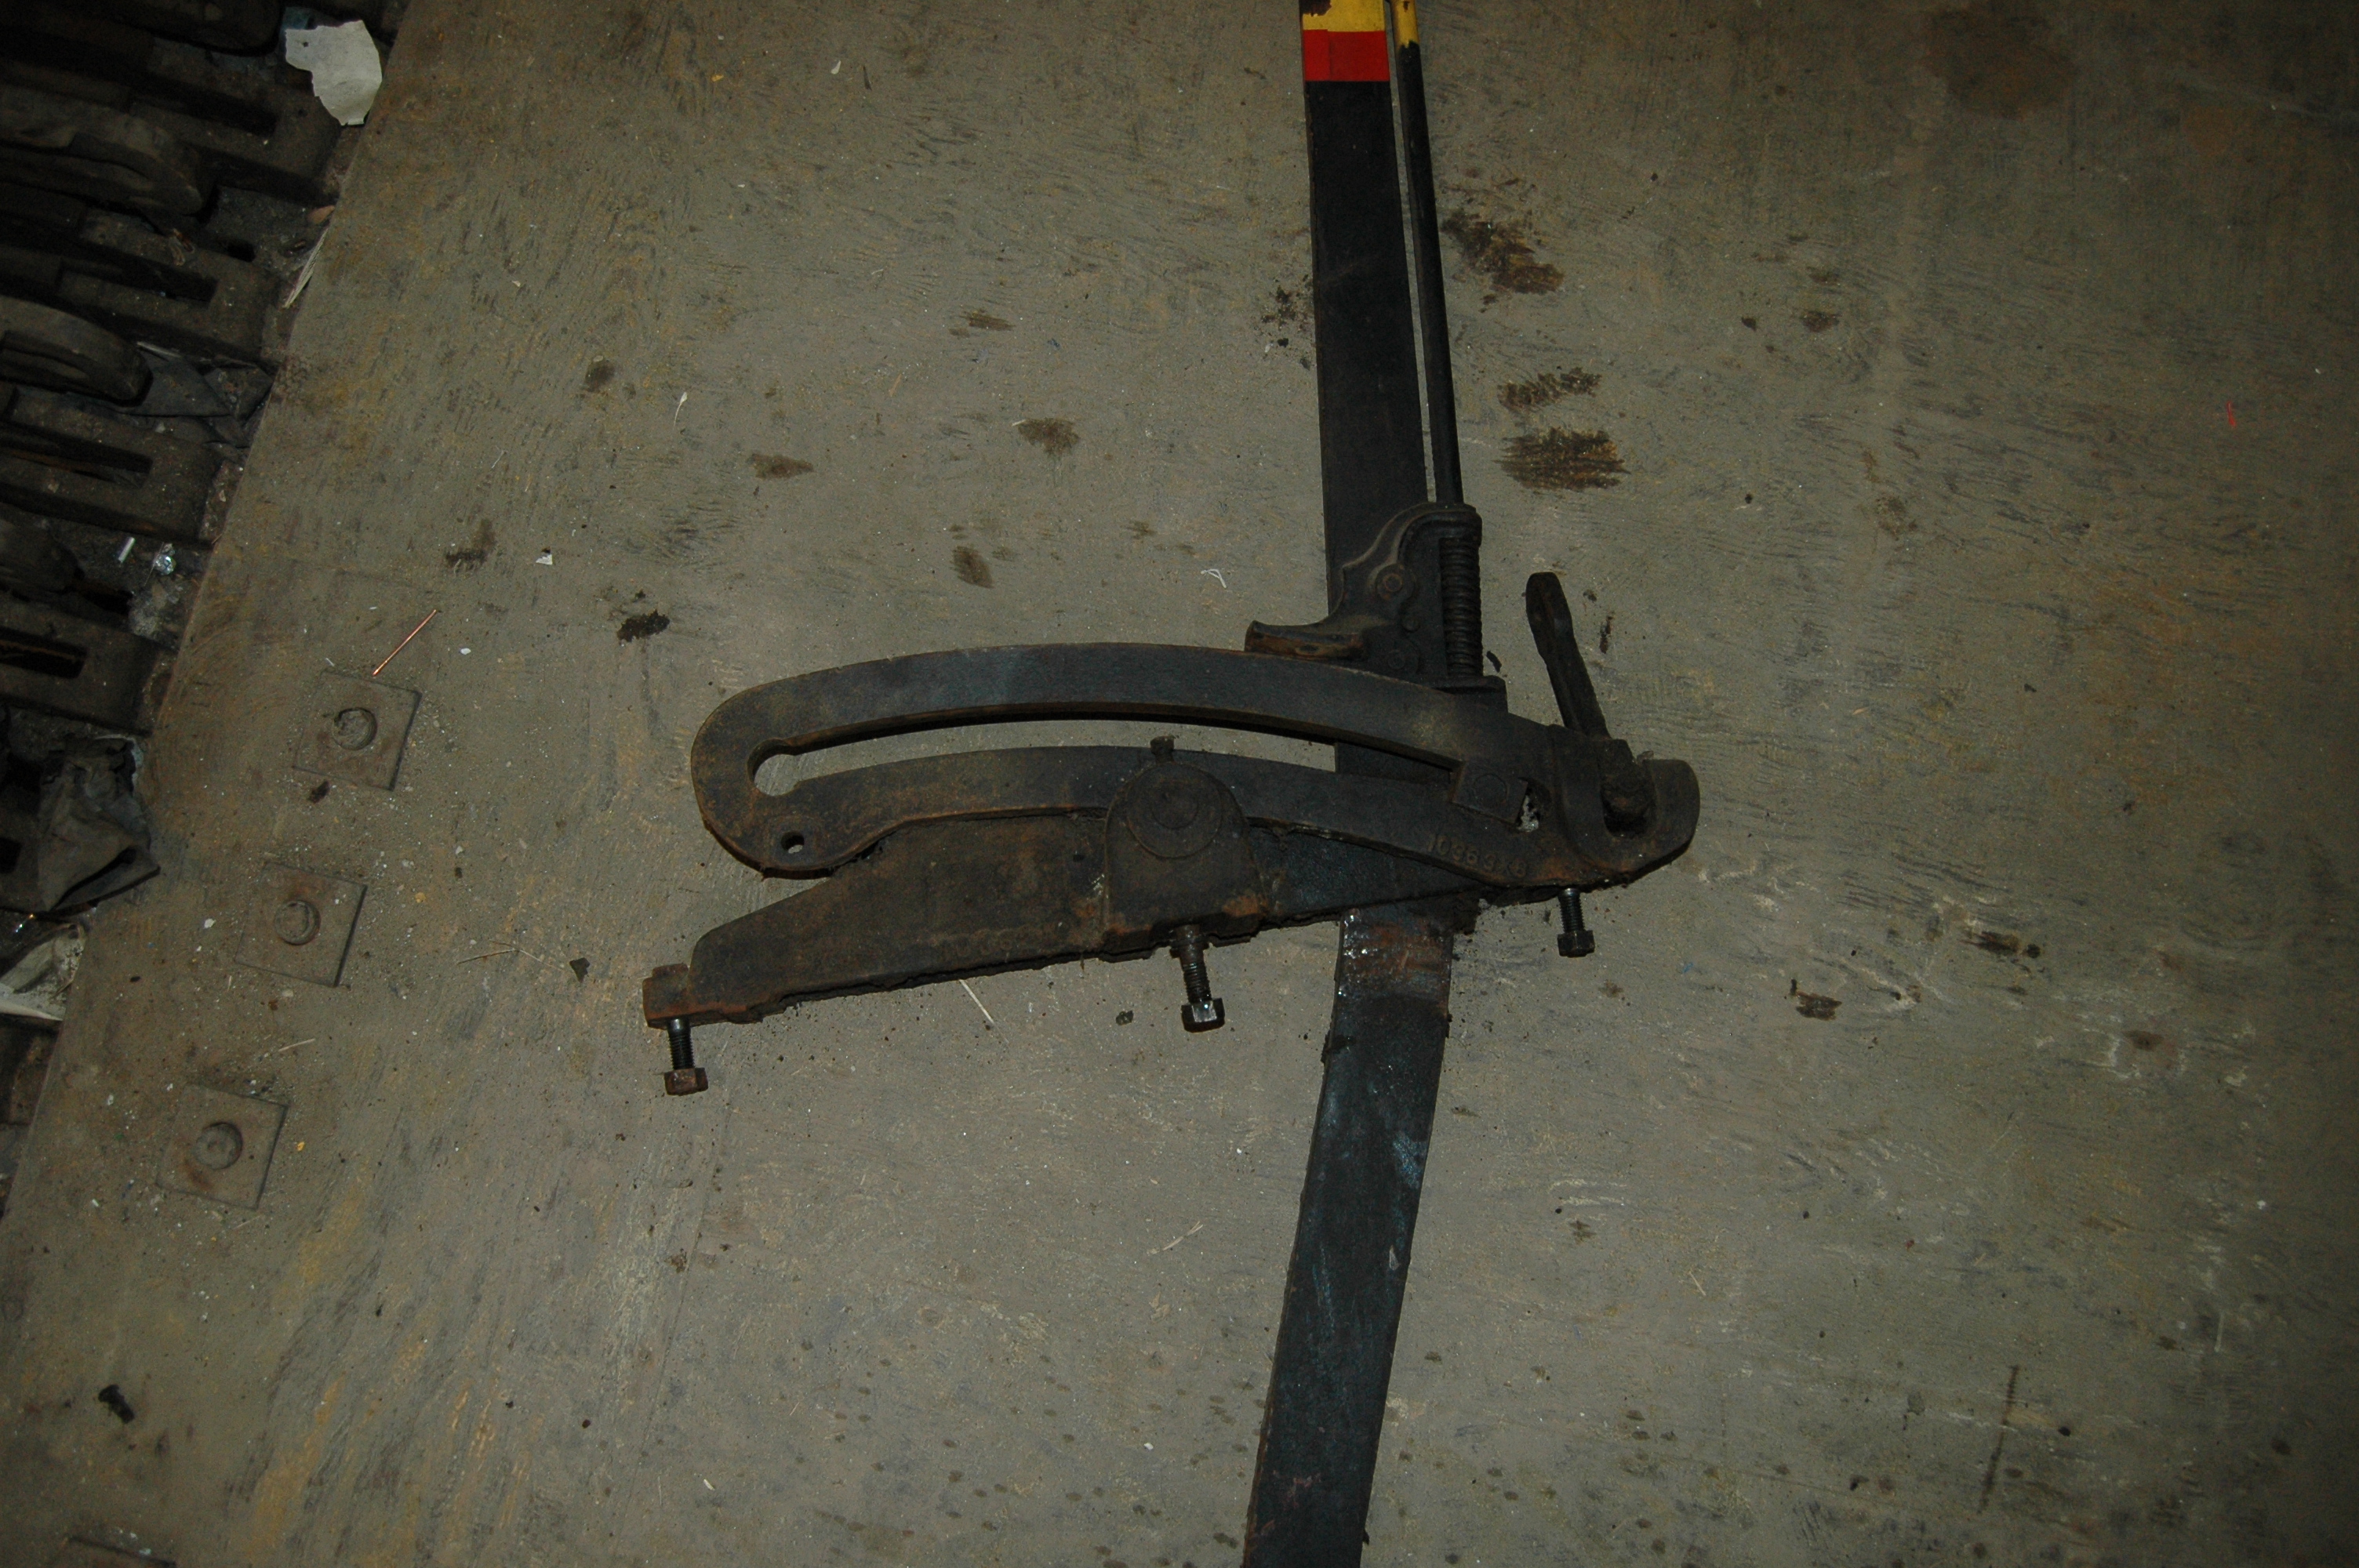
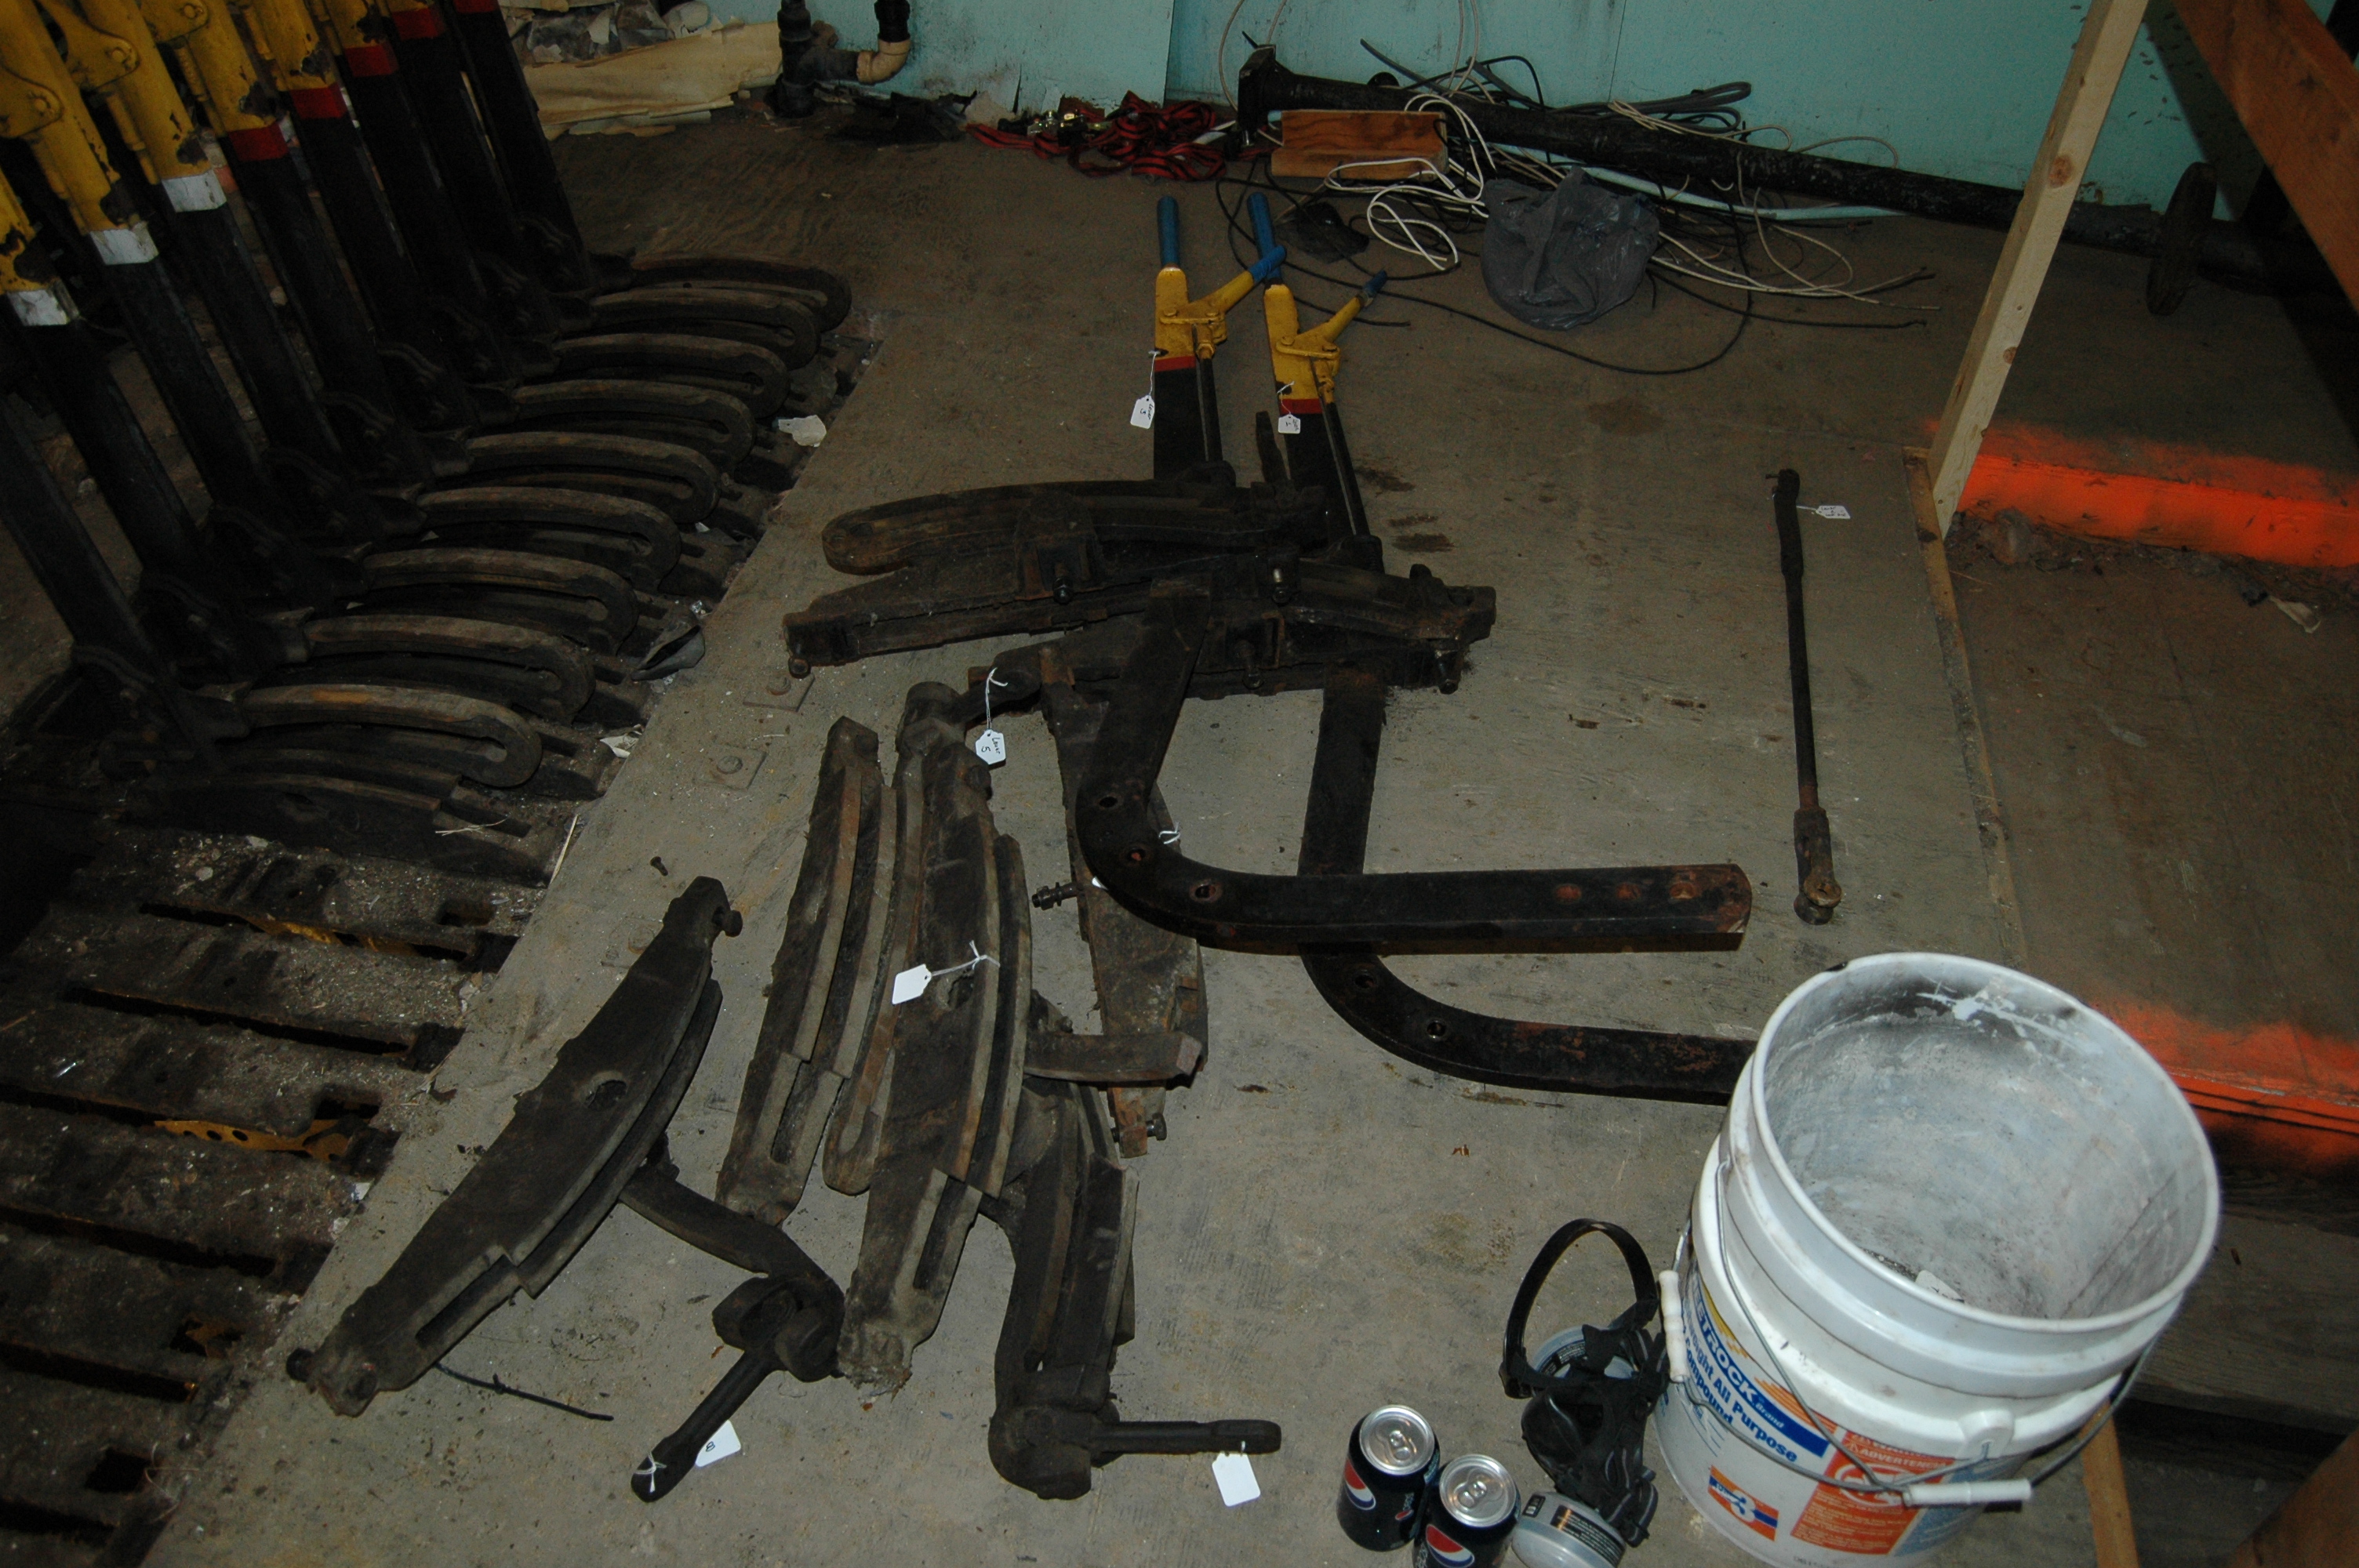
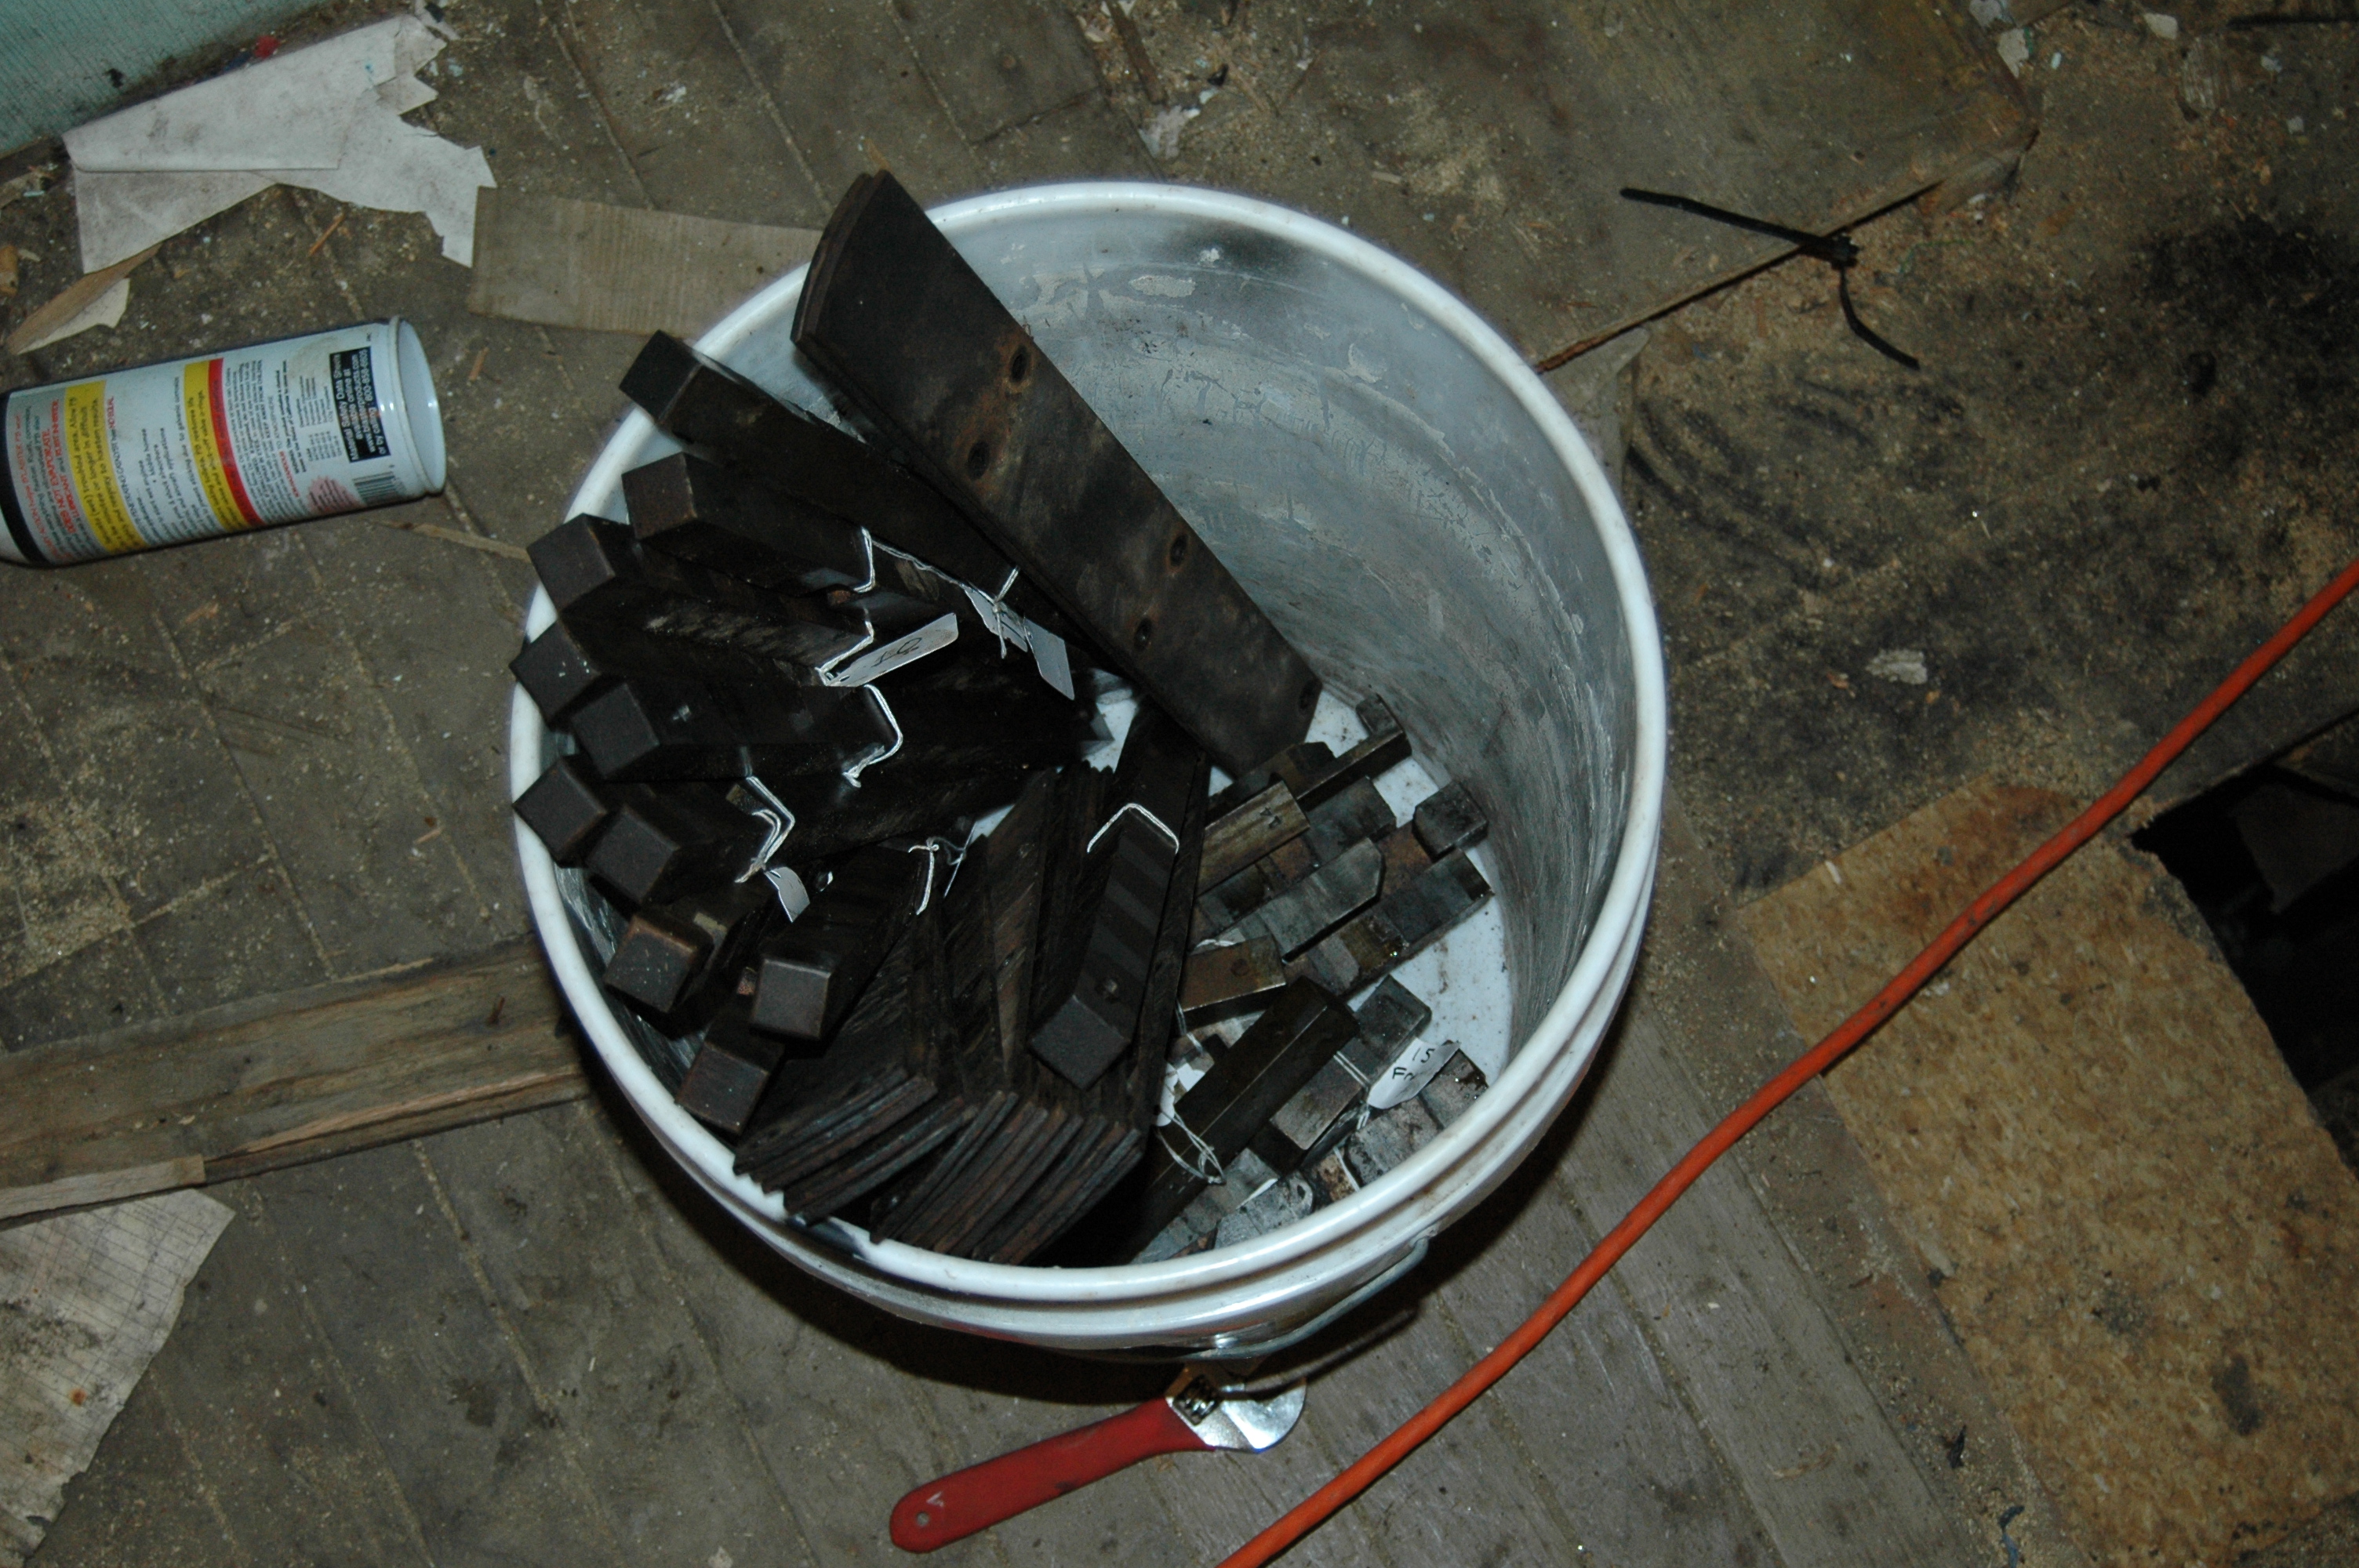
Removing Levers ~ 1.1.2010
After removing the locking bed it was time to take out the levers. To get the lever out I decided to take the unit out whole which included the quadrant[3.20] and the rocking link[3.21]. There are 3 bolts that hold the quadrant to the top plate[3.6], then 3 more bolts that held the lever to the lever shoe[3.5]. The lever shoe has a pin that also holds the lever in place so once I removed the 6 bolts I had to use a hammer and flat blade screw driver to pry the lever from the lever shoe with the pin.
 |
 |
 |
 |
 |
 |
 |
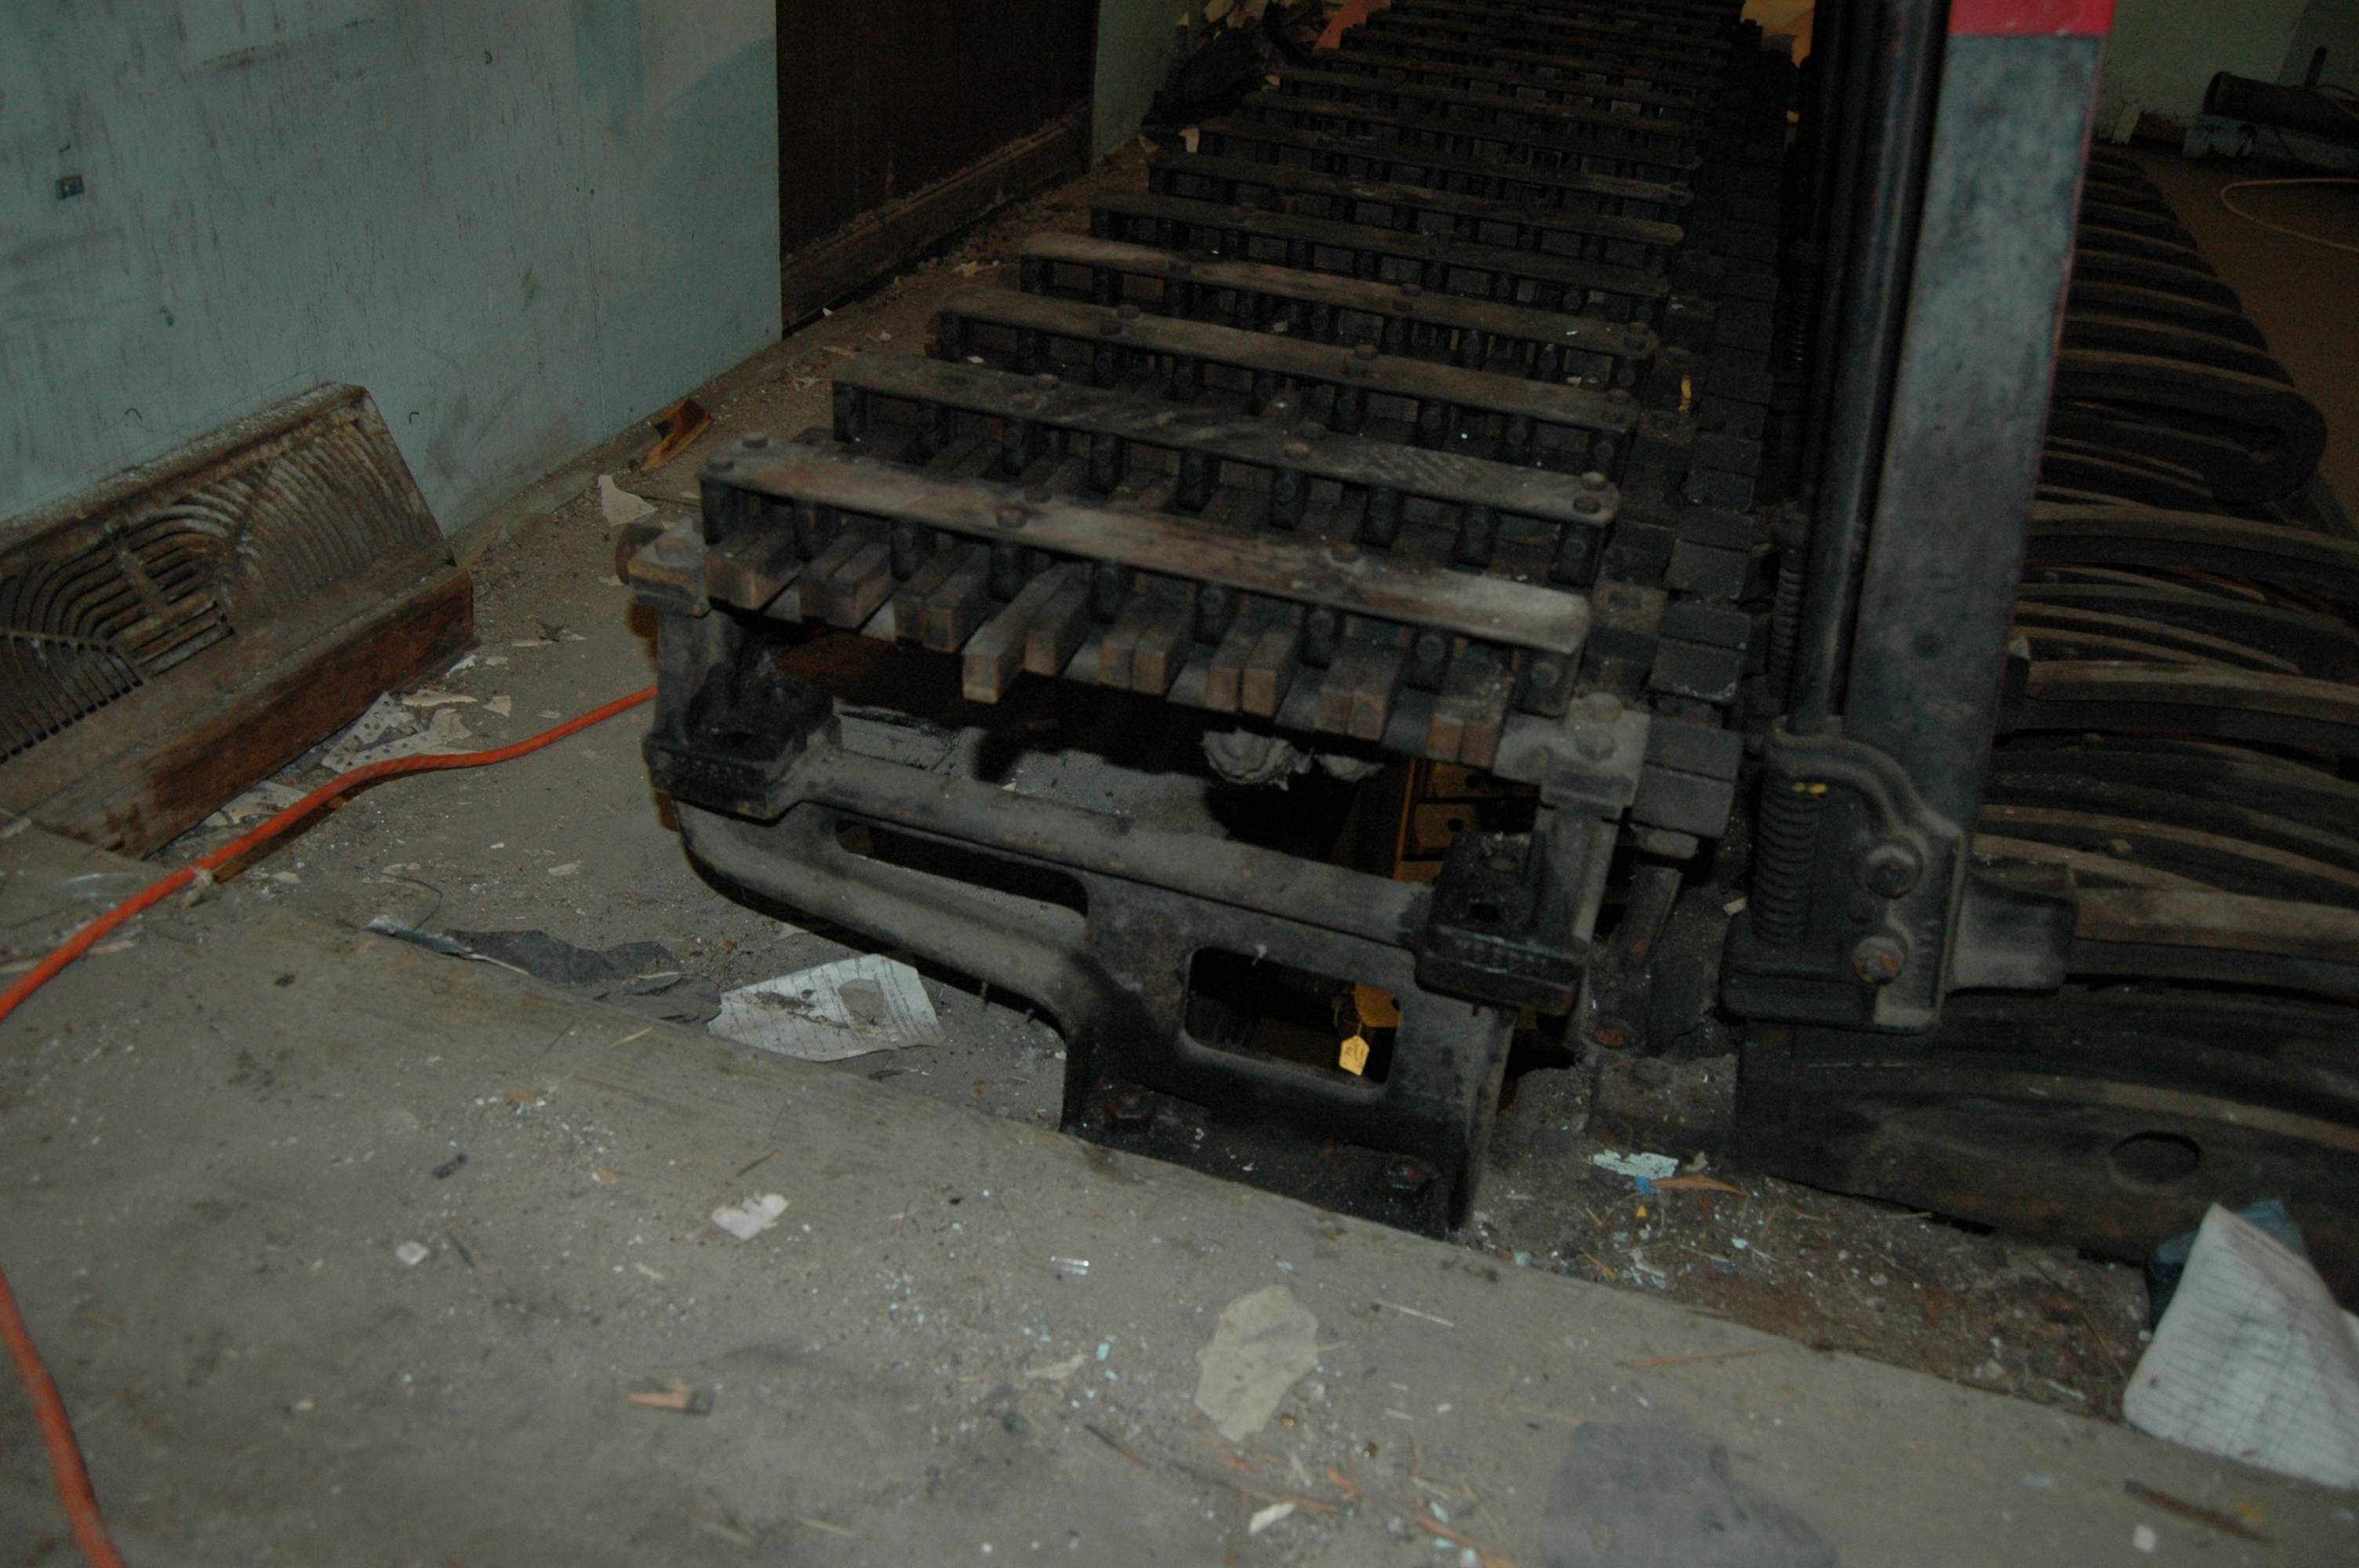
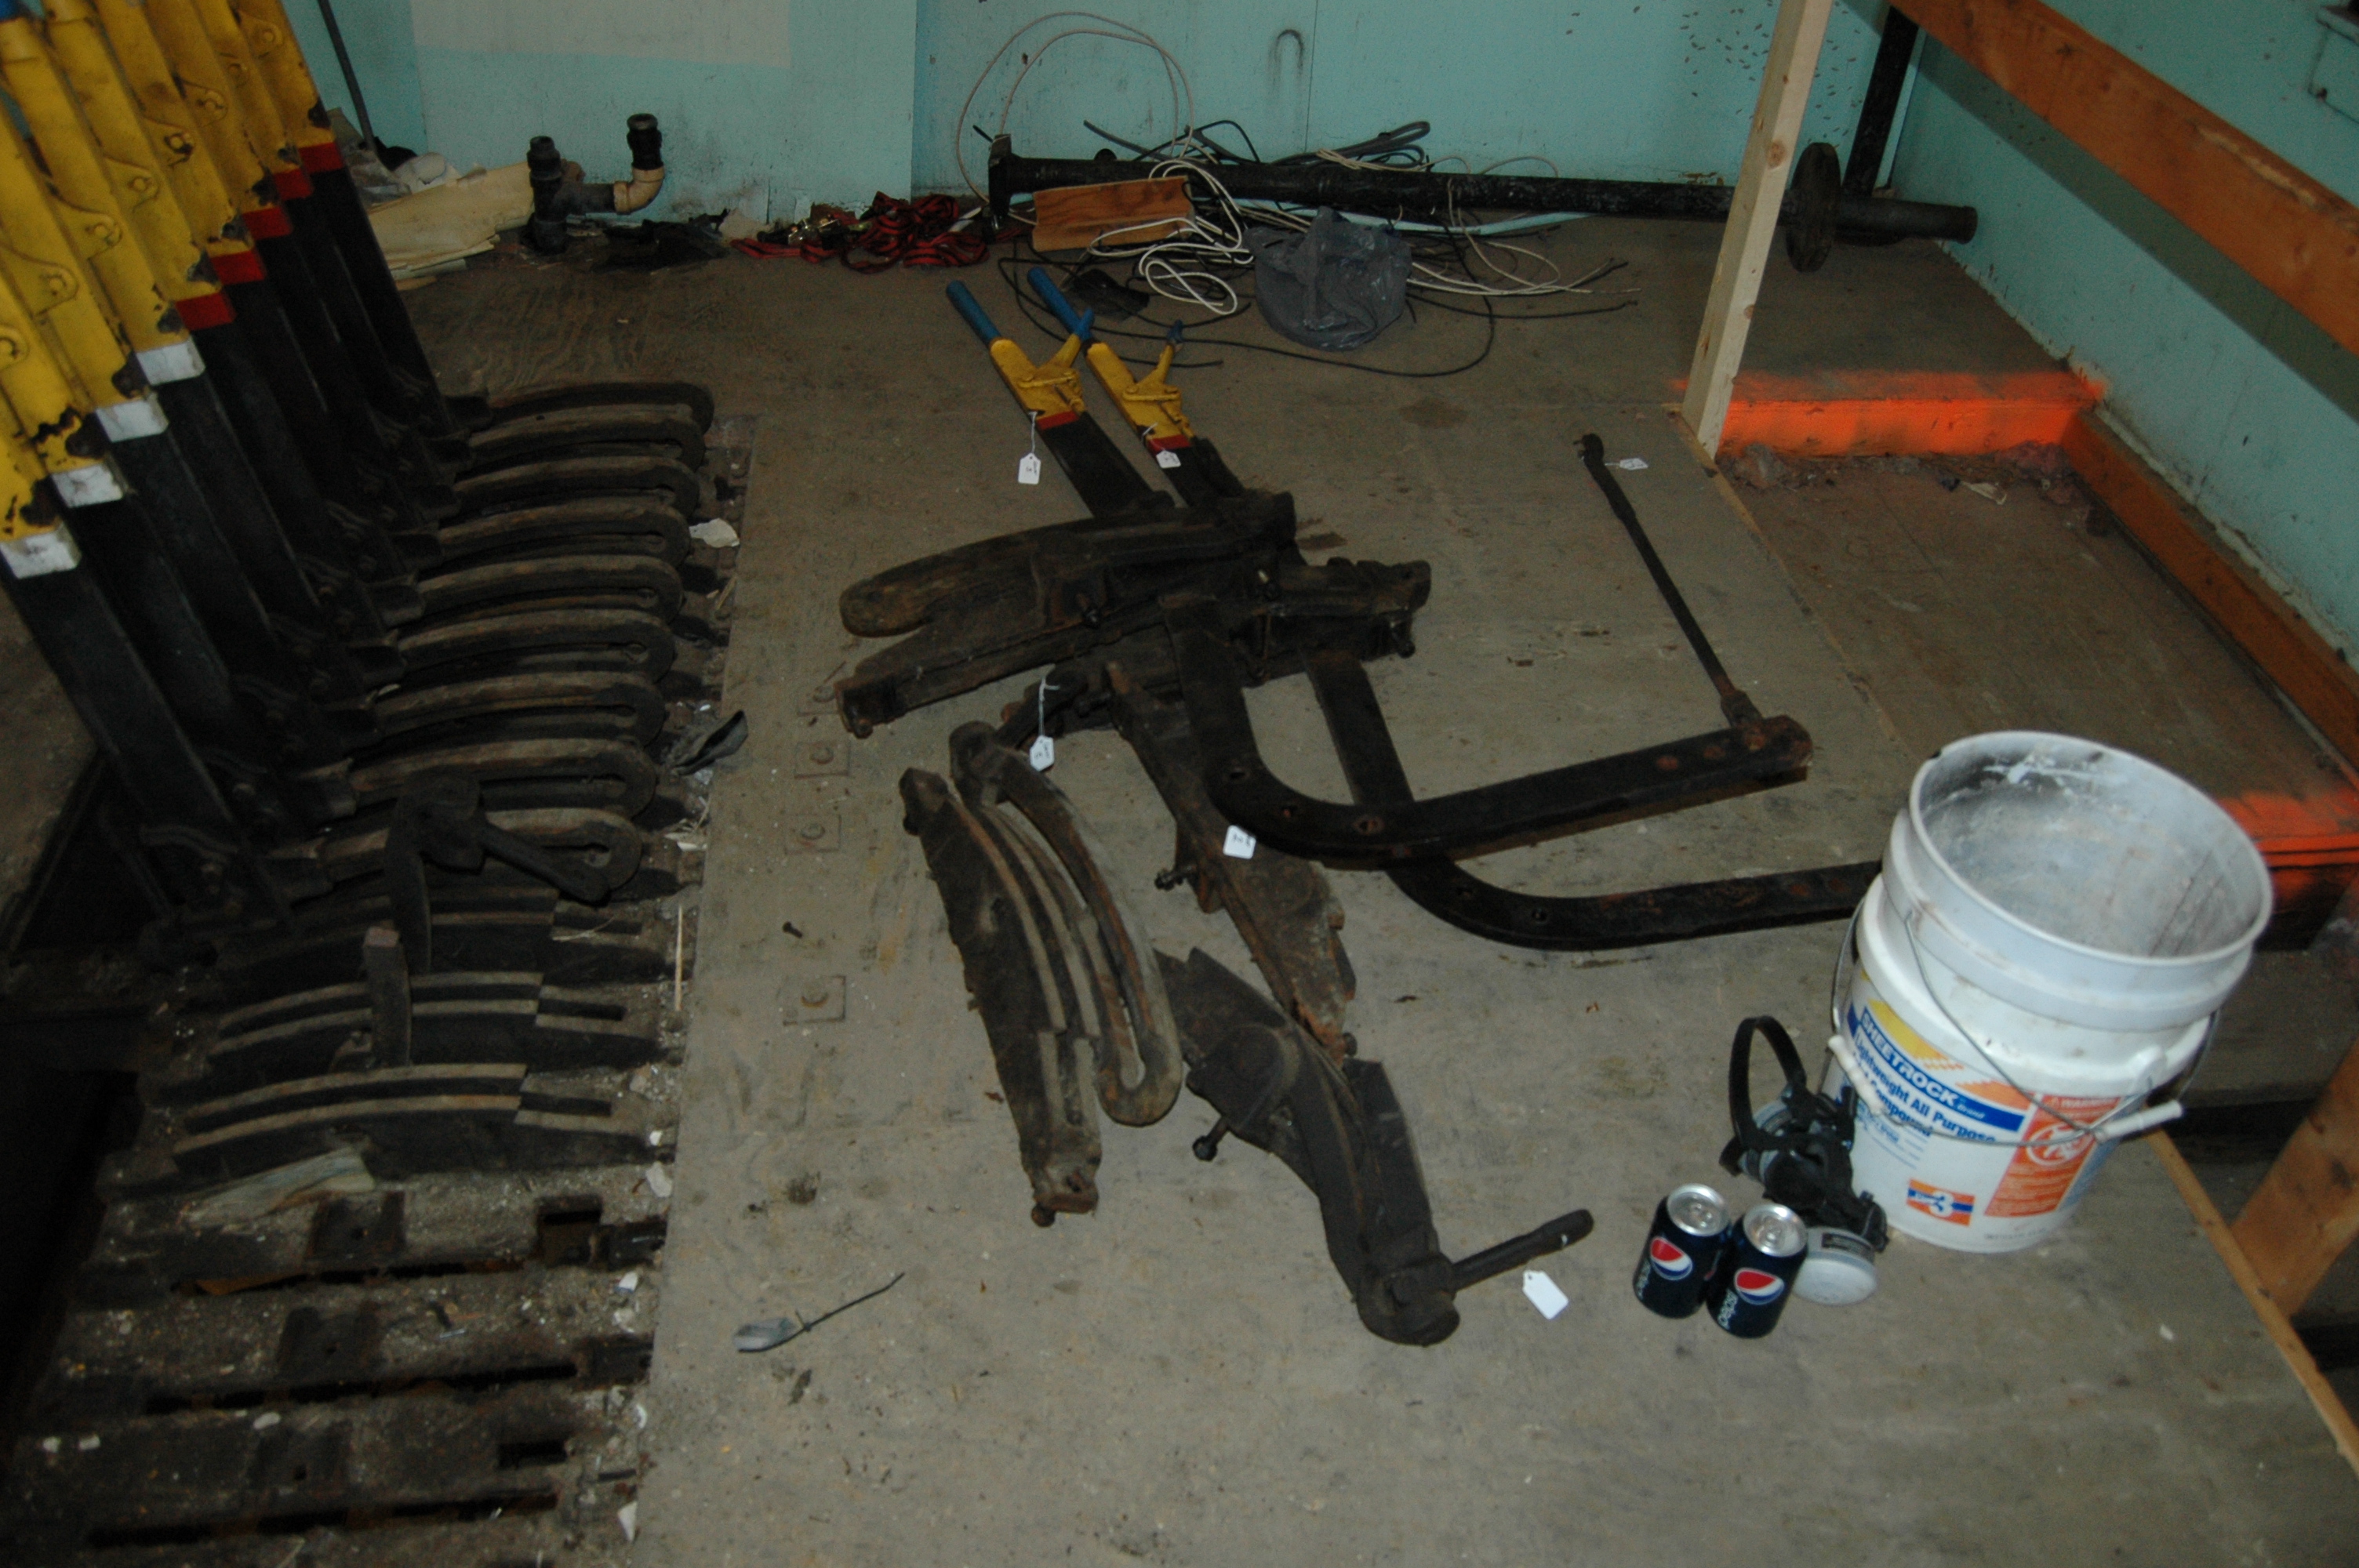
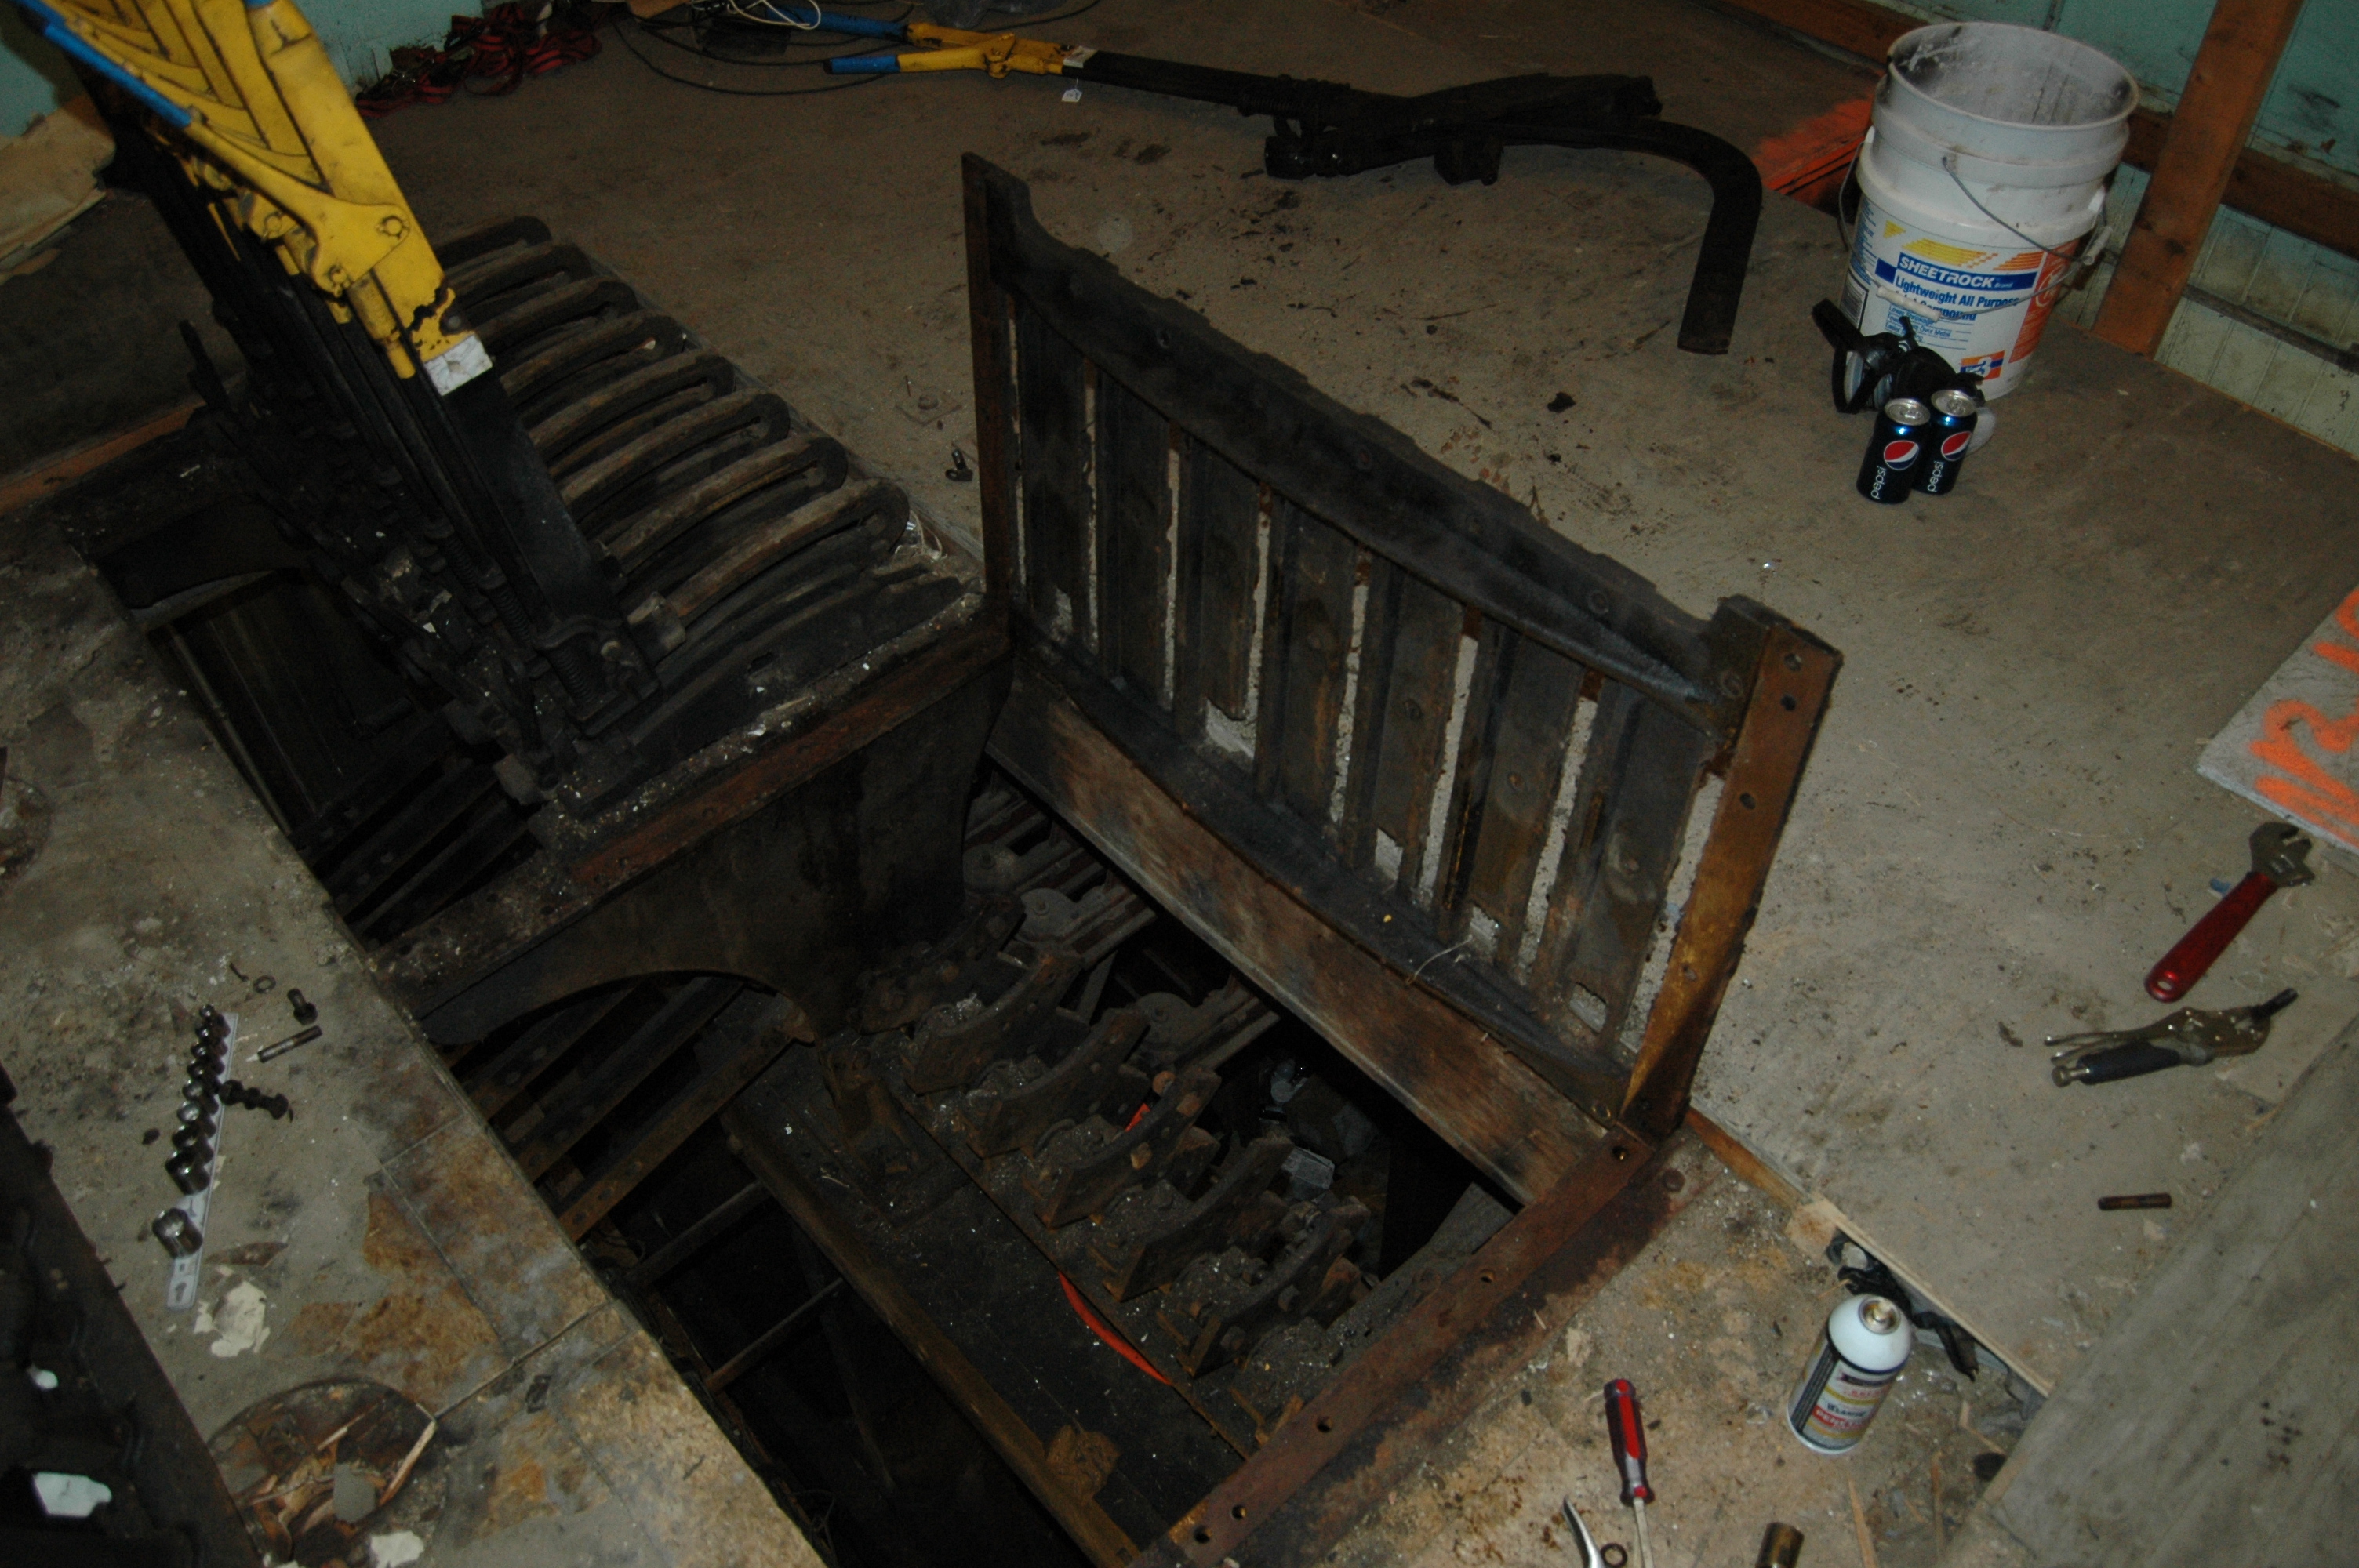
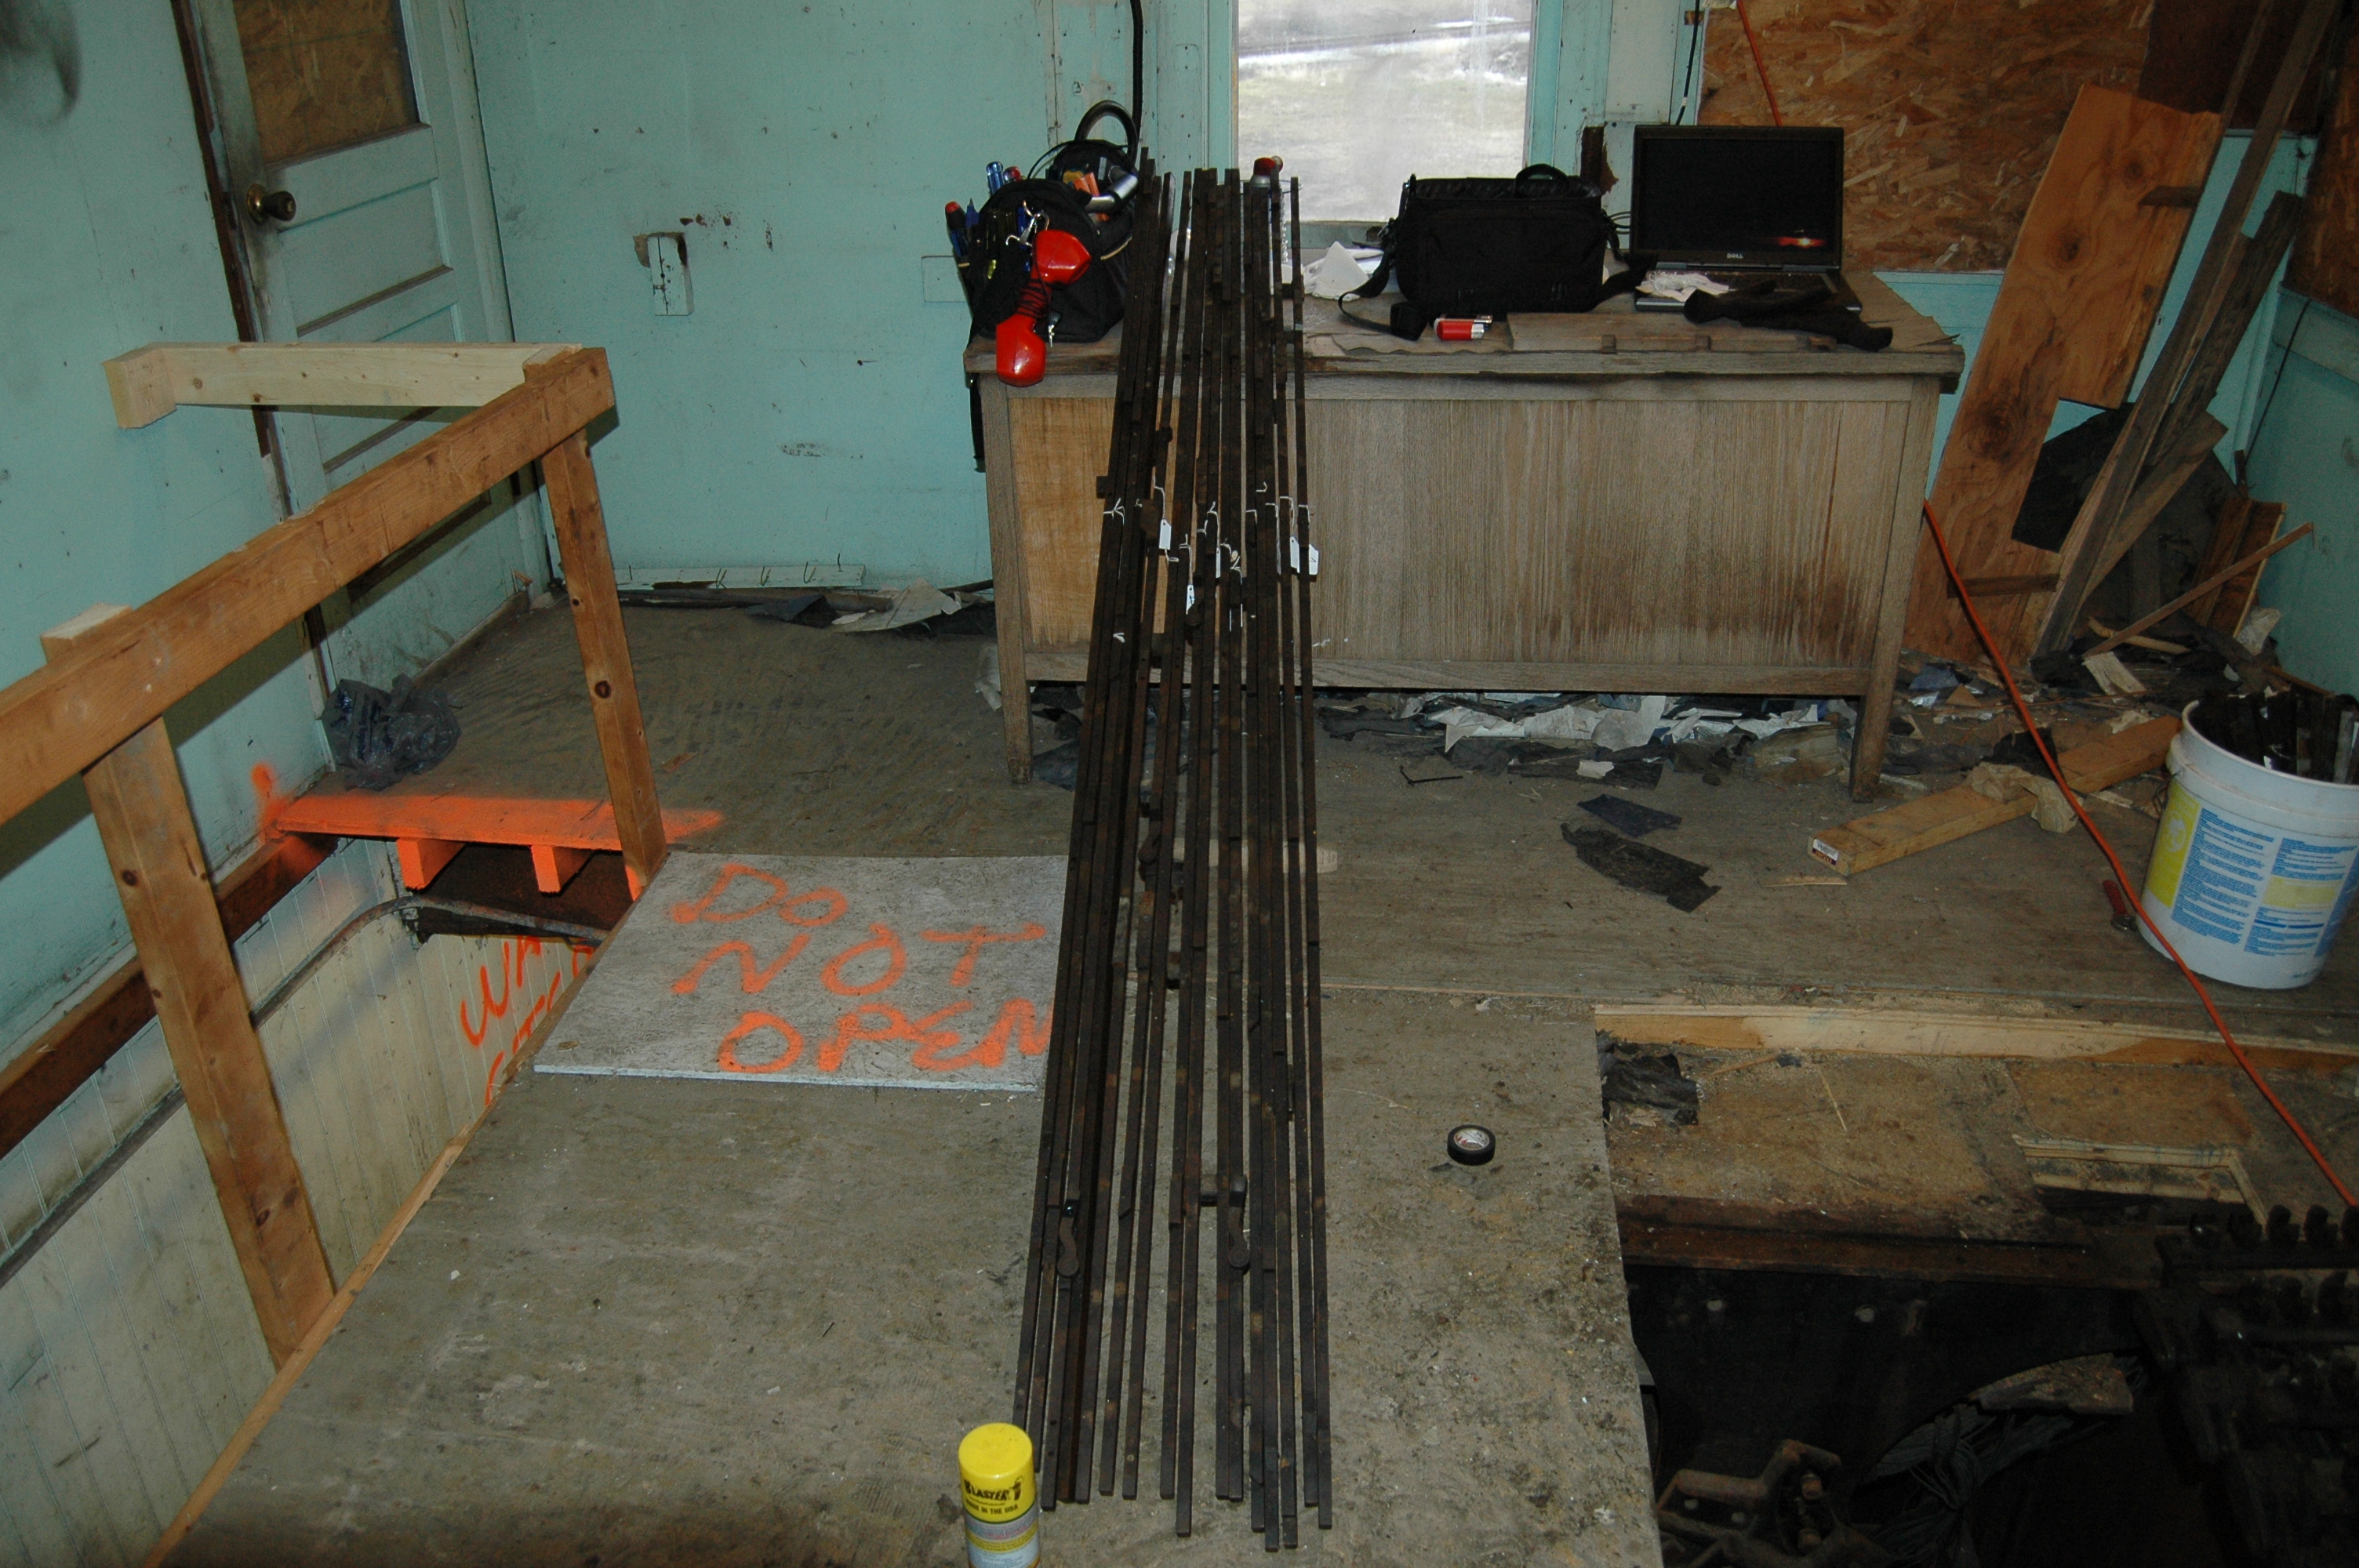
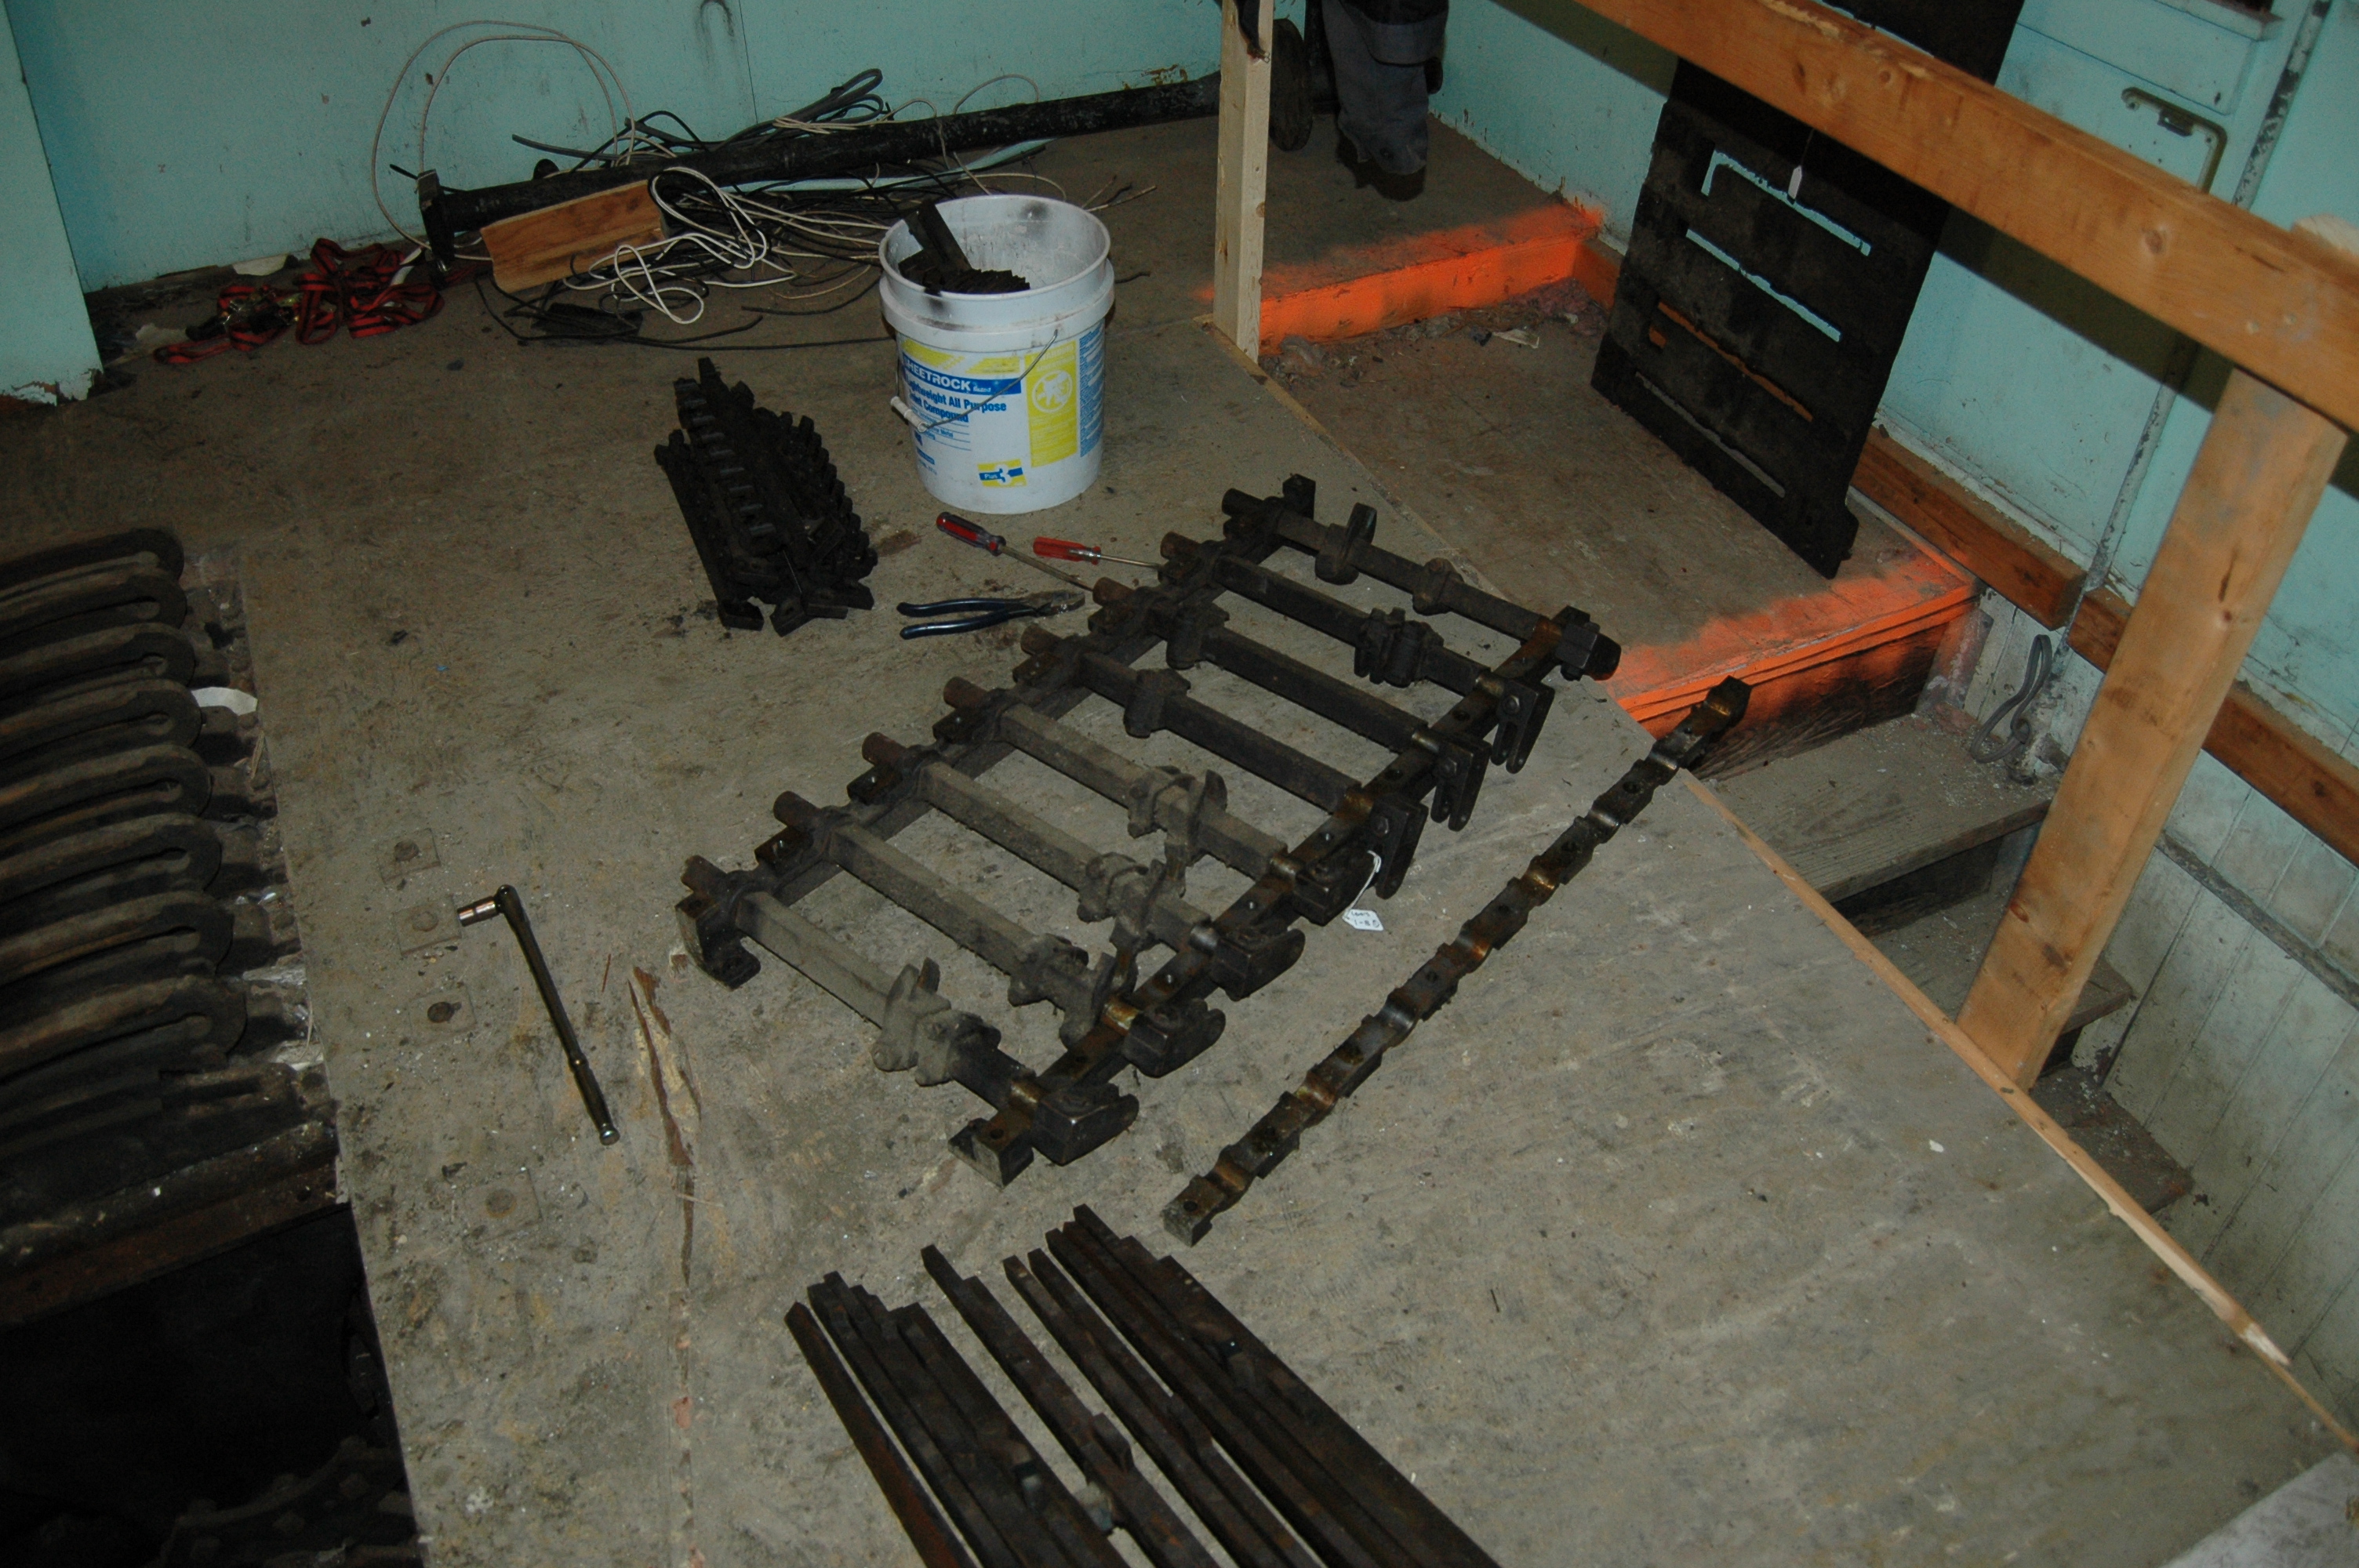
Dismantling the Lever Frame ~ 1.1.2010-3.9.2010
Since the lever frames were made in 4 and 8 way sections all the parts are interchangeable. For a 16 lever bed there are 3 legs[3.1] and then 2 top plates[3.6], the first 8 levers sit on the first top plate and the other 8 sit on the second plate. Once I removed the first 8 levers I could take out the first top plate then take out the bottom rail[3.2] which holds the lever shoes[3.5]. Once that piece is out the first leg can be taken out. Then the work will start on removing the last 8 levers and that frame. The top plate is bolted to each leg with 4 bolts and 2 pins, then its a matter of lifting it out. The bottom rail rests on the legs of the machine and are held in by 4 bolts.
 |
 |
 |
 |
 |
 |
 |
 |
 |
 |
 |
 |
 |
 |
 |
 |
 |
 NEW |
 NEW |
 NEW |
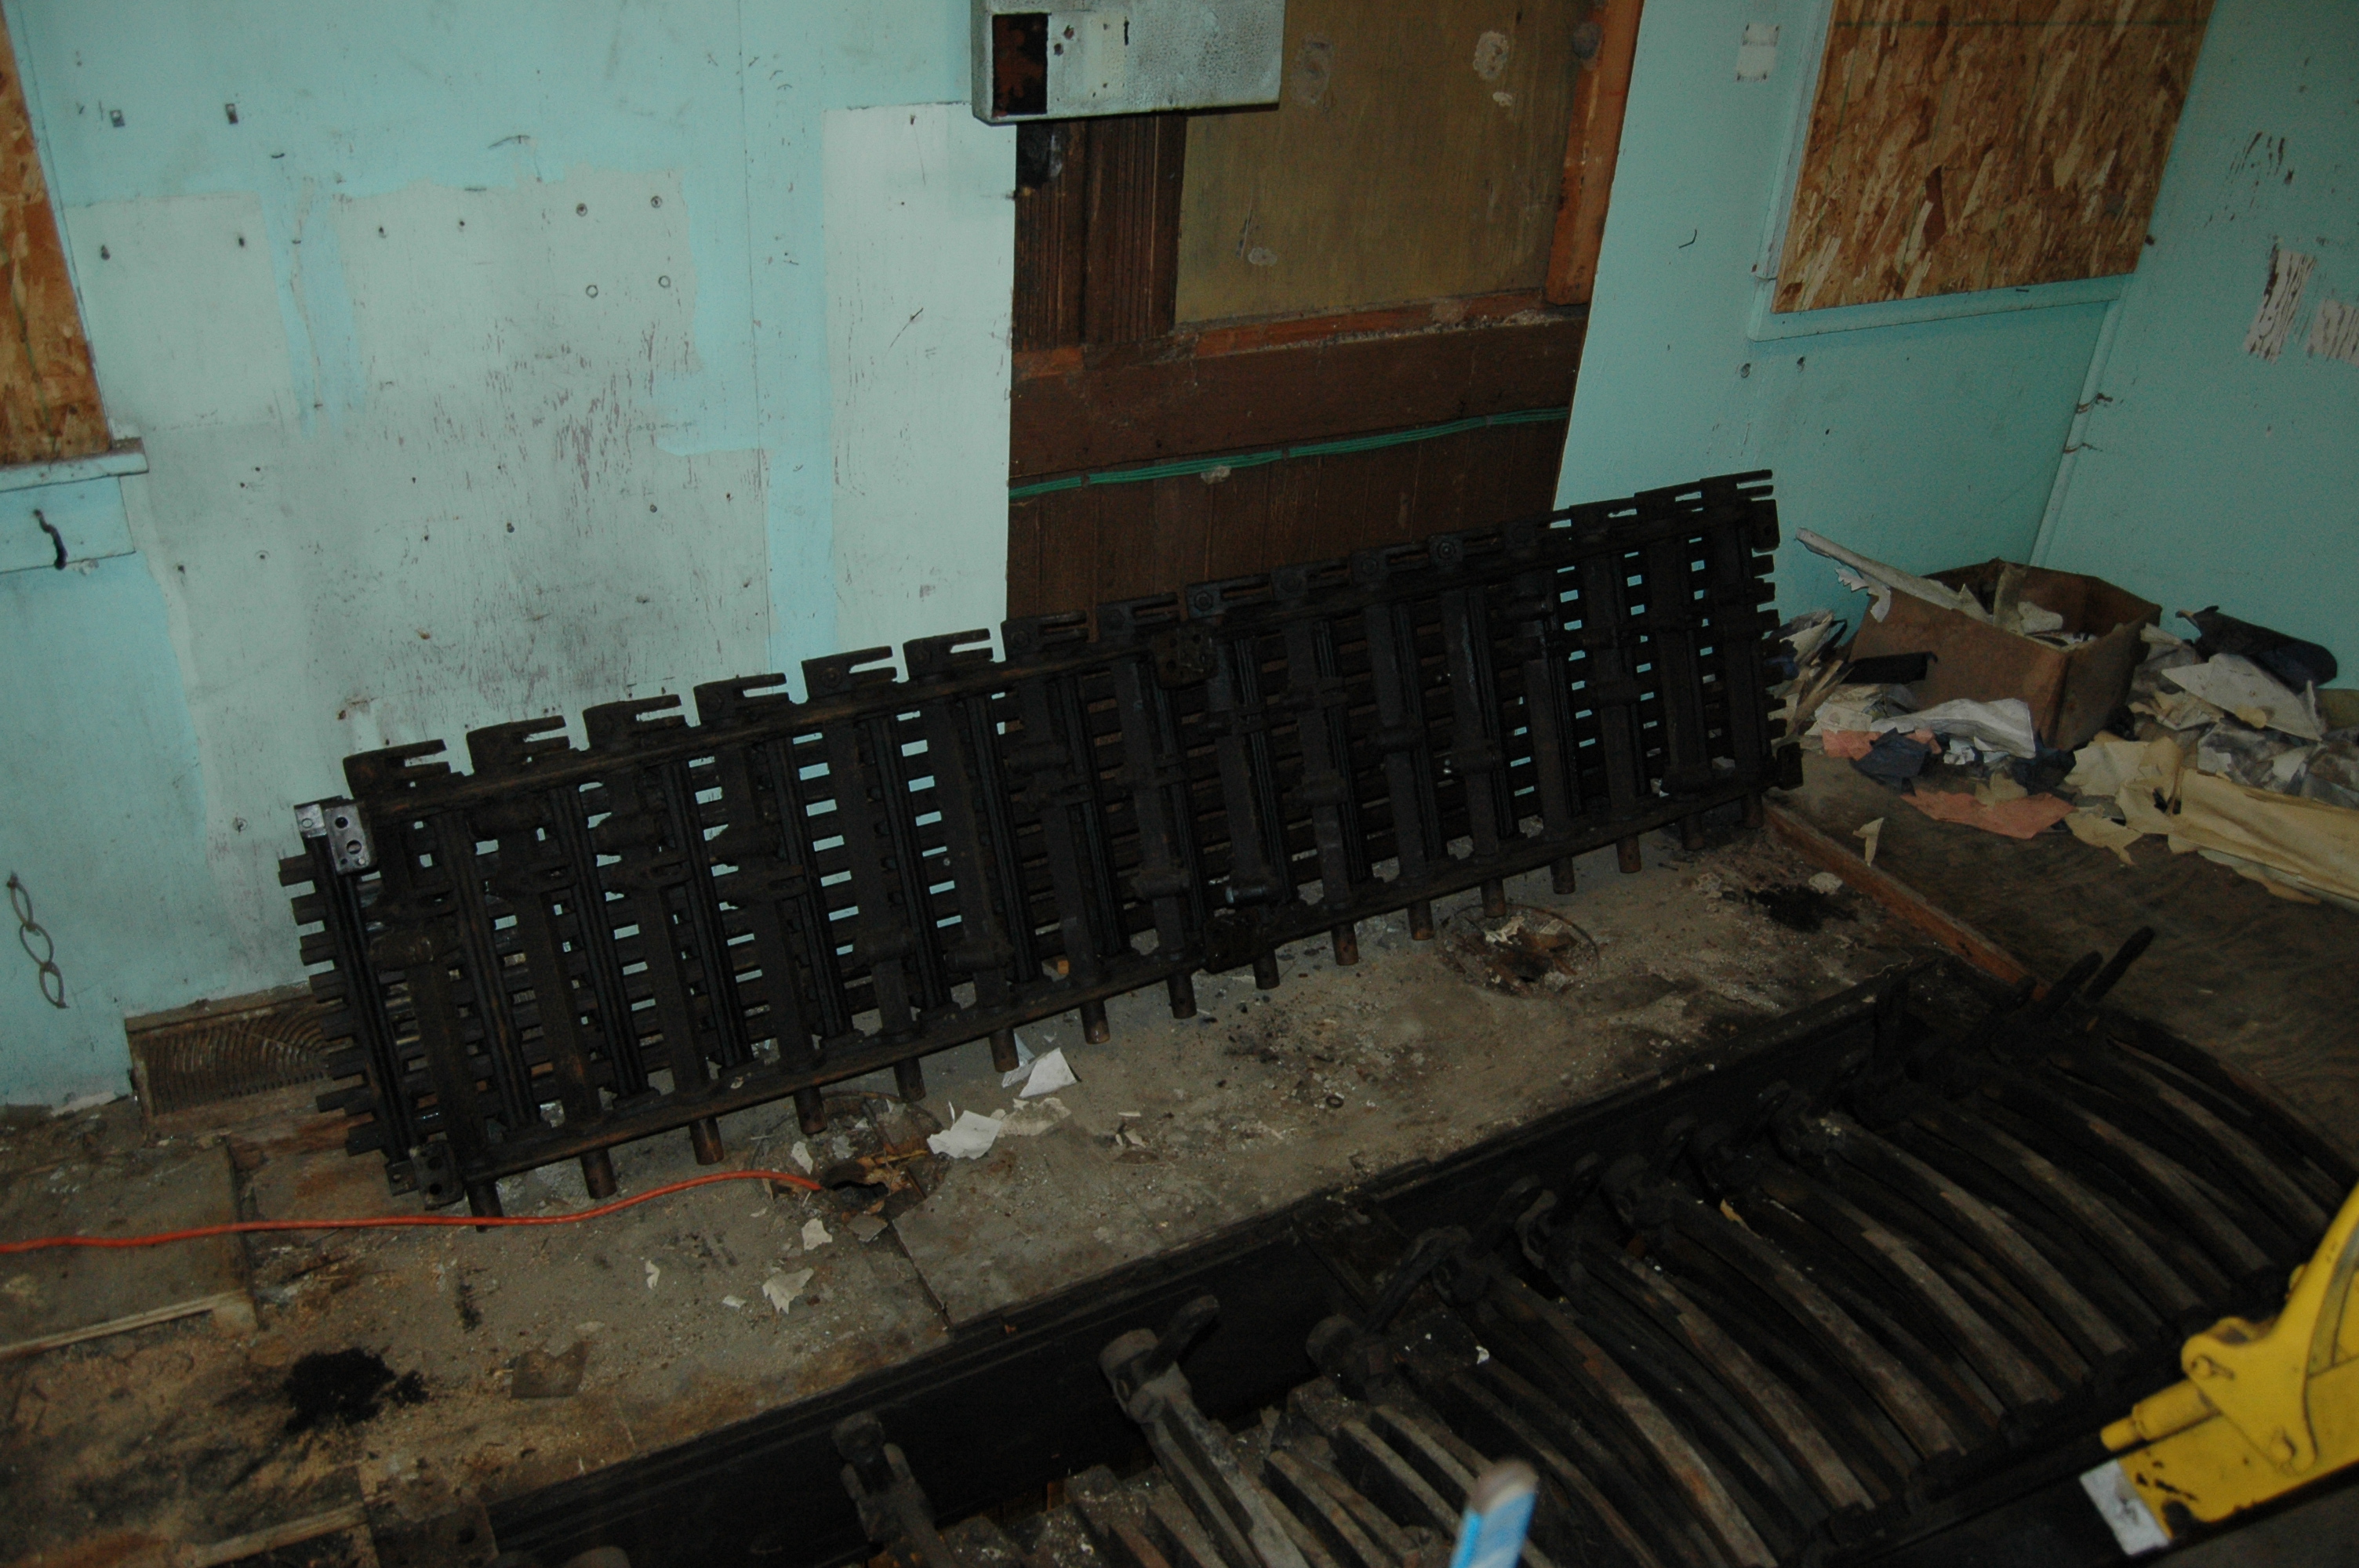
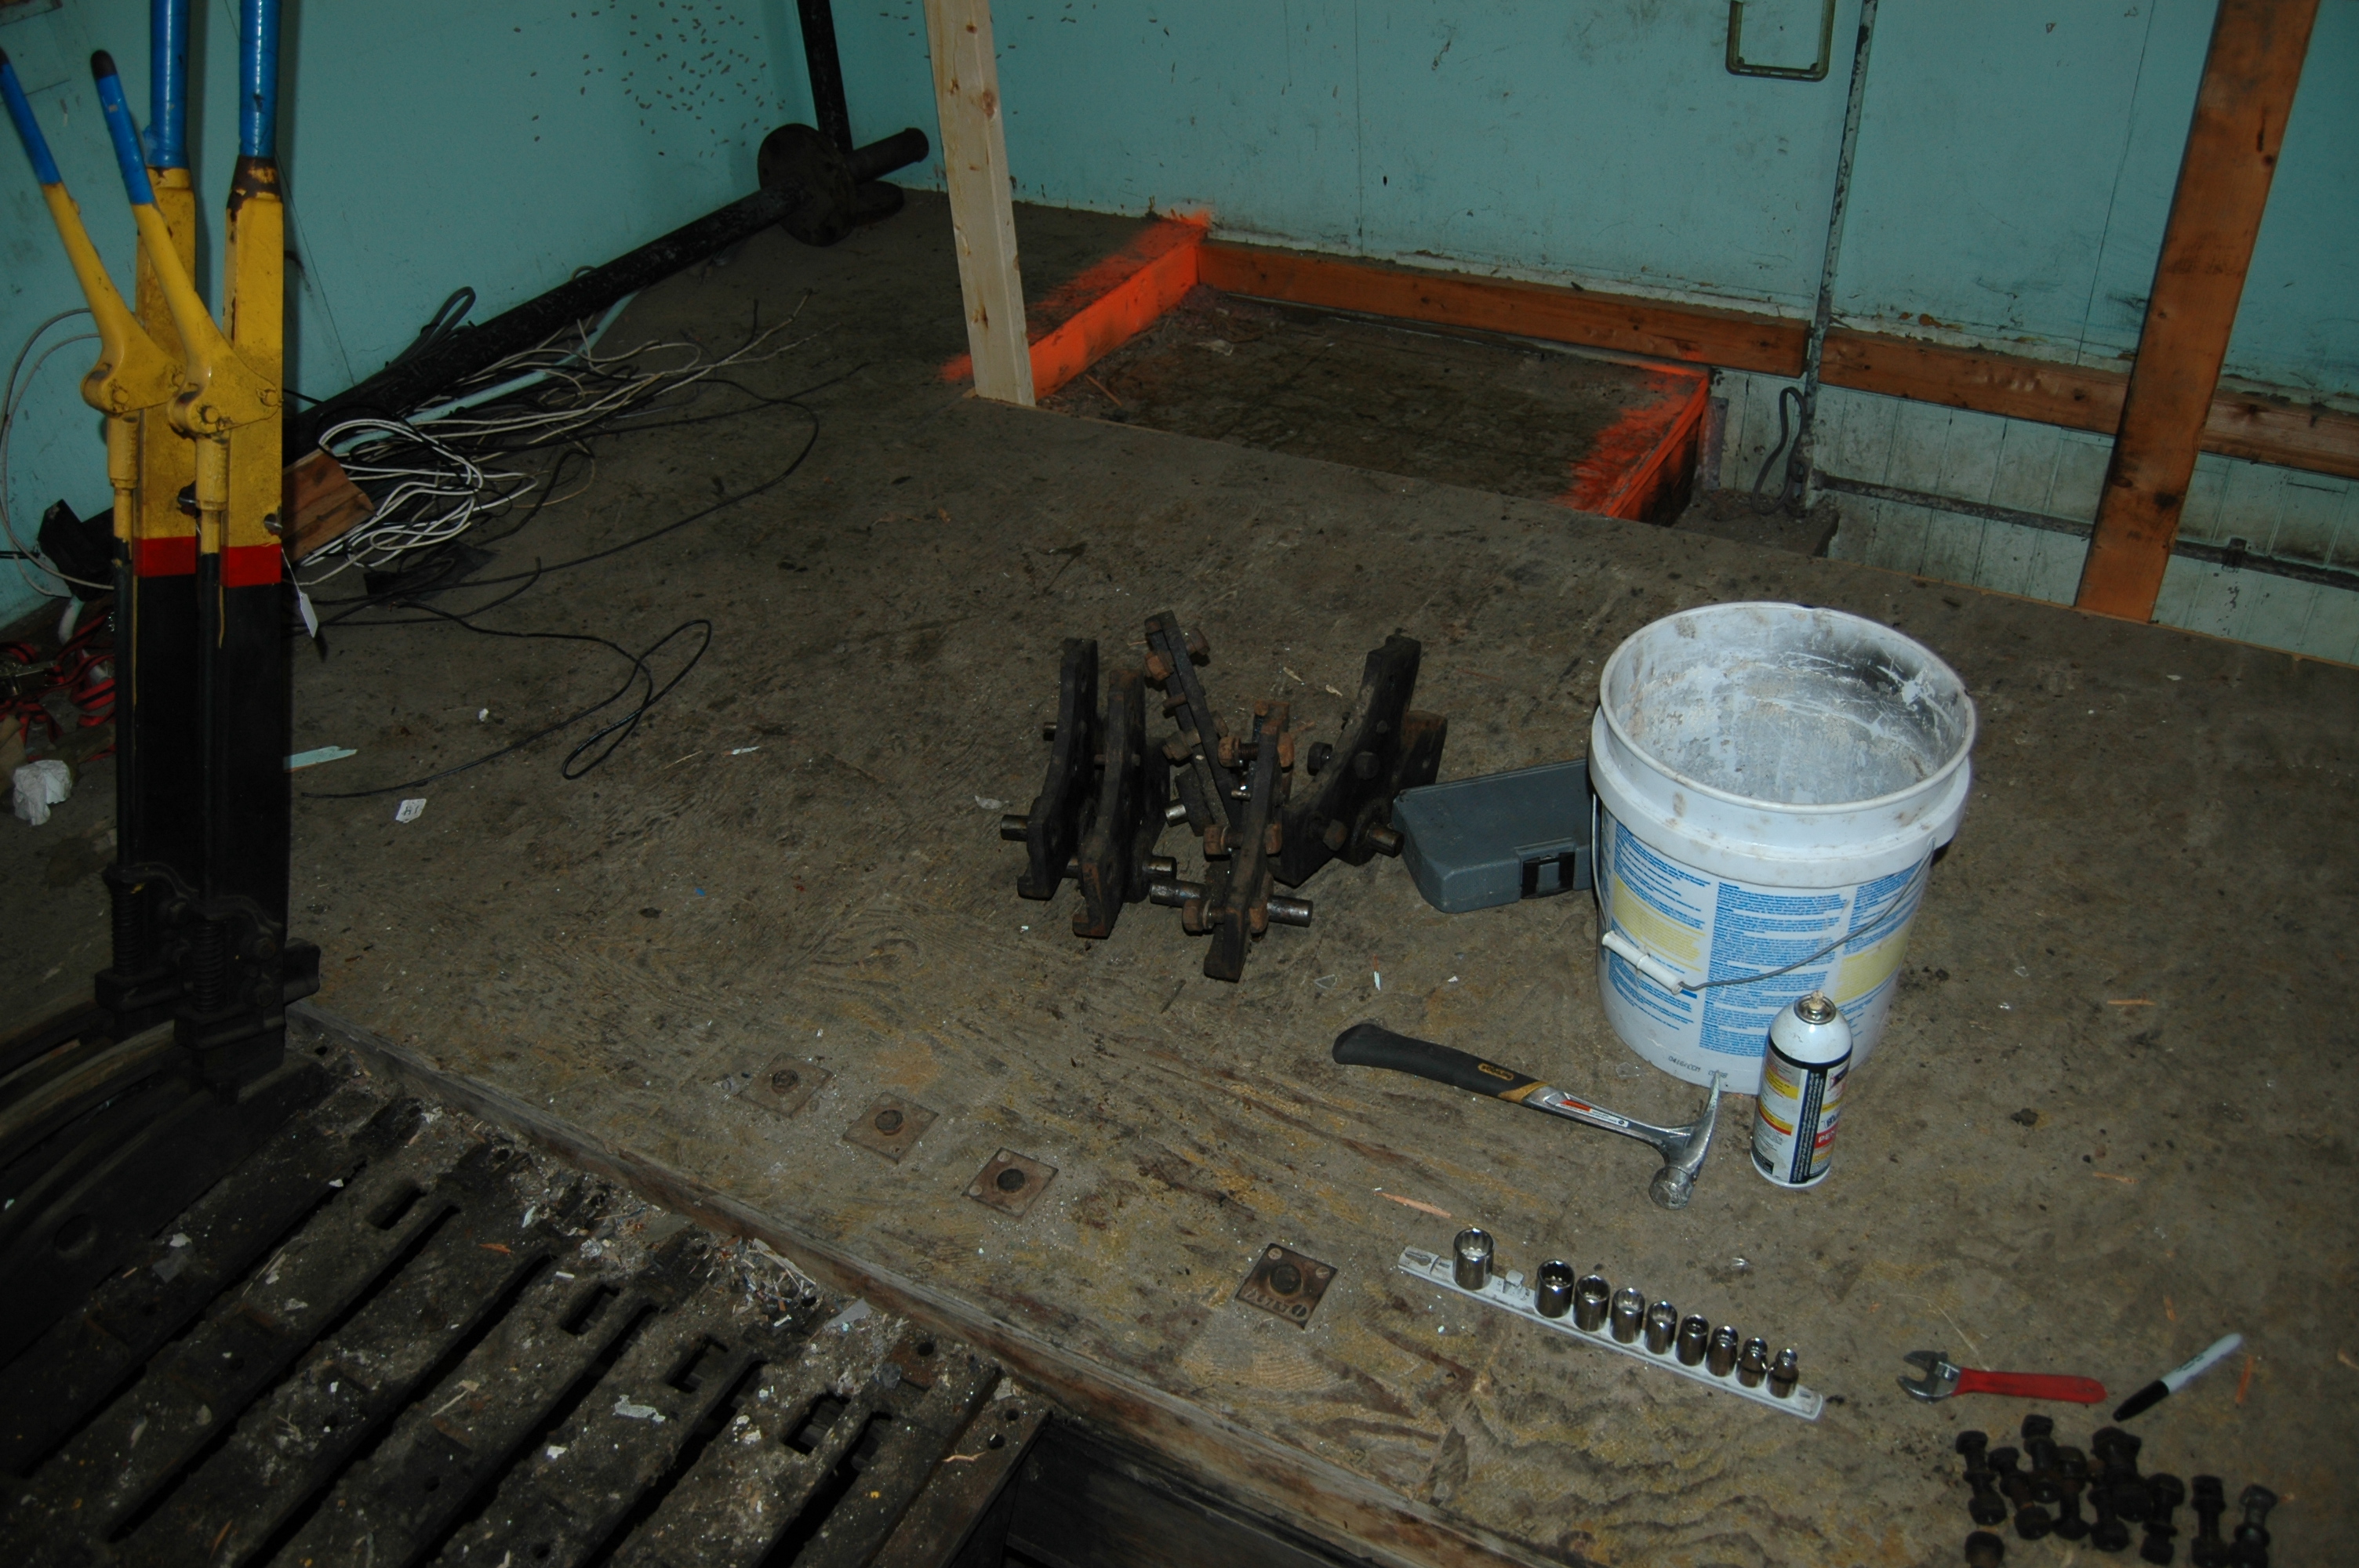
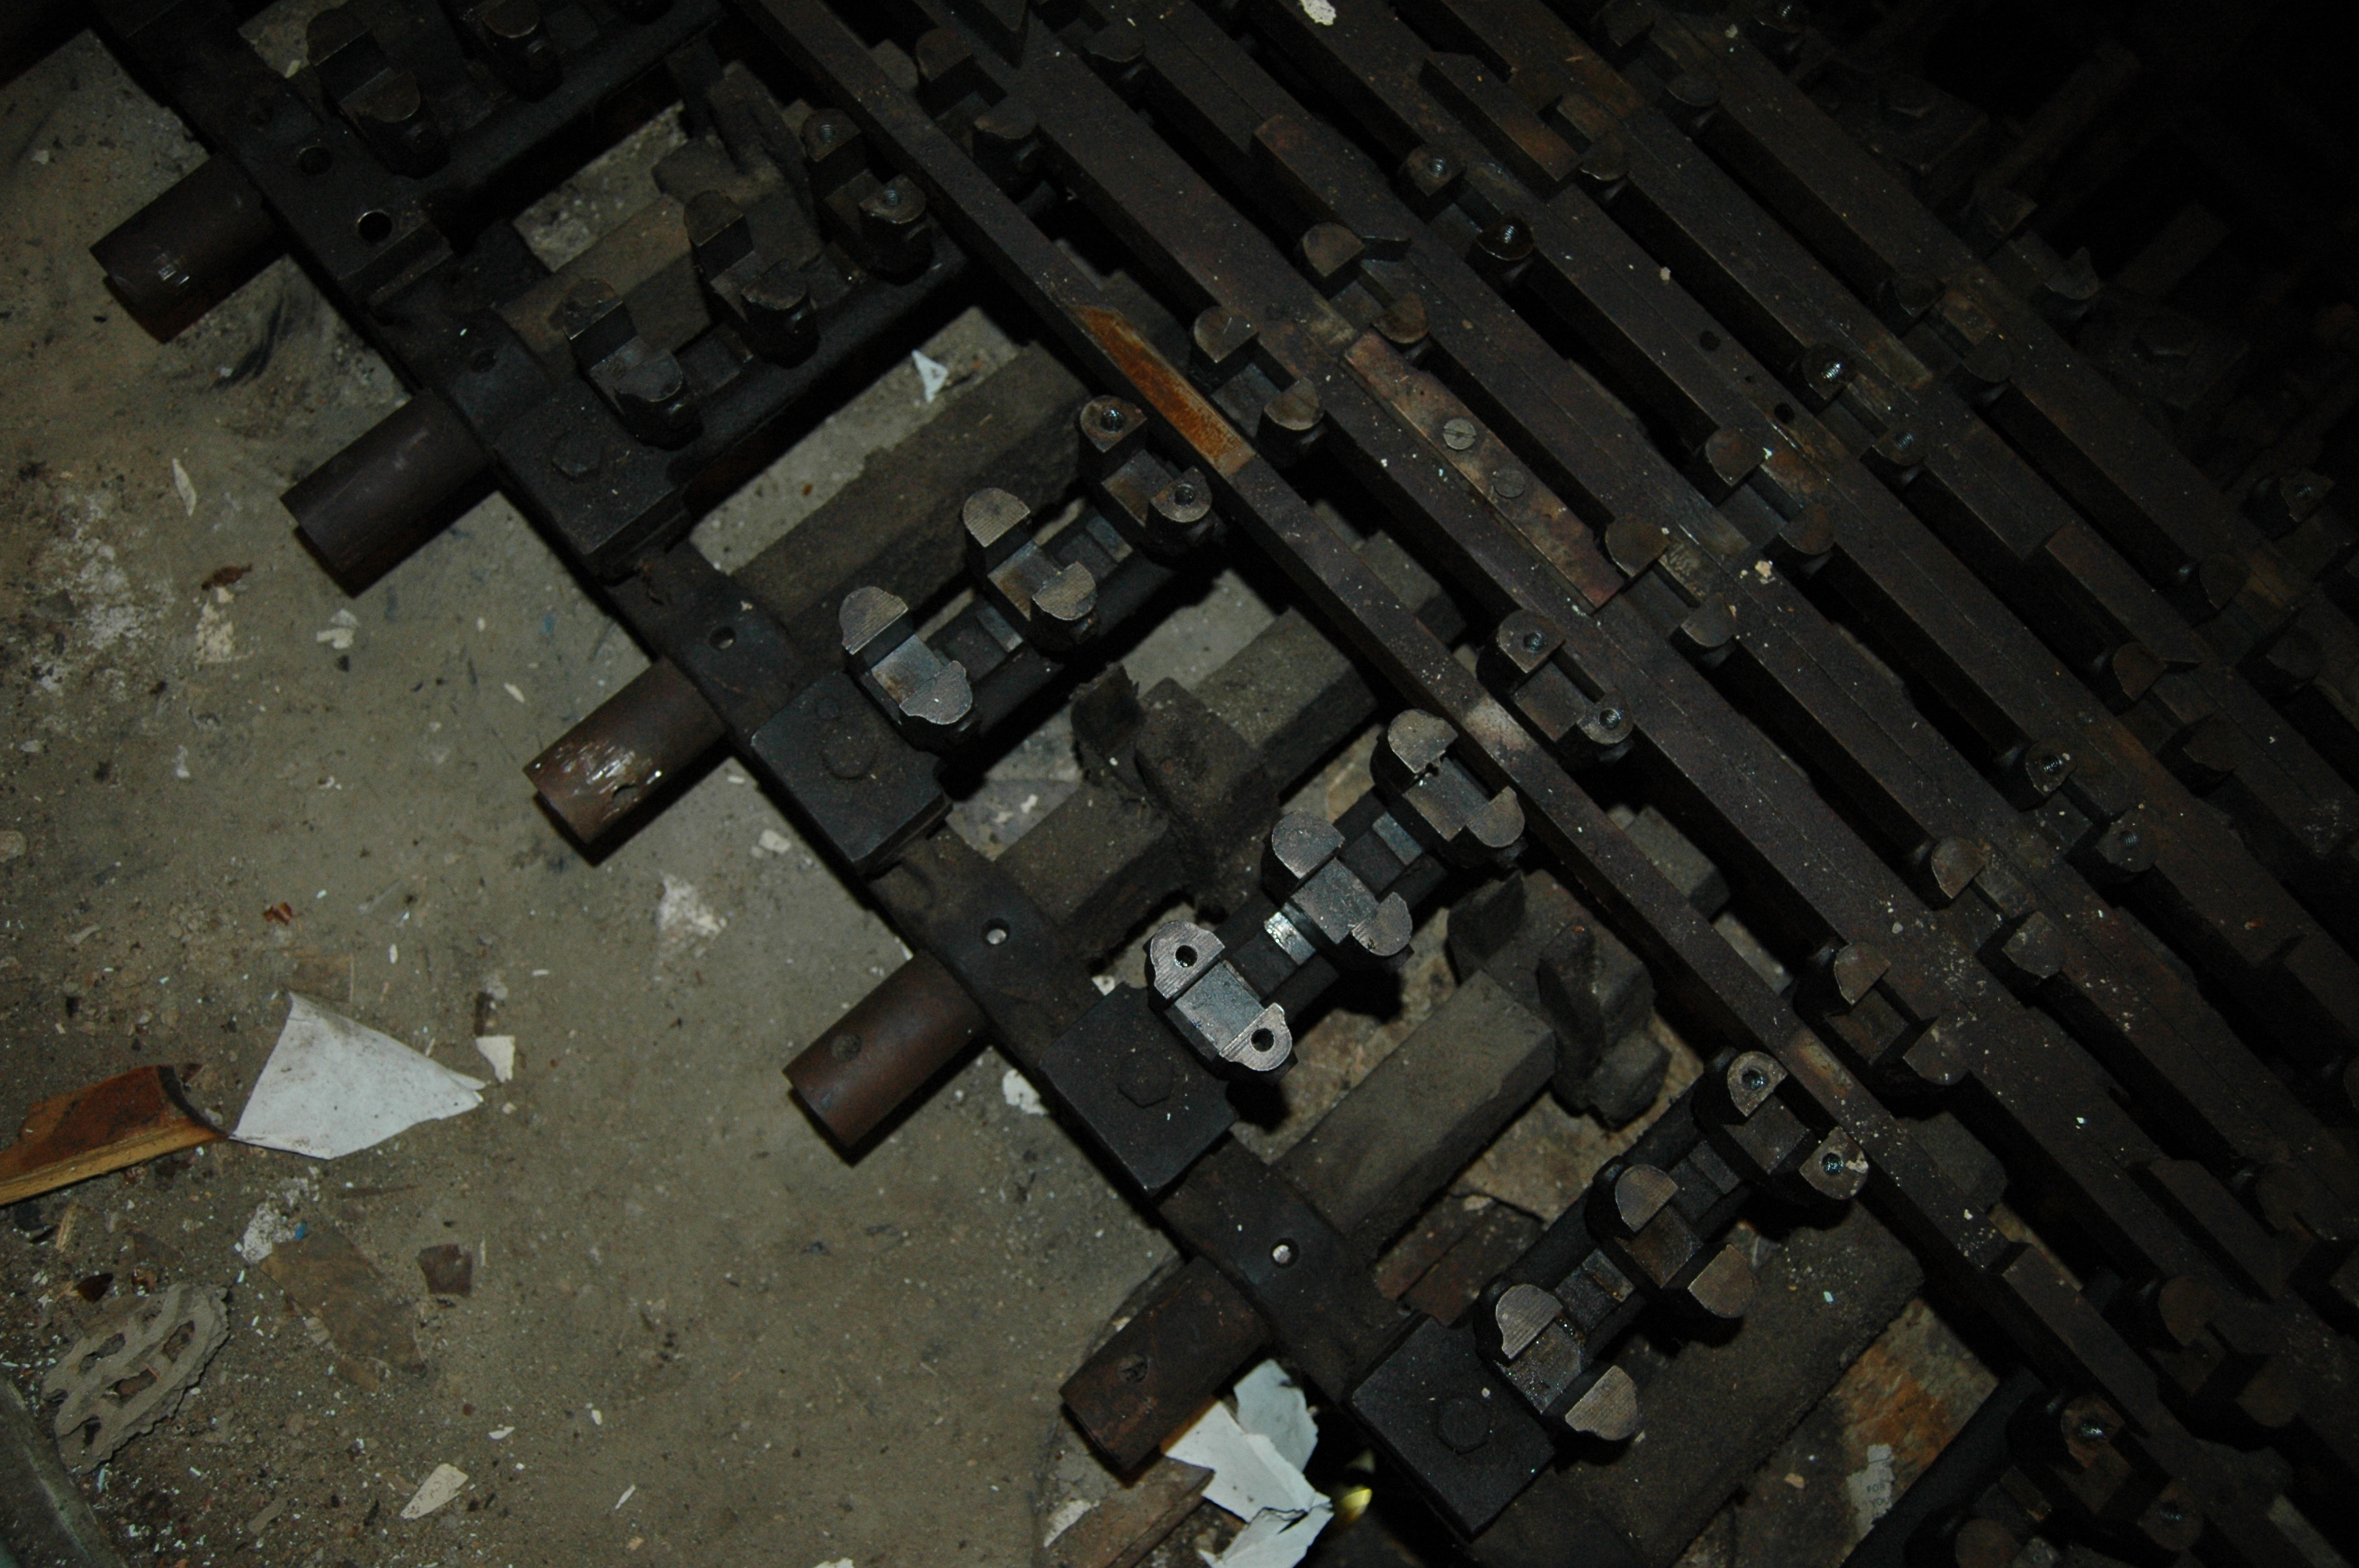
Dismantling the Locking Bed ~ 1.16.2010
Regretfully I had to take the locking bed apart. Originally we were going to try and remove it whole, not a chance in hell with out powered equipment. To take apart the locking bed I removed all the caps[3.18] on top of the locking brackets[3.19]. Then I pulled out all the cross locking bars[5.41] and labled them. Then I removed 2 tappets[5.42] at a time and labled them, all the stuff is marked by the manufacture but I also put tags on it just in case. After all the tappets were removed the locking bed was in two 8 lever sections. These were still to heavy to move with one person so I removed the Locking brackets to free up some weight. This then made everything come apart! I am going to put it back together right away until the tower is built. After the tower is built then it will be taken back apart and put in the tower. This way I dont forget how it goes together.
 |
 |
 |
 |
 |
 |
 |
 |
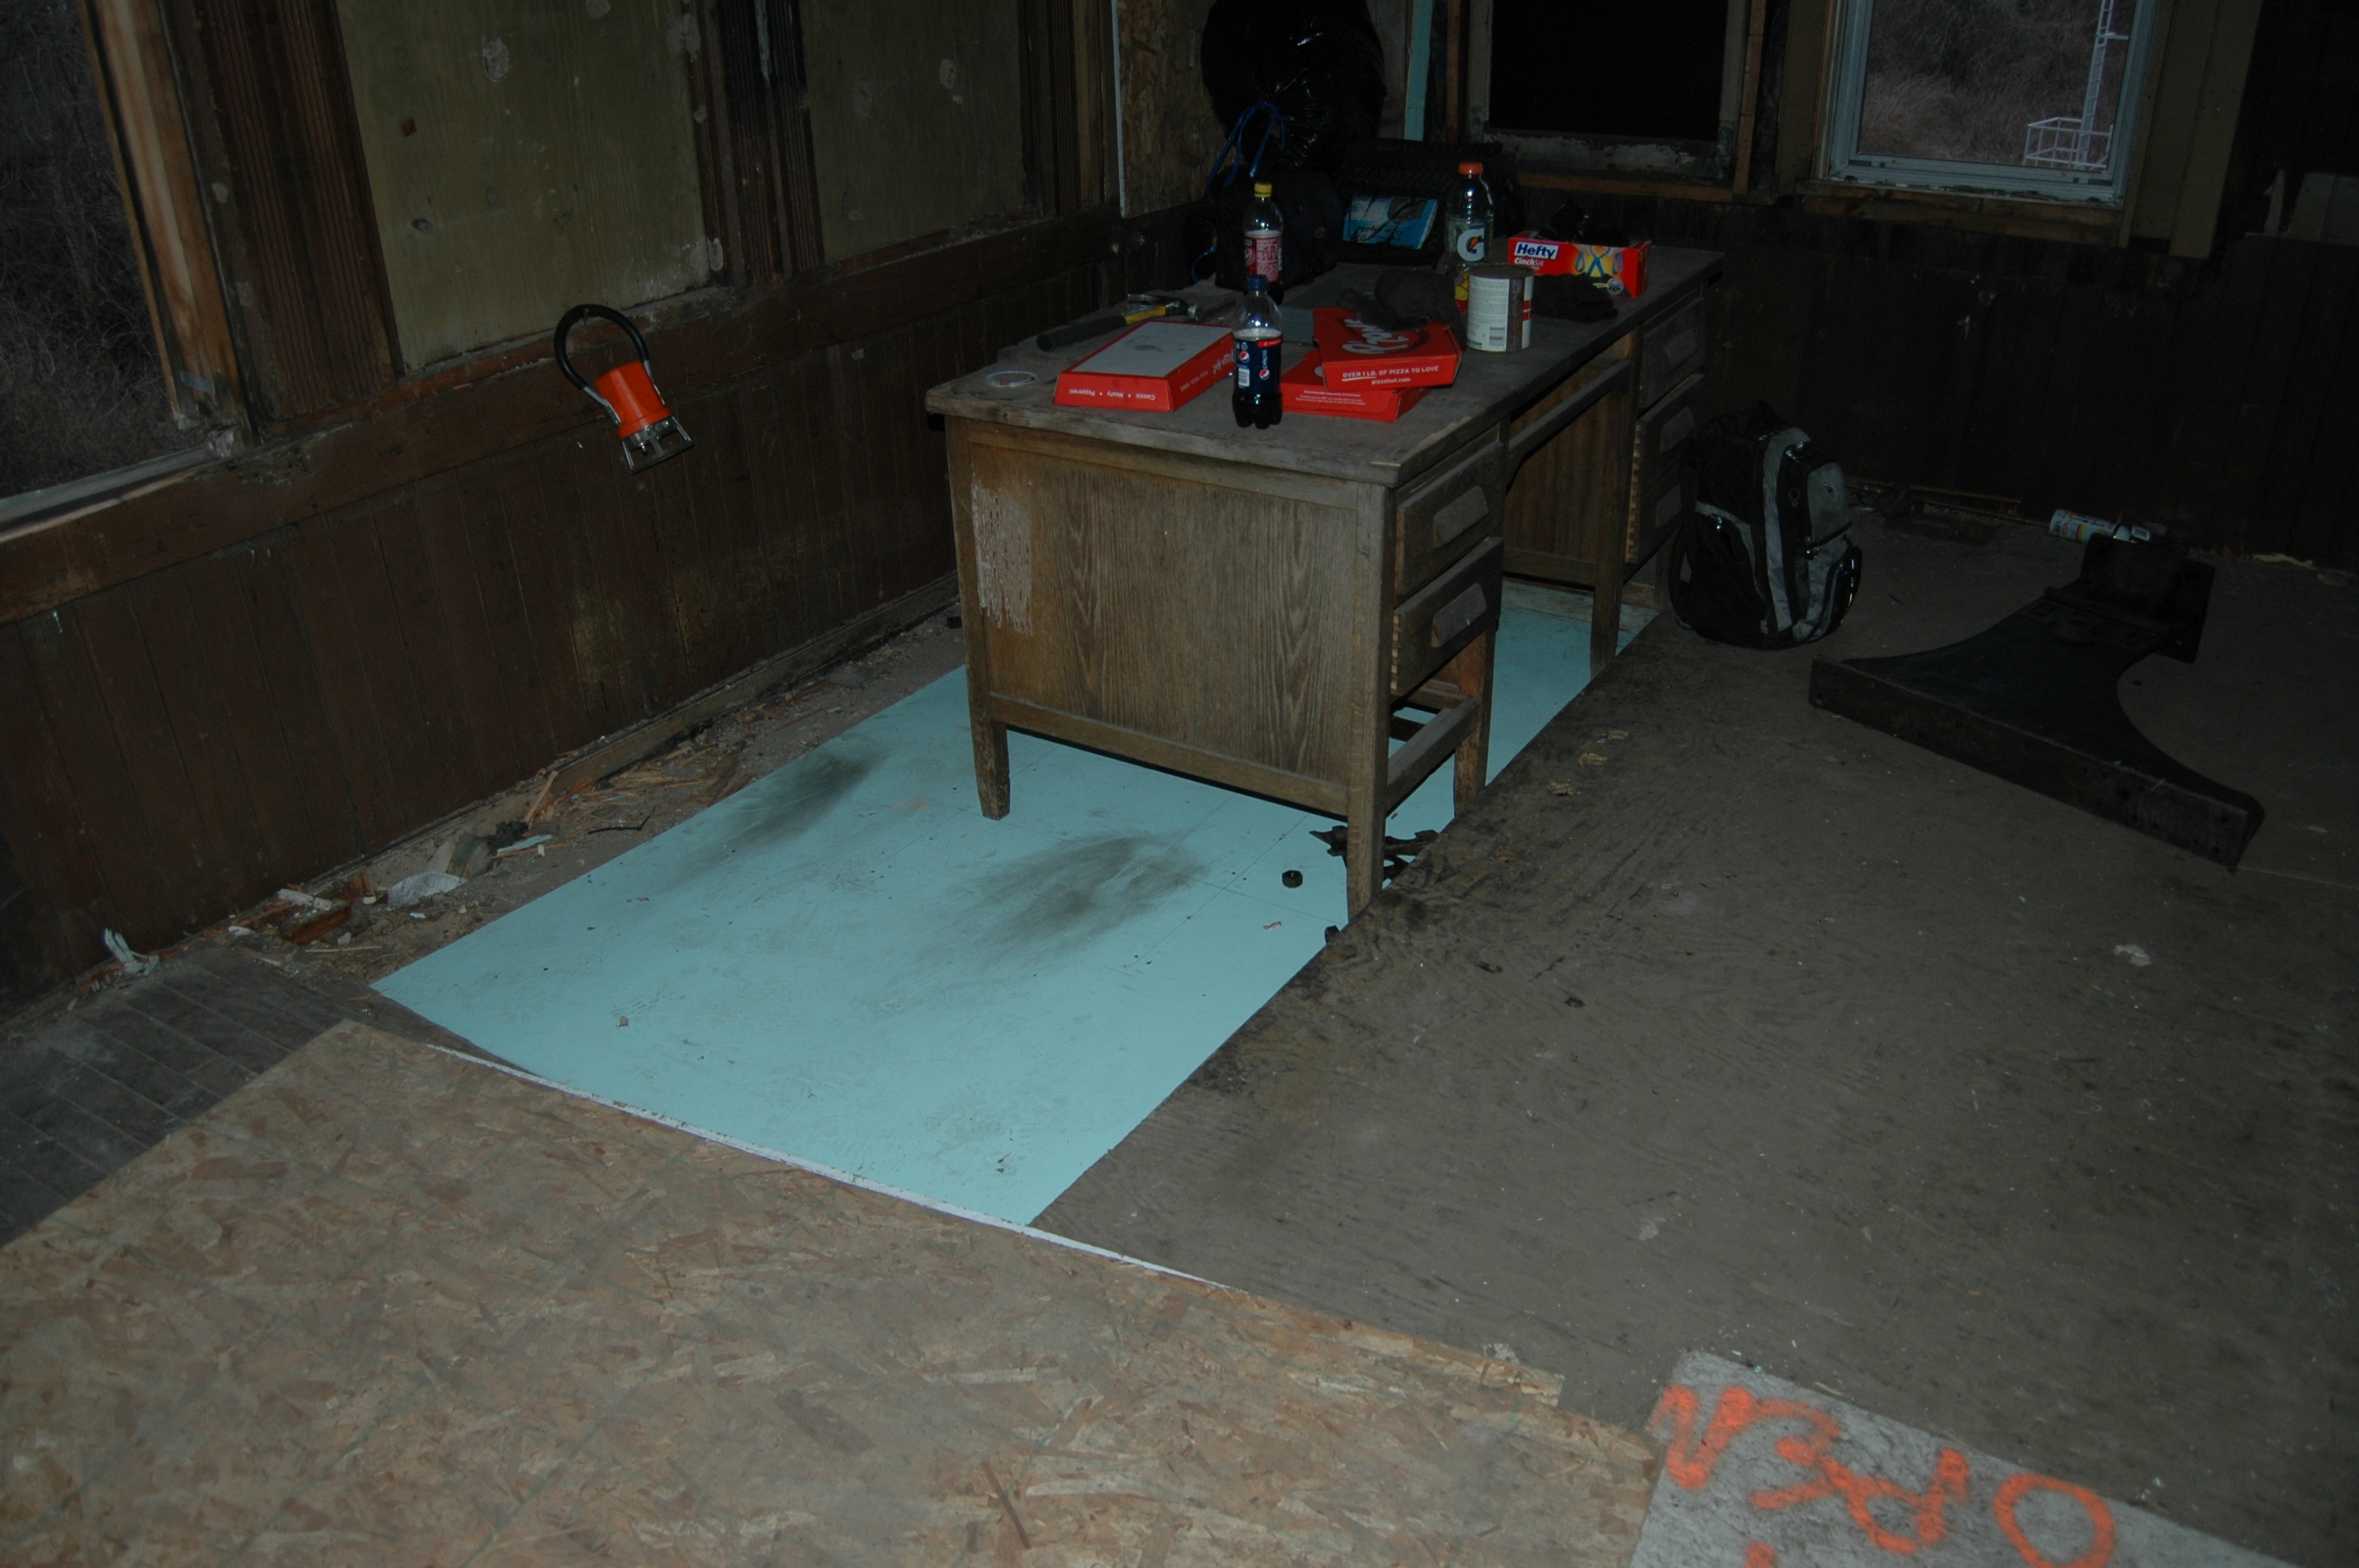
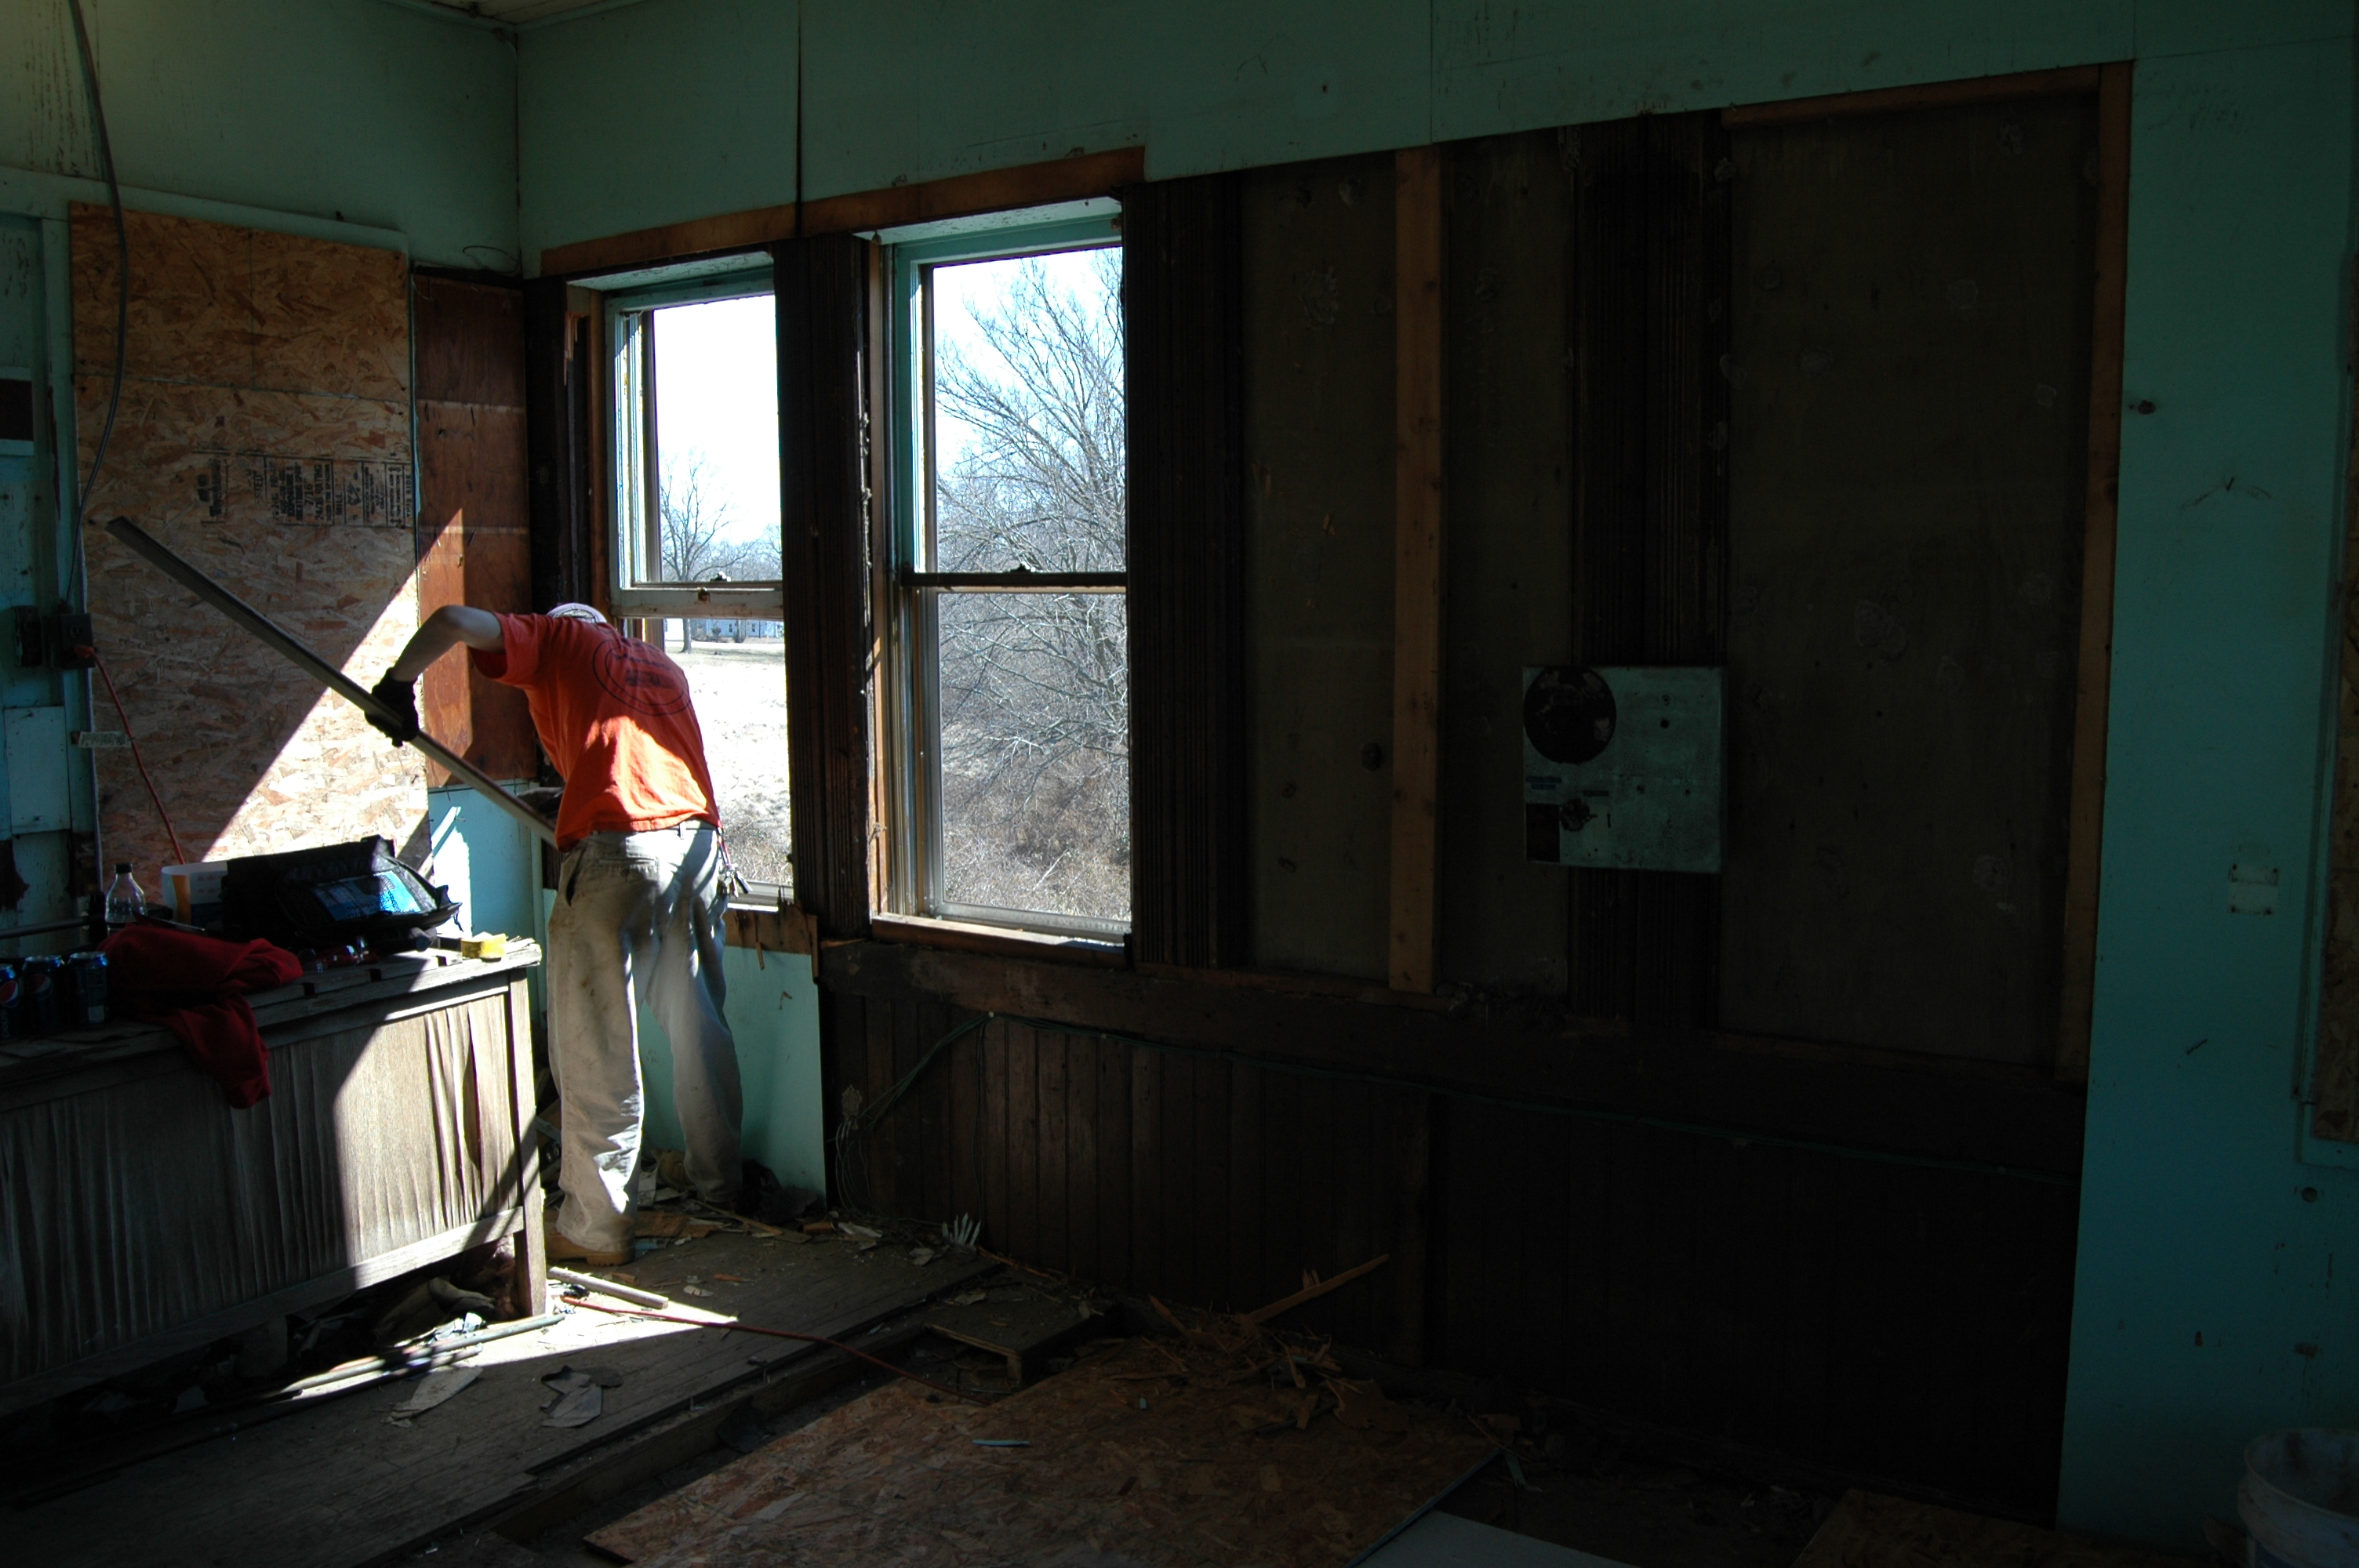
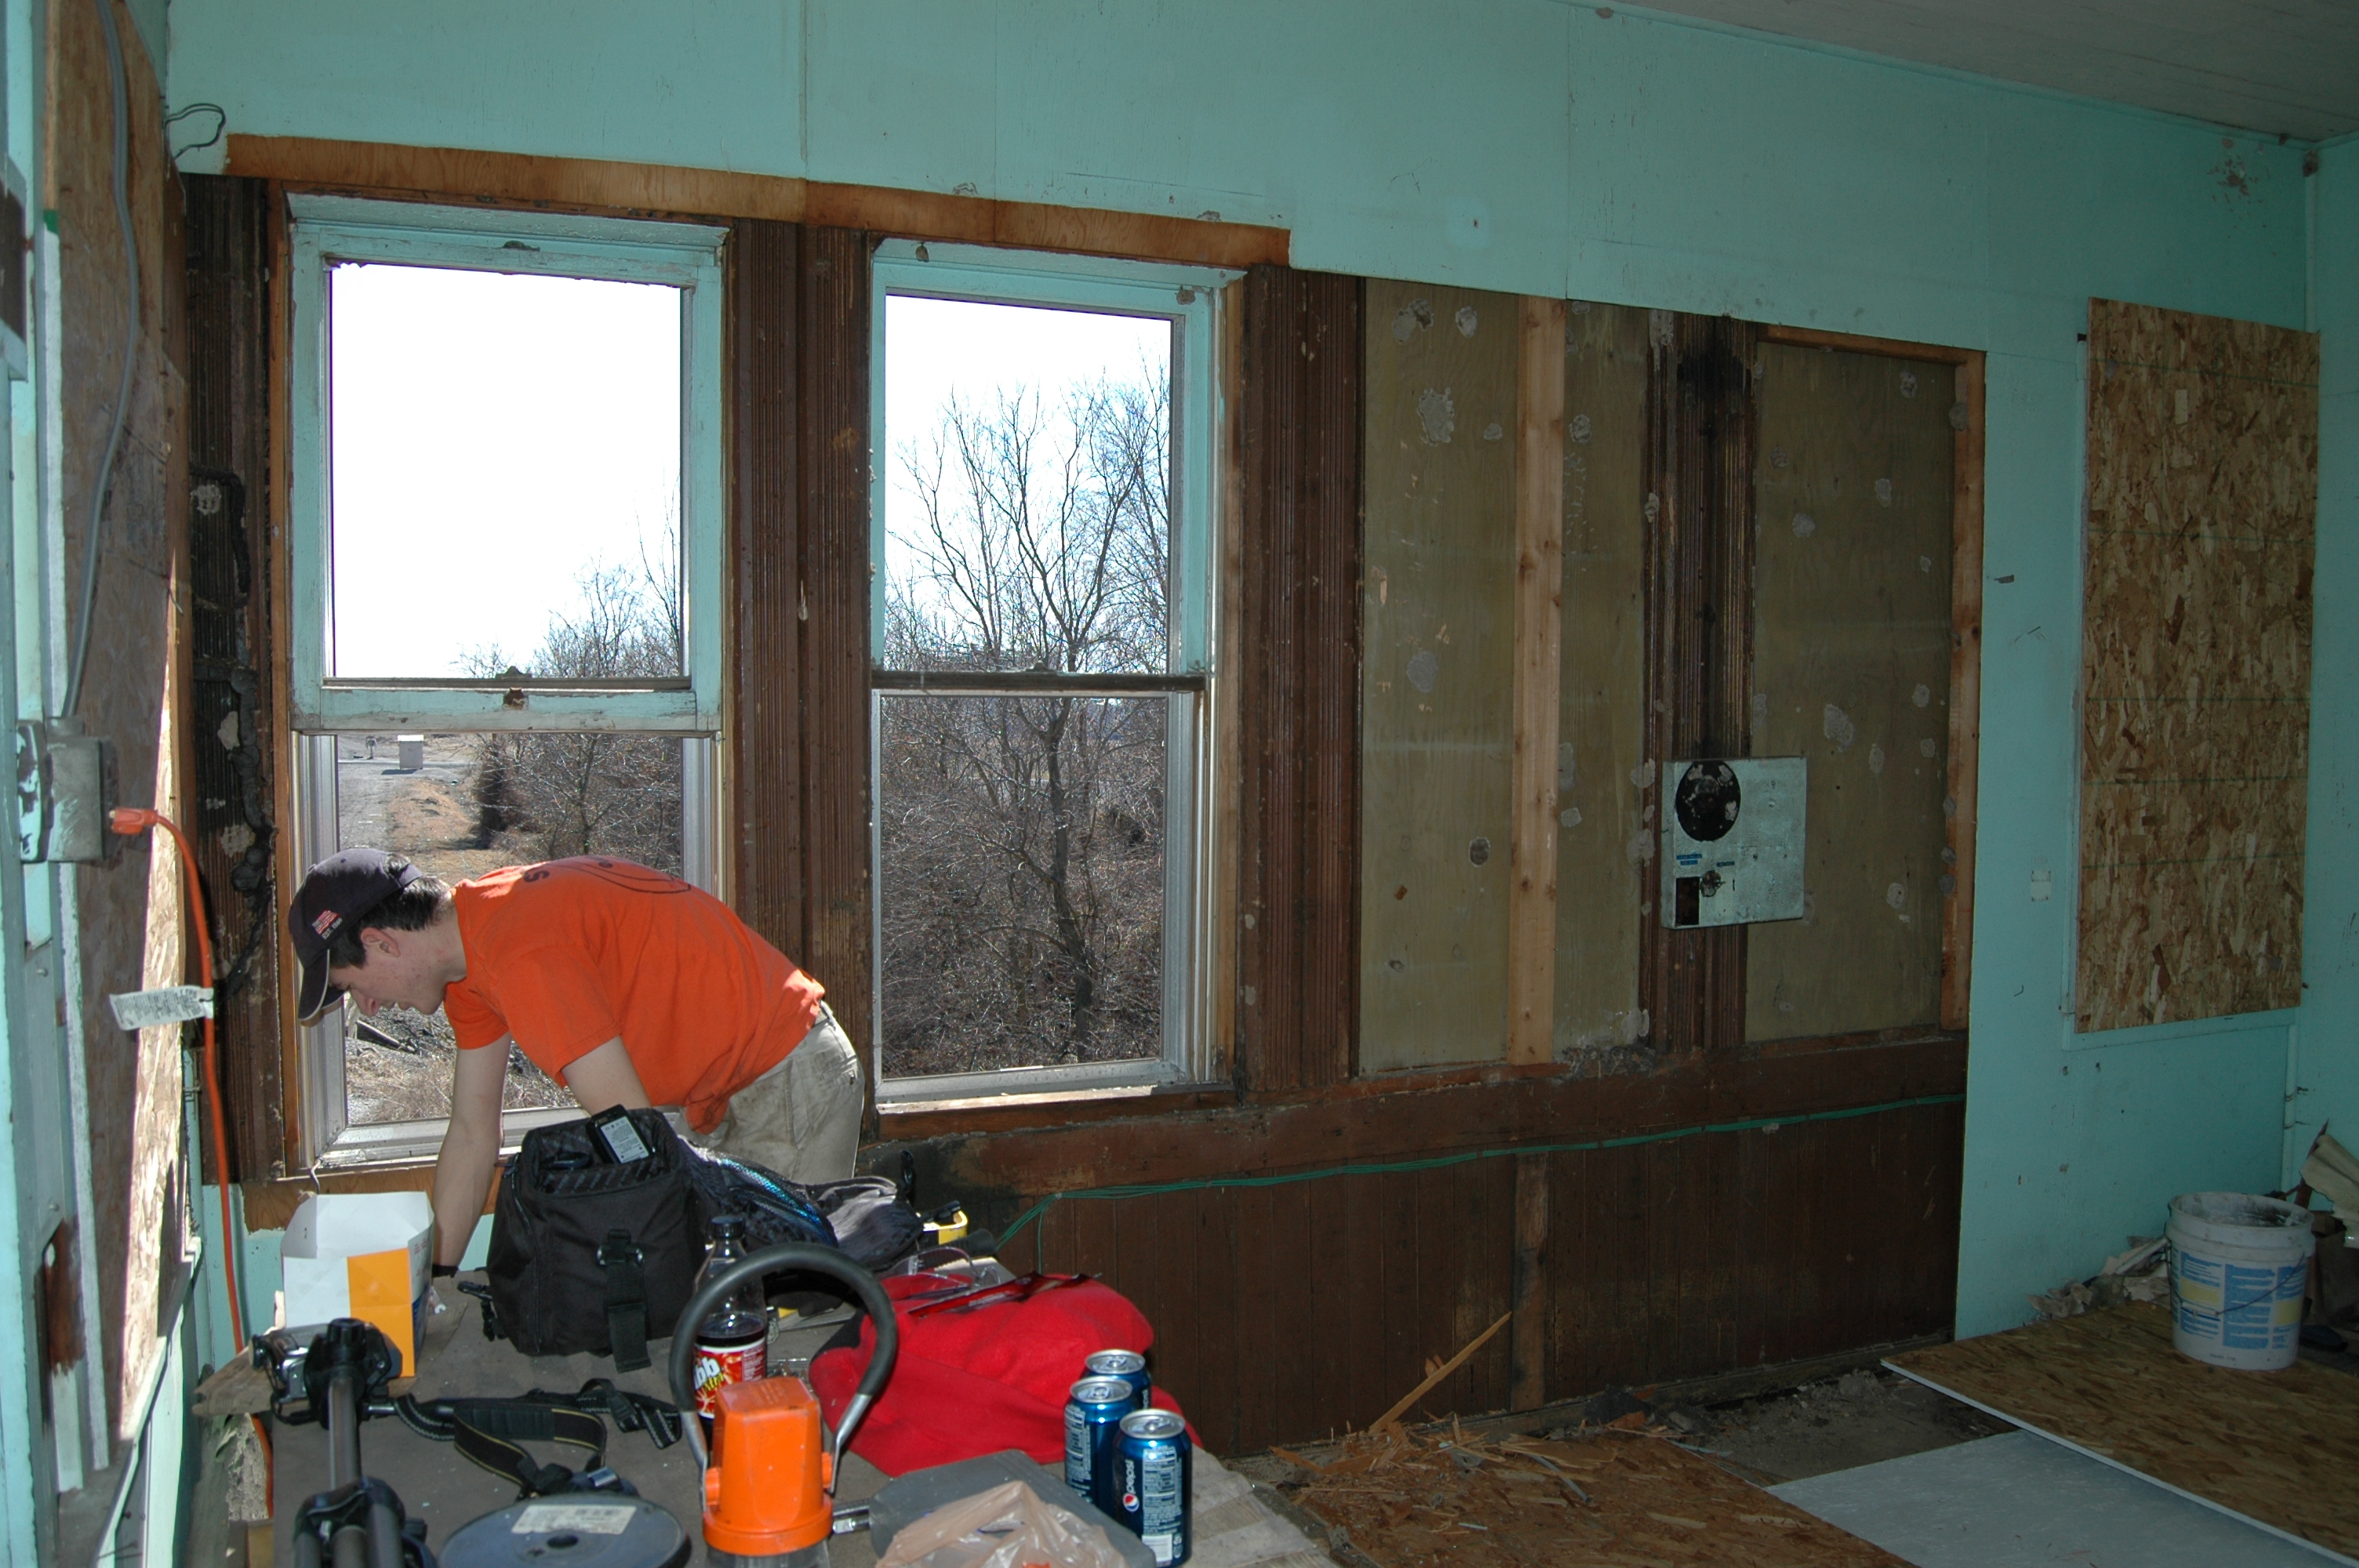
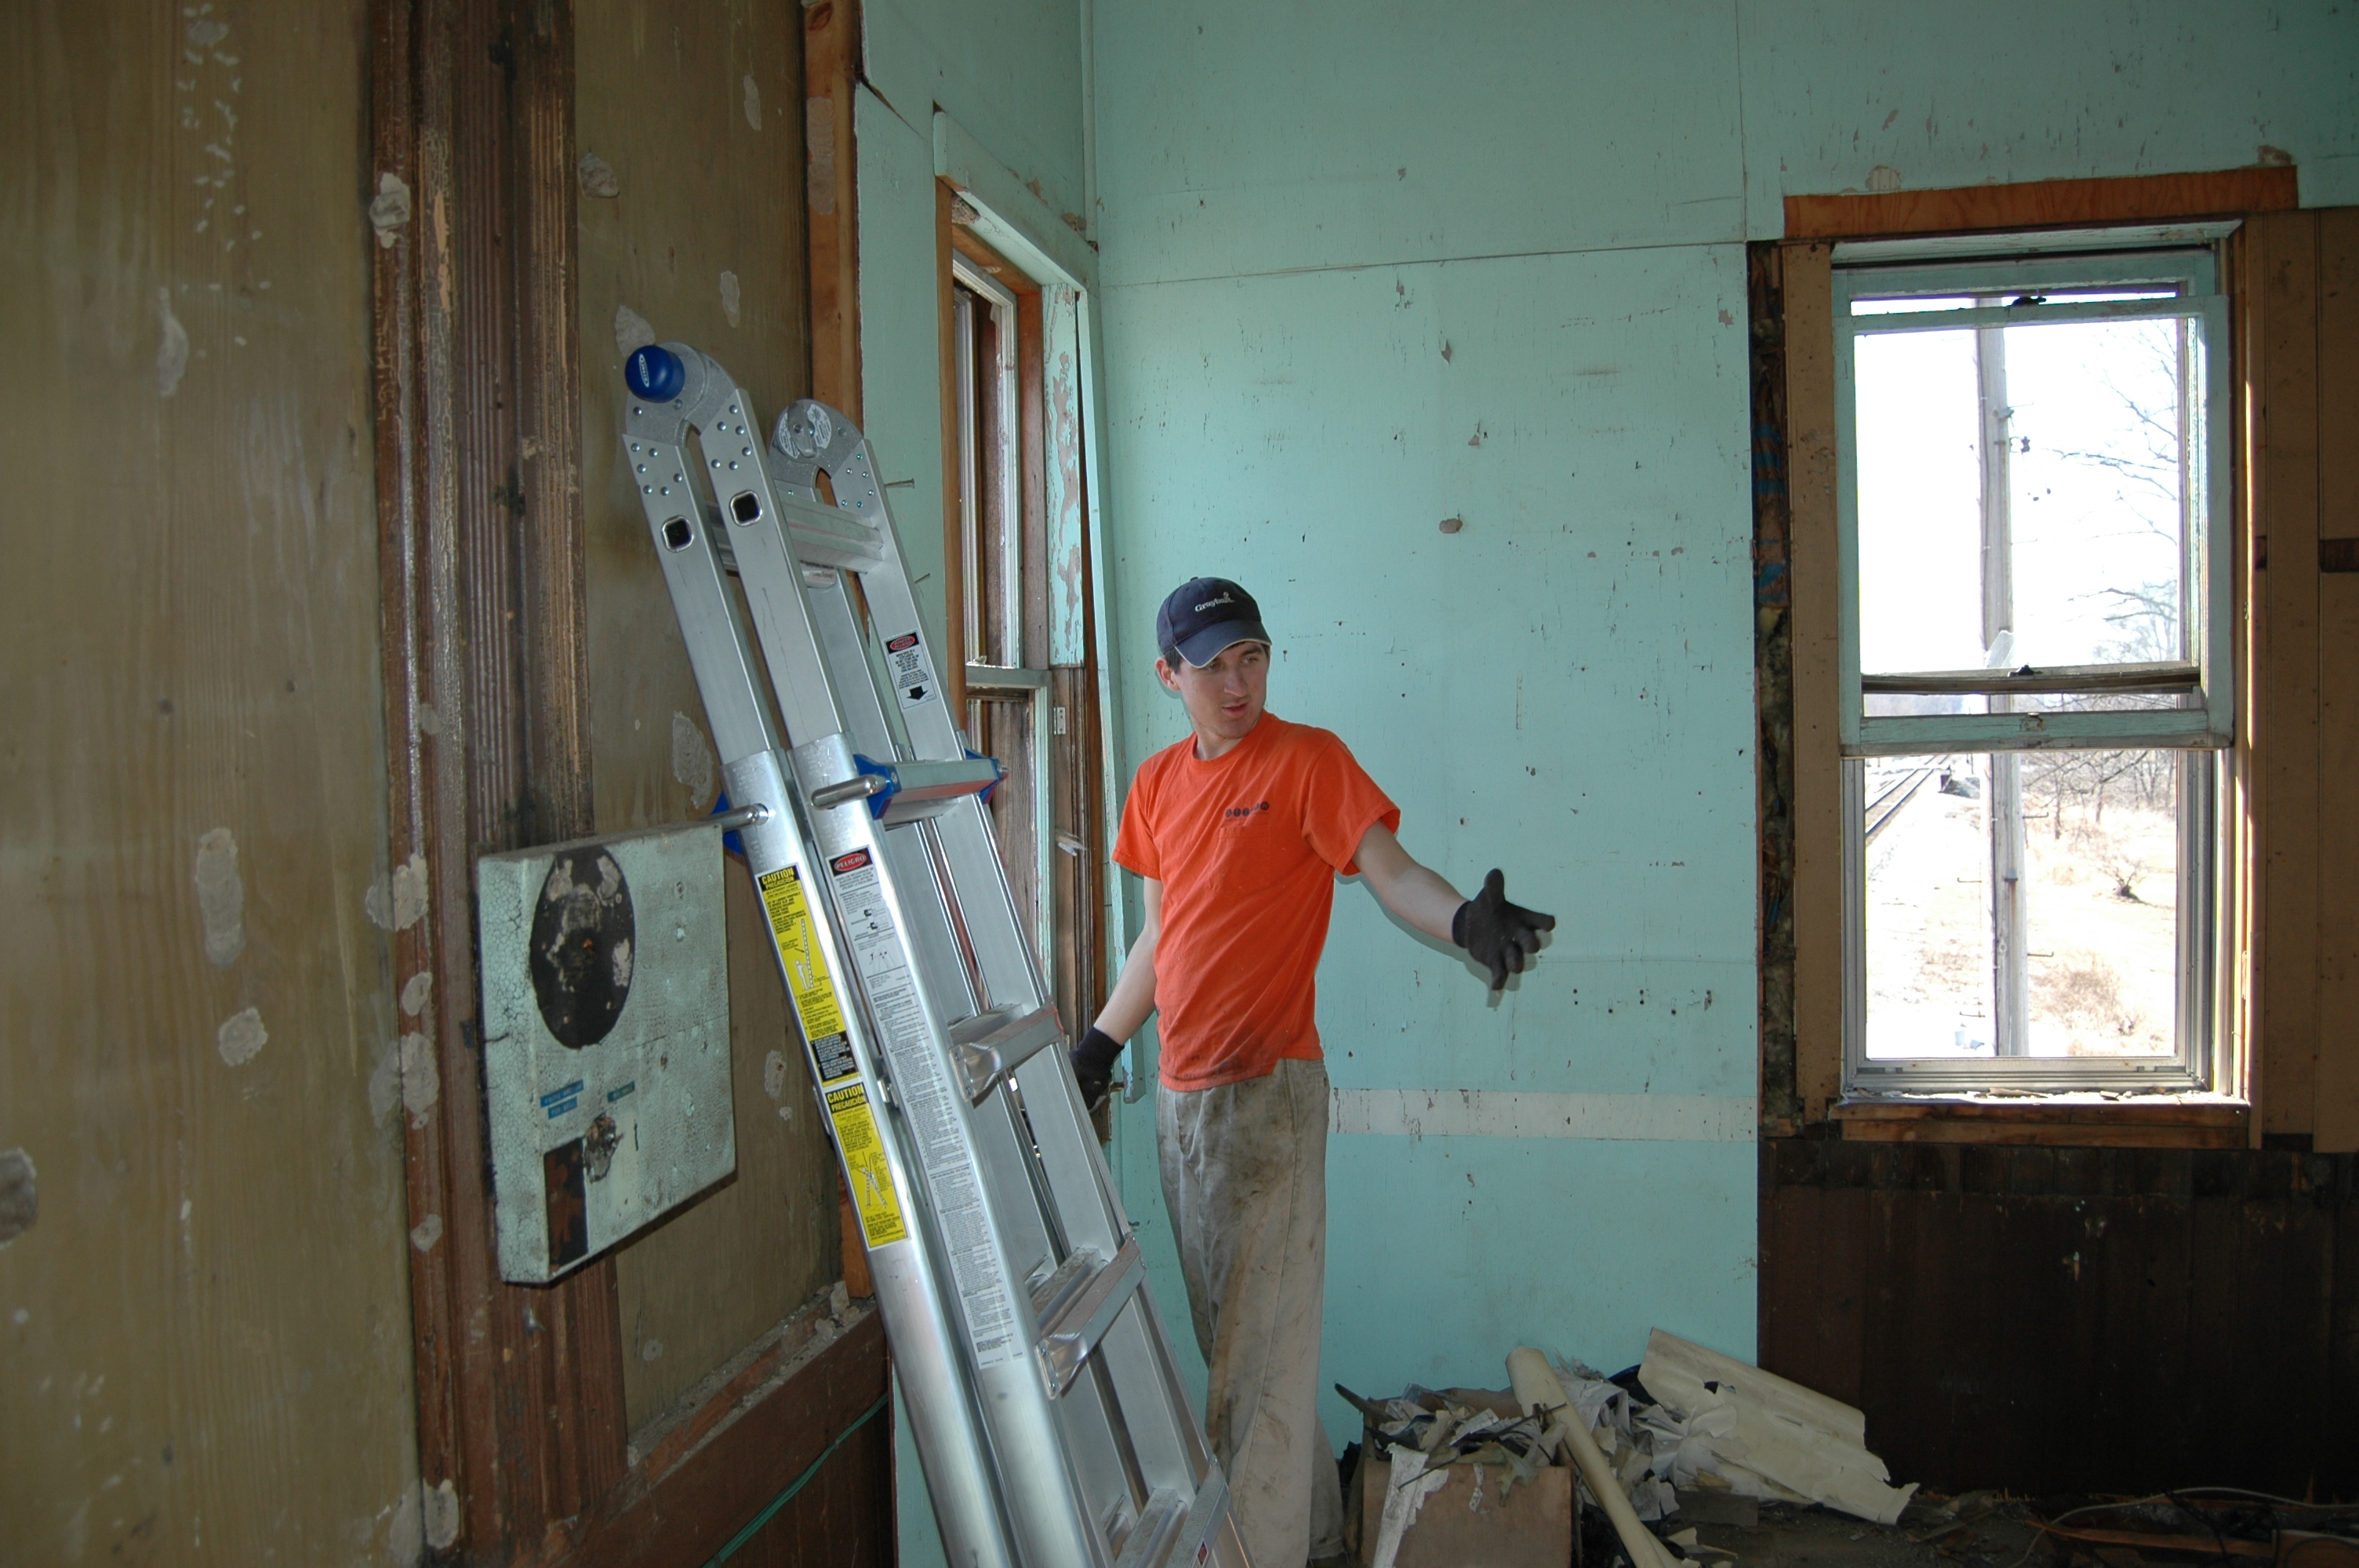
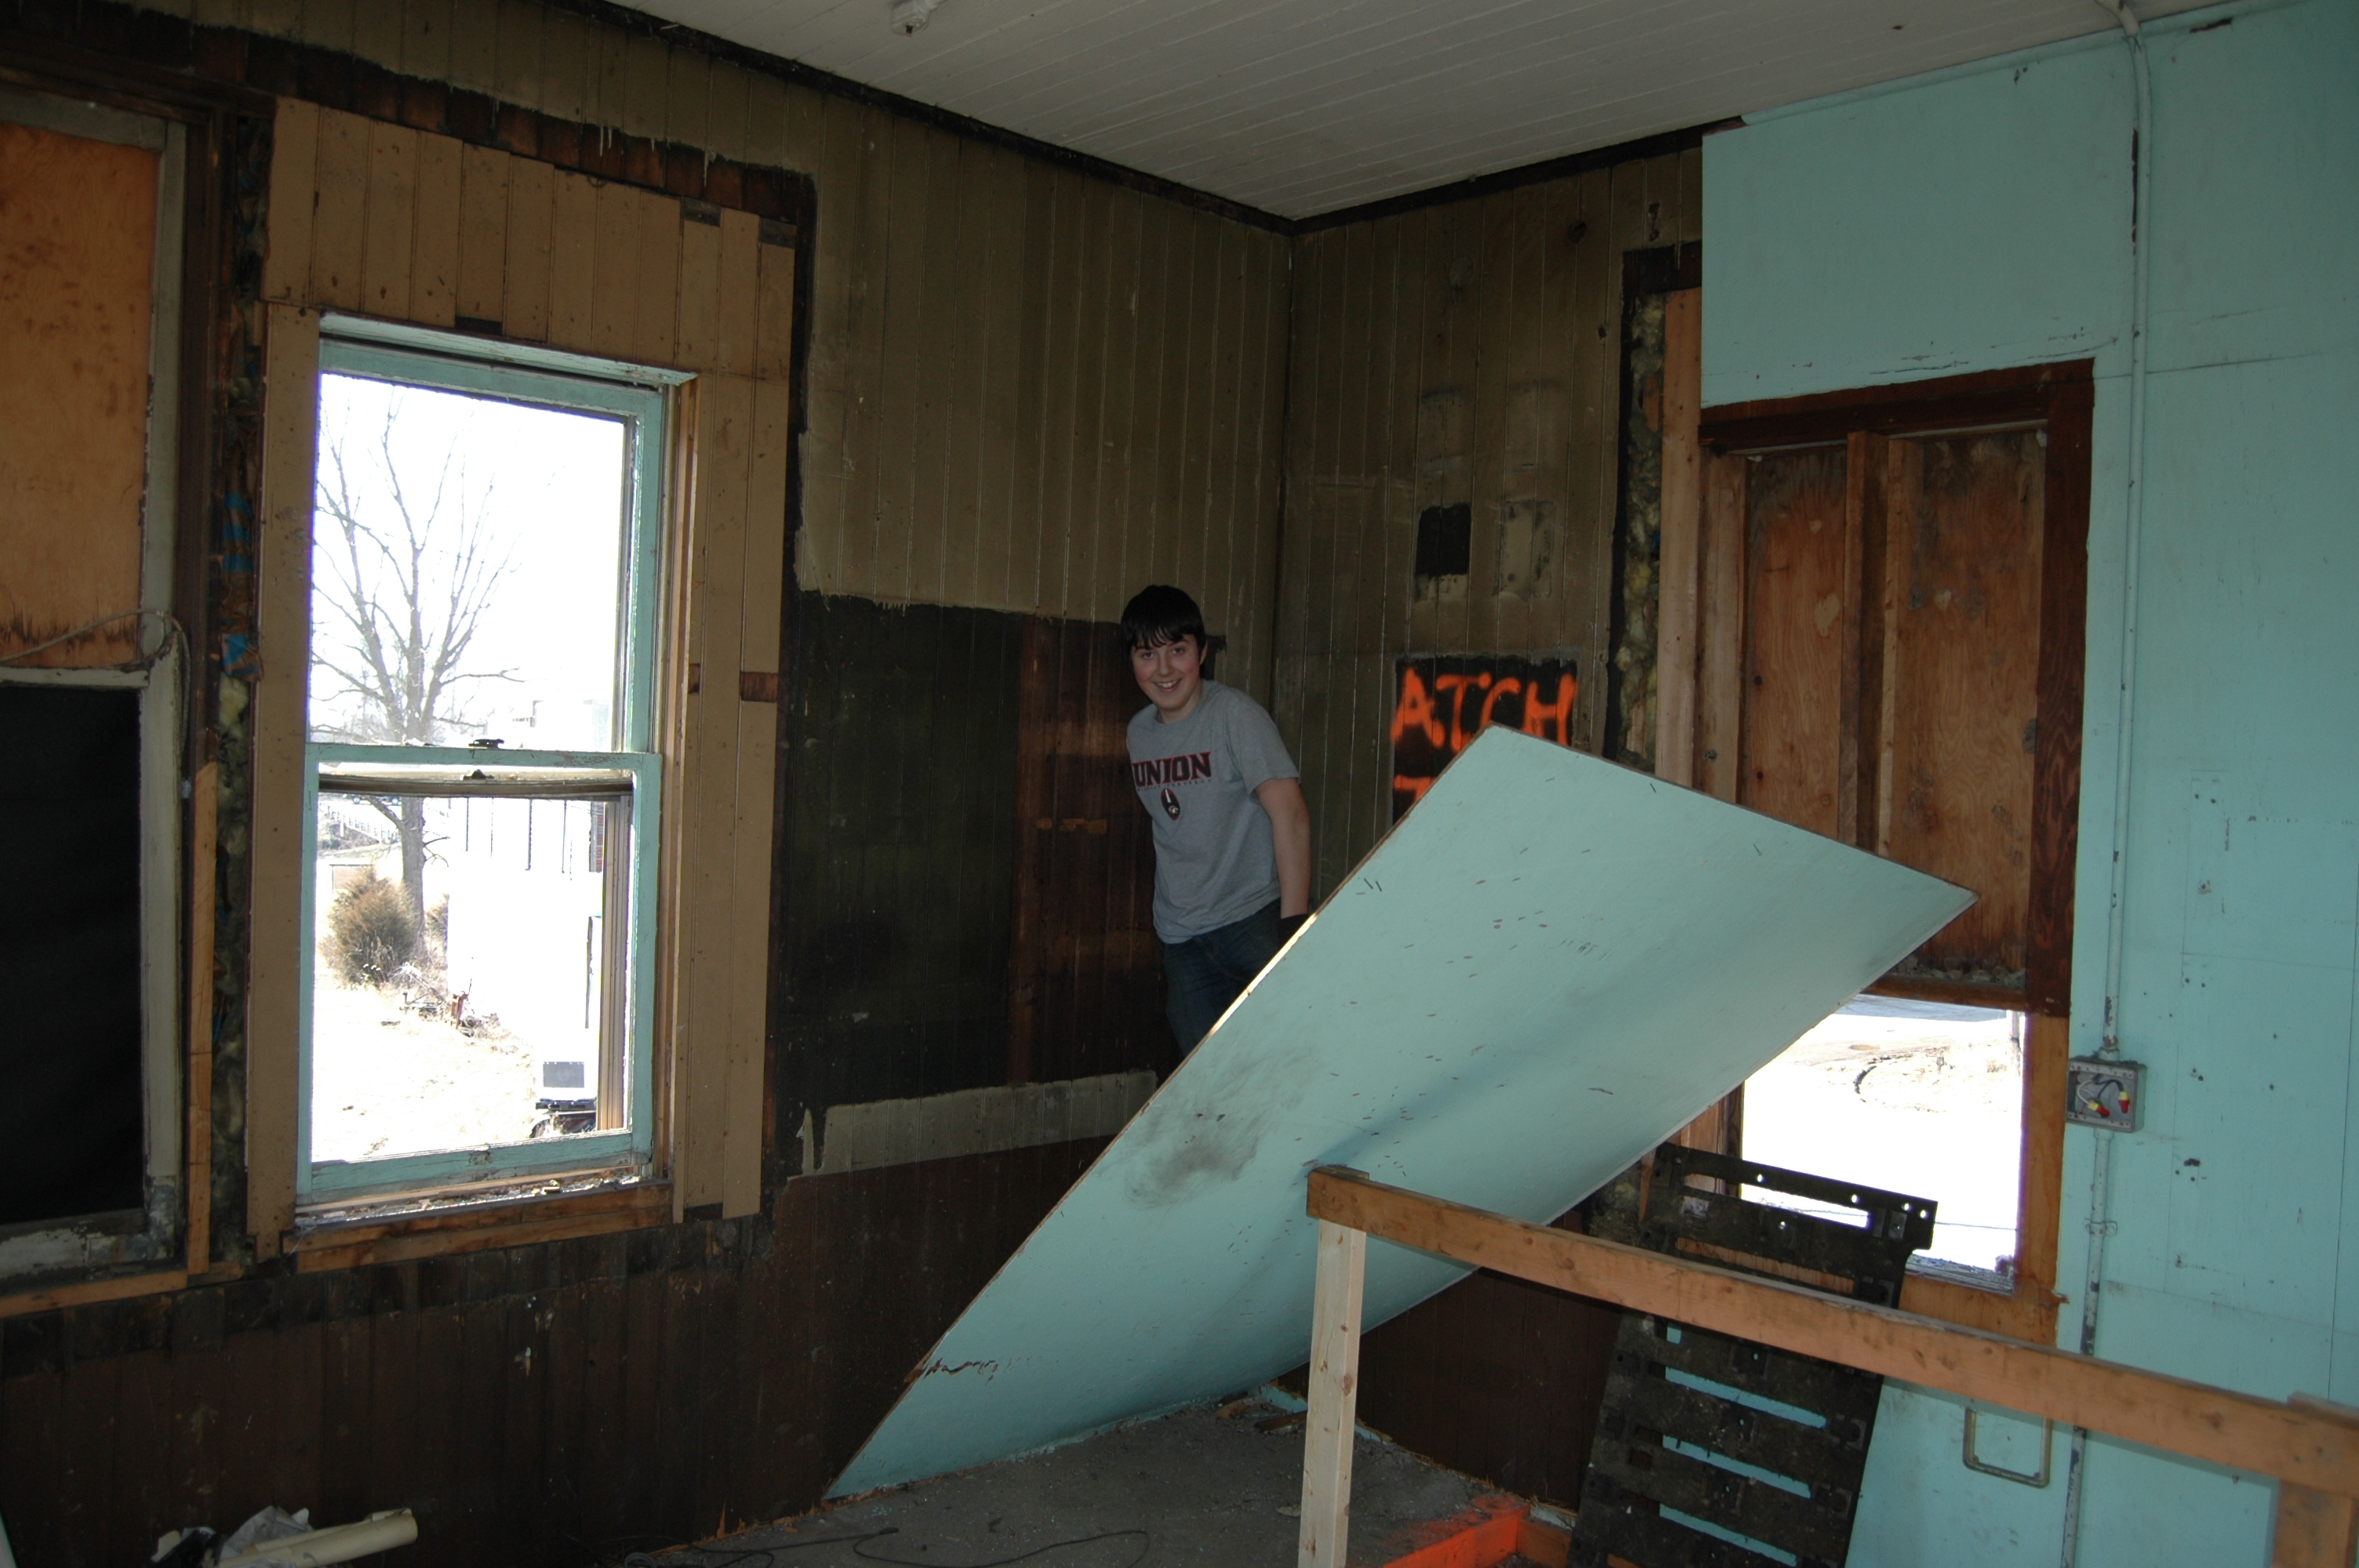
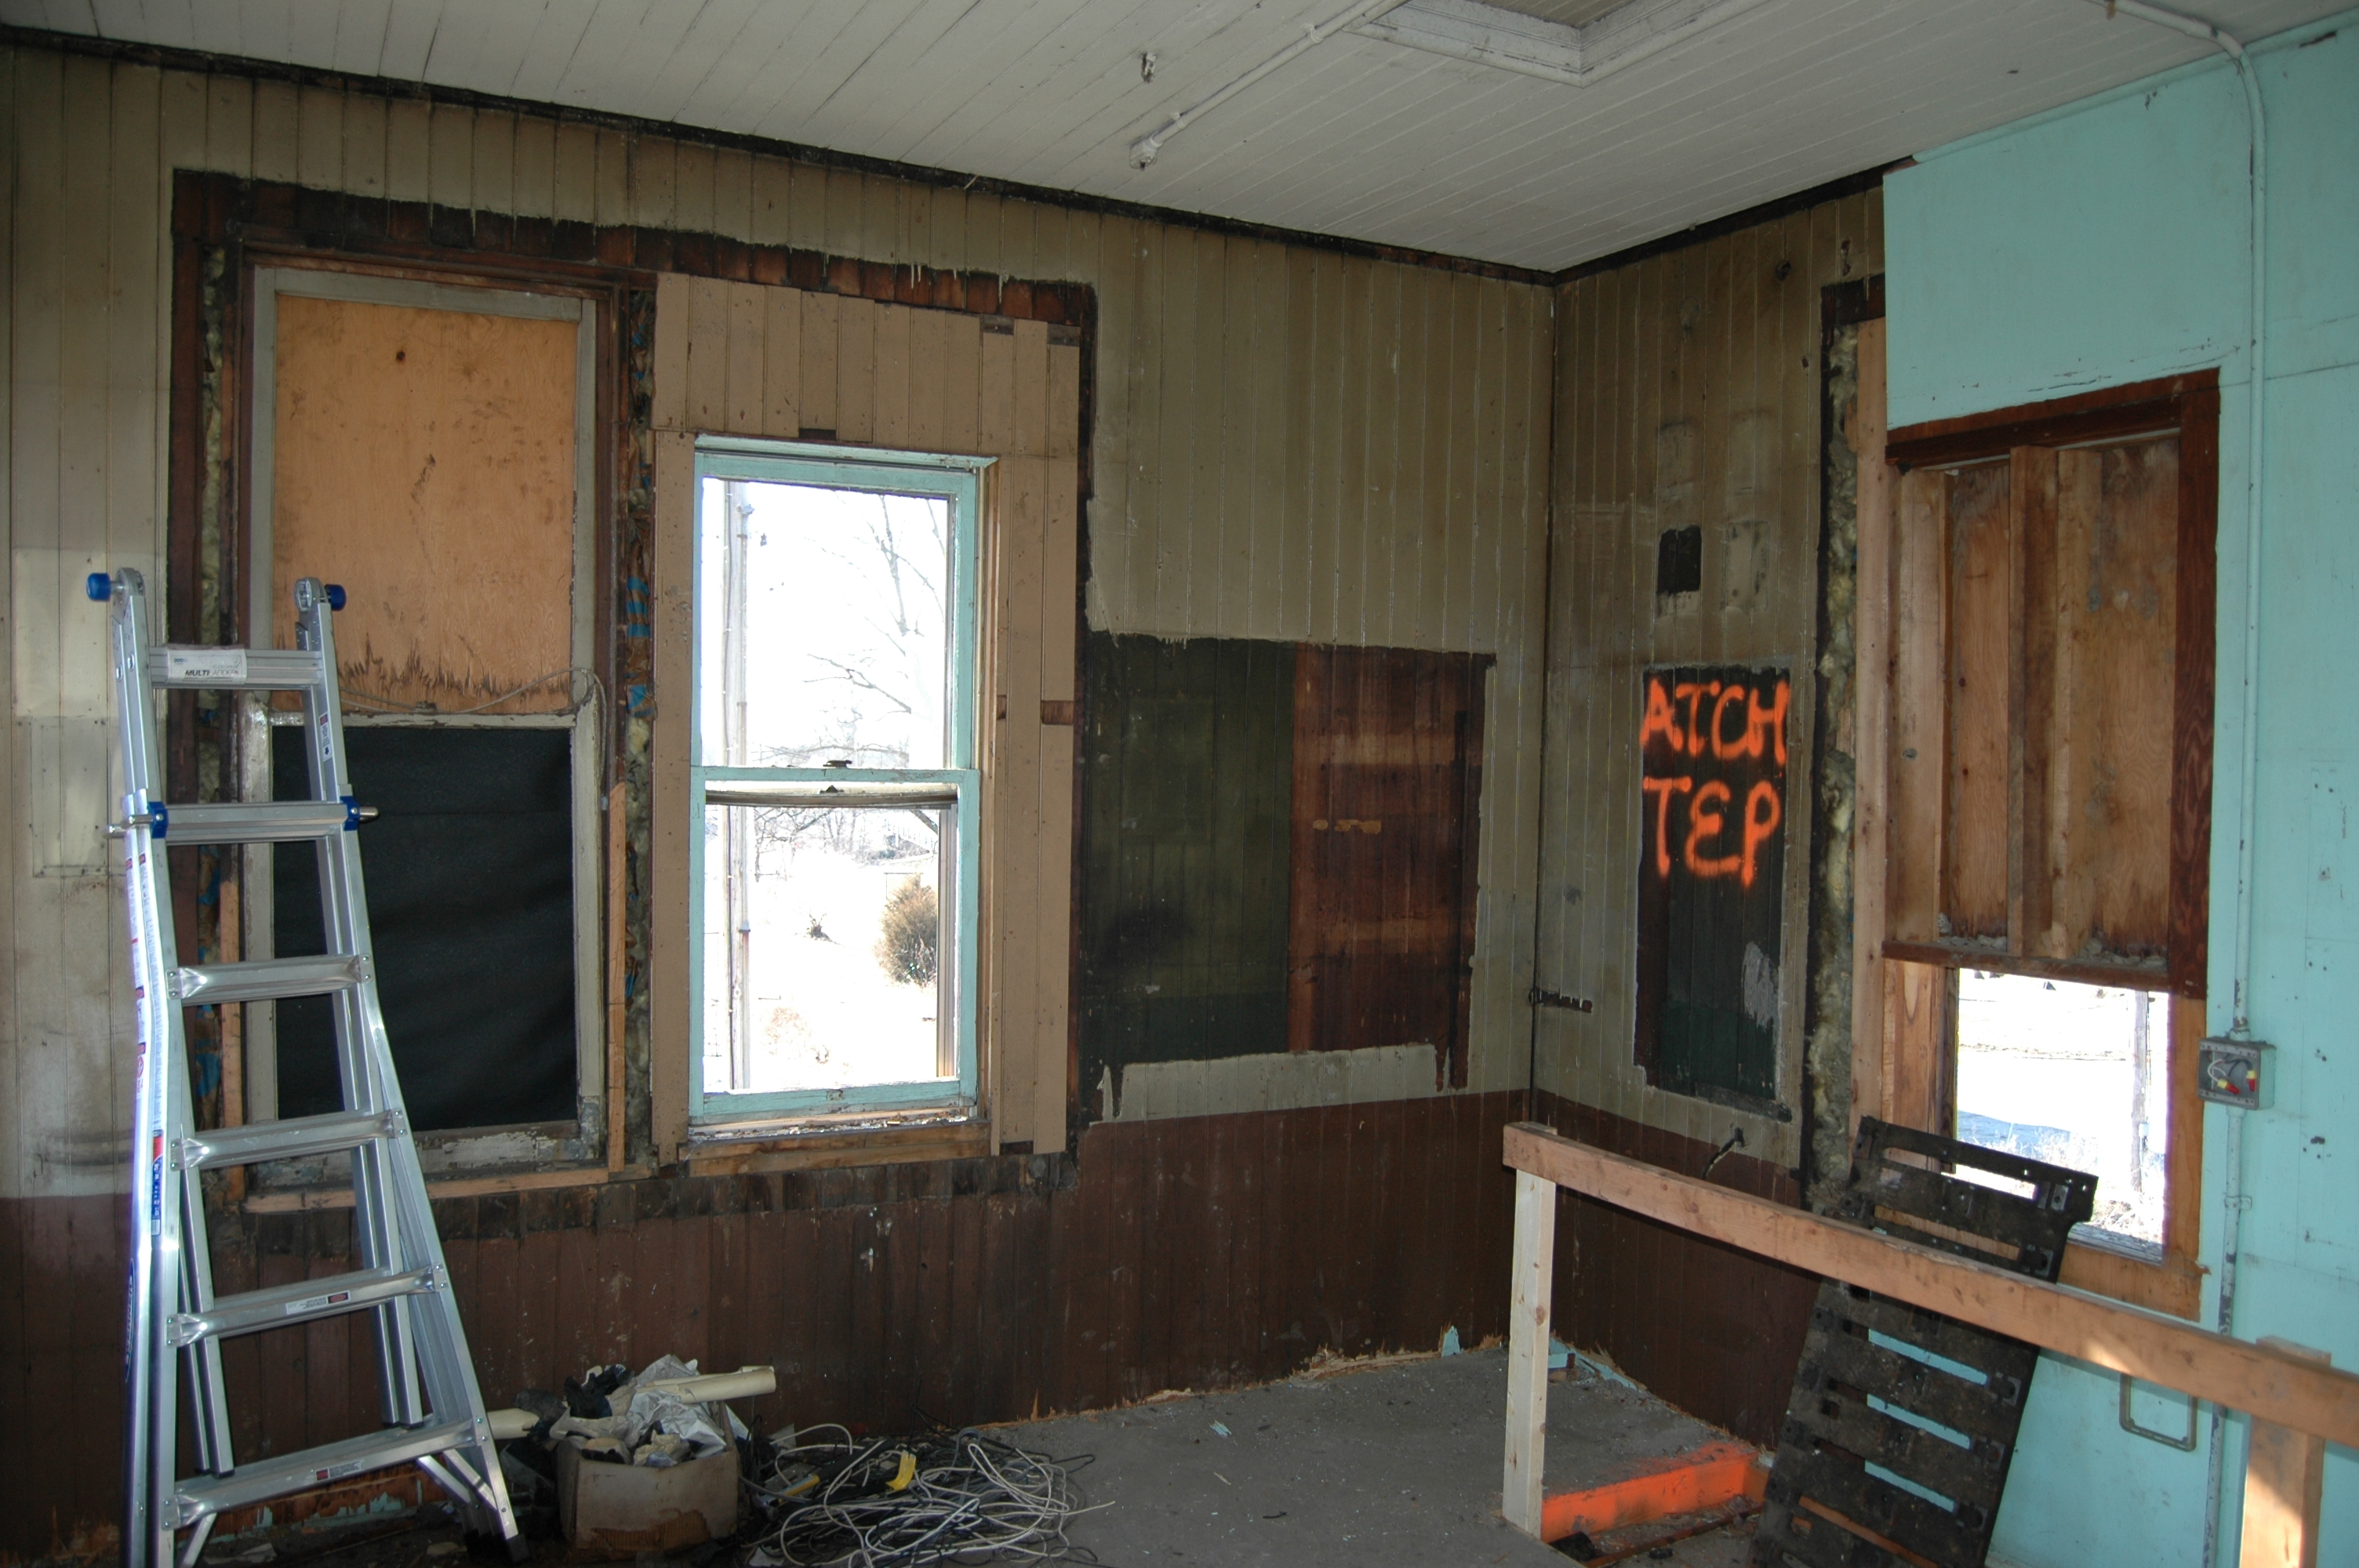
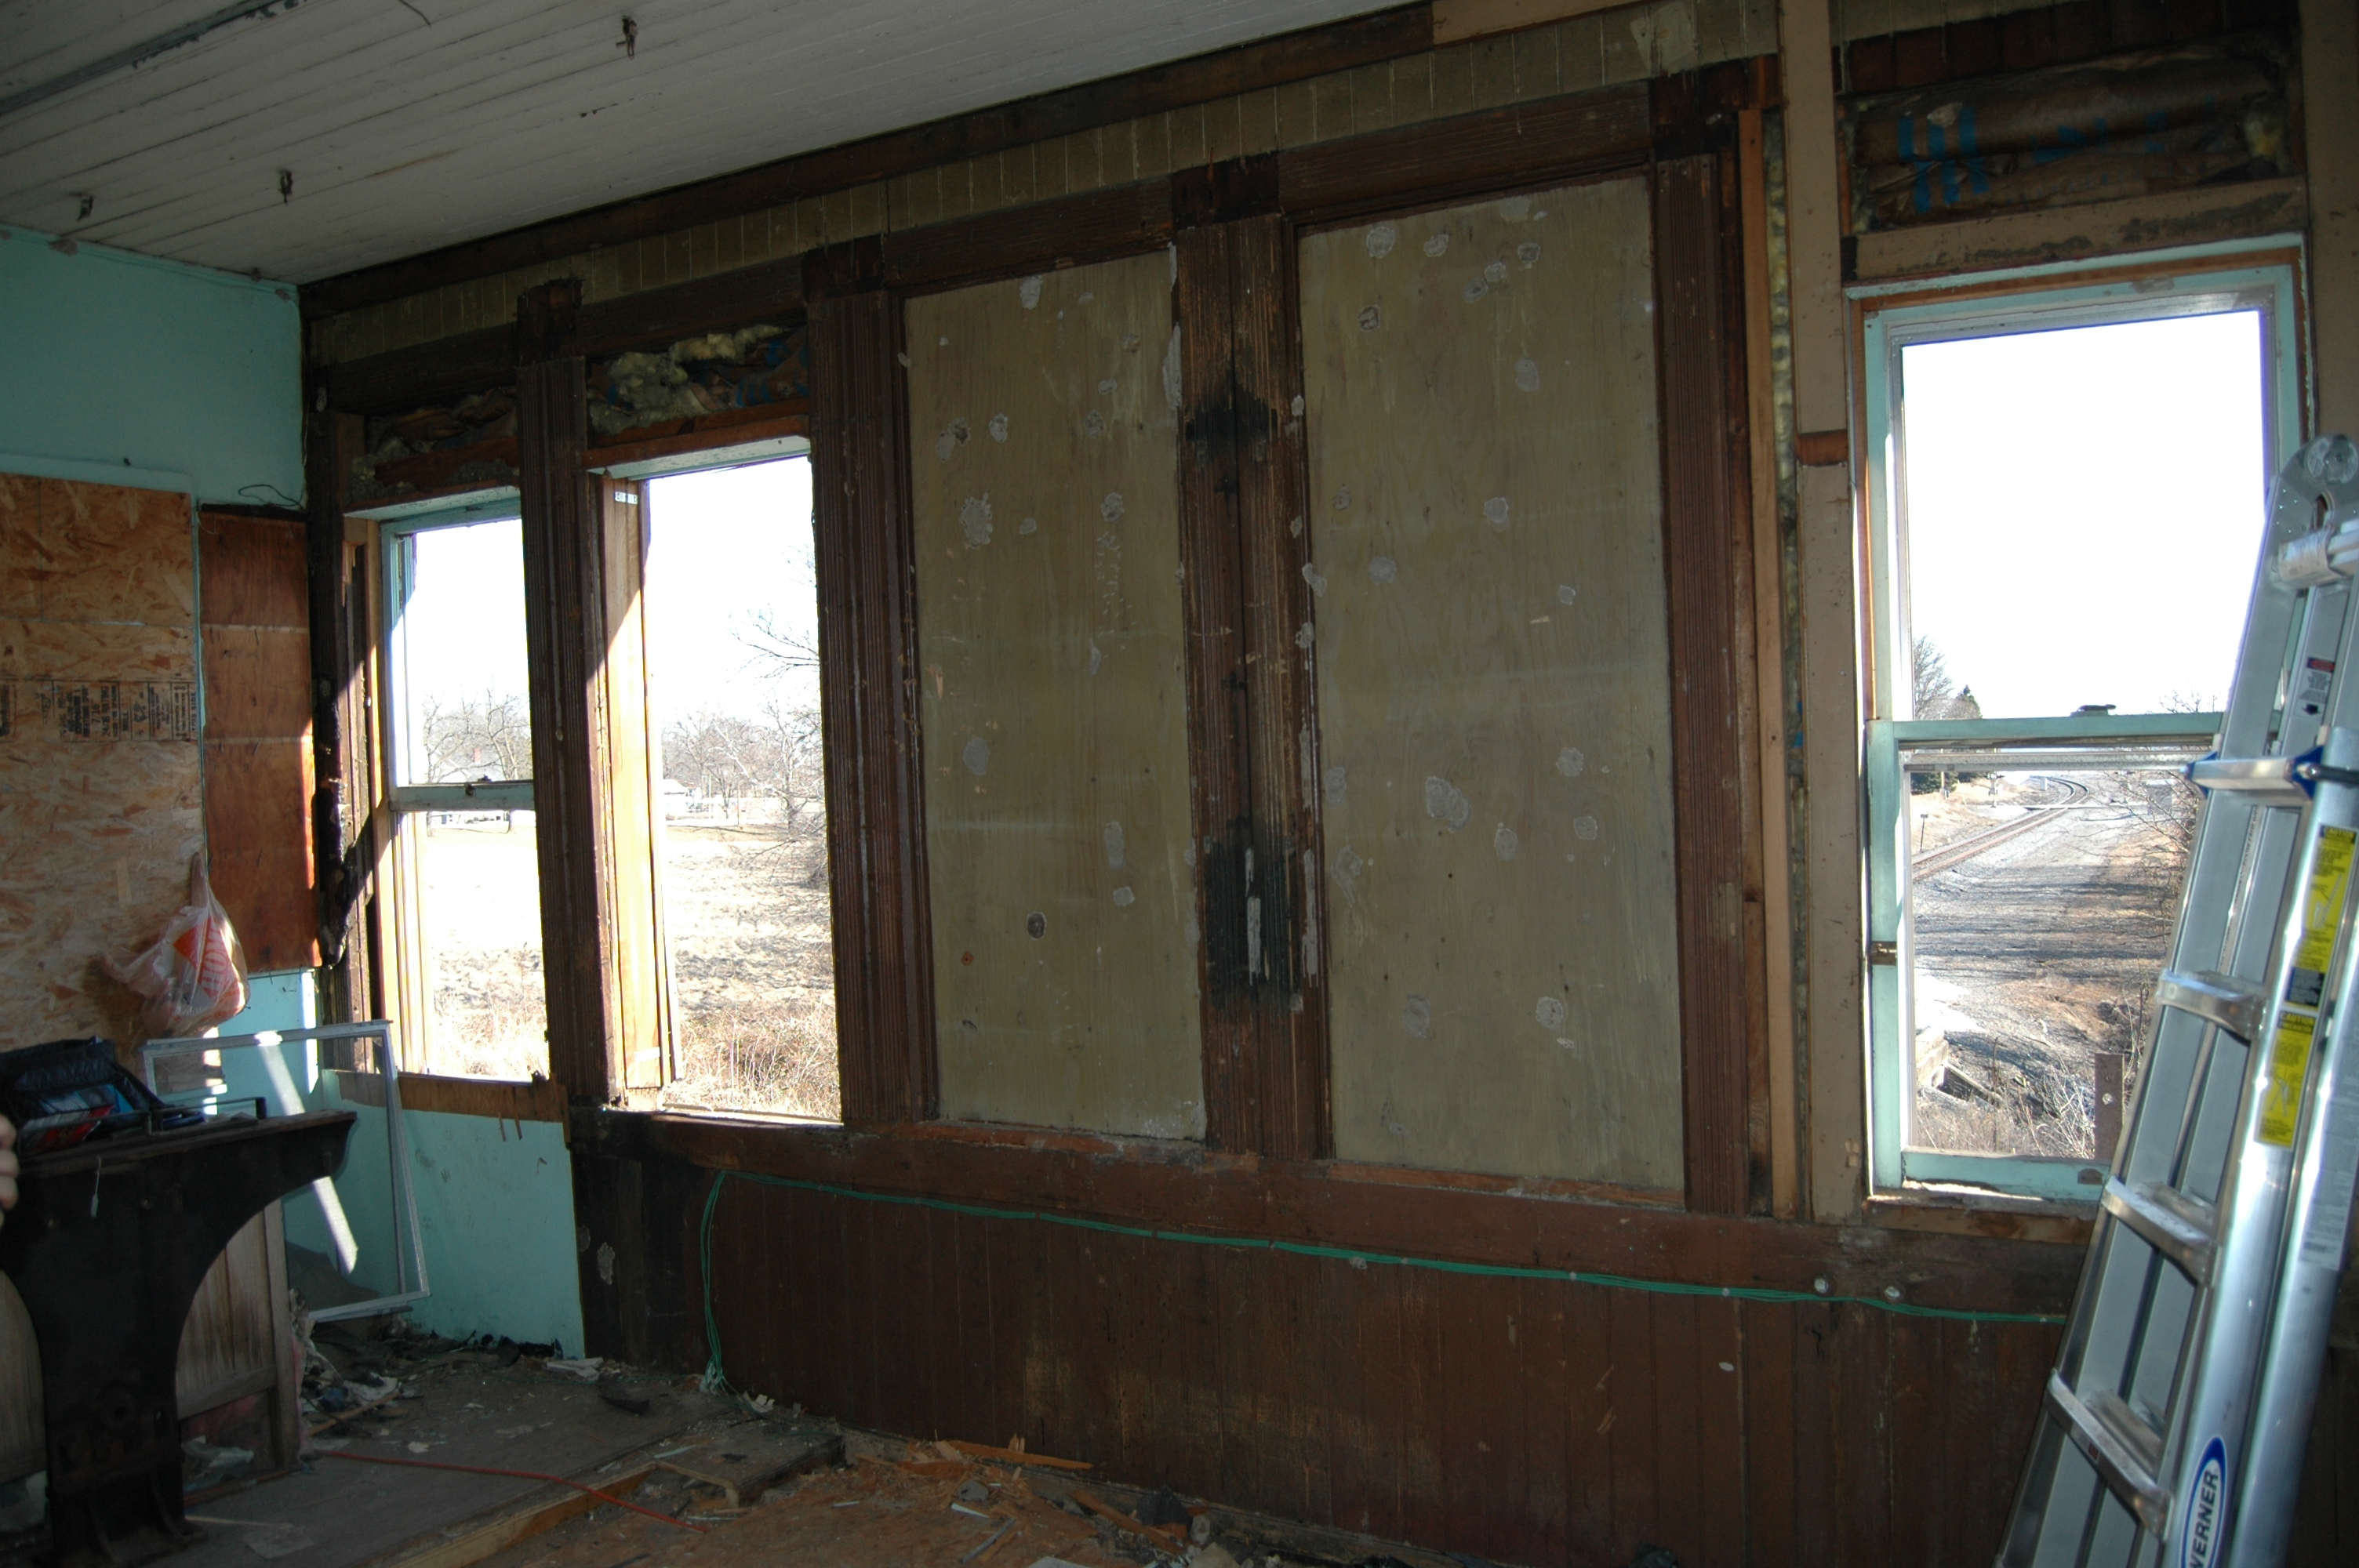
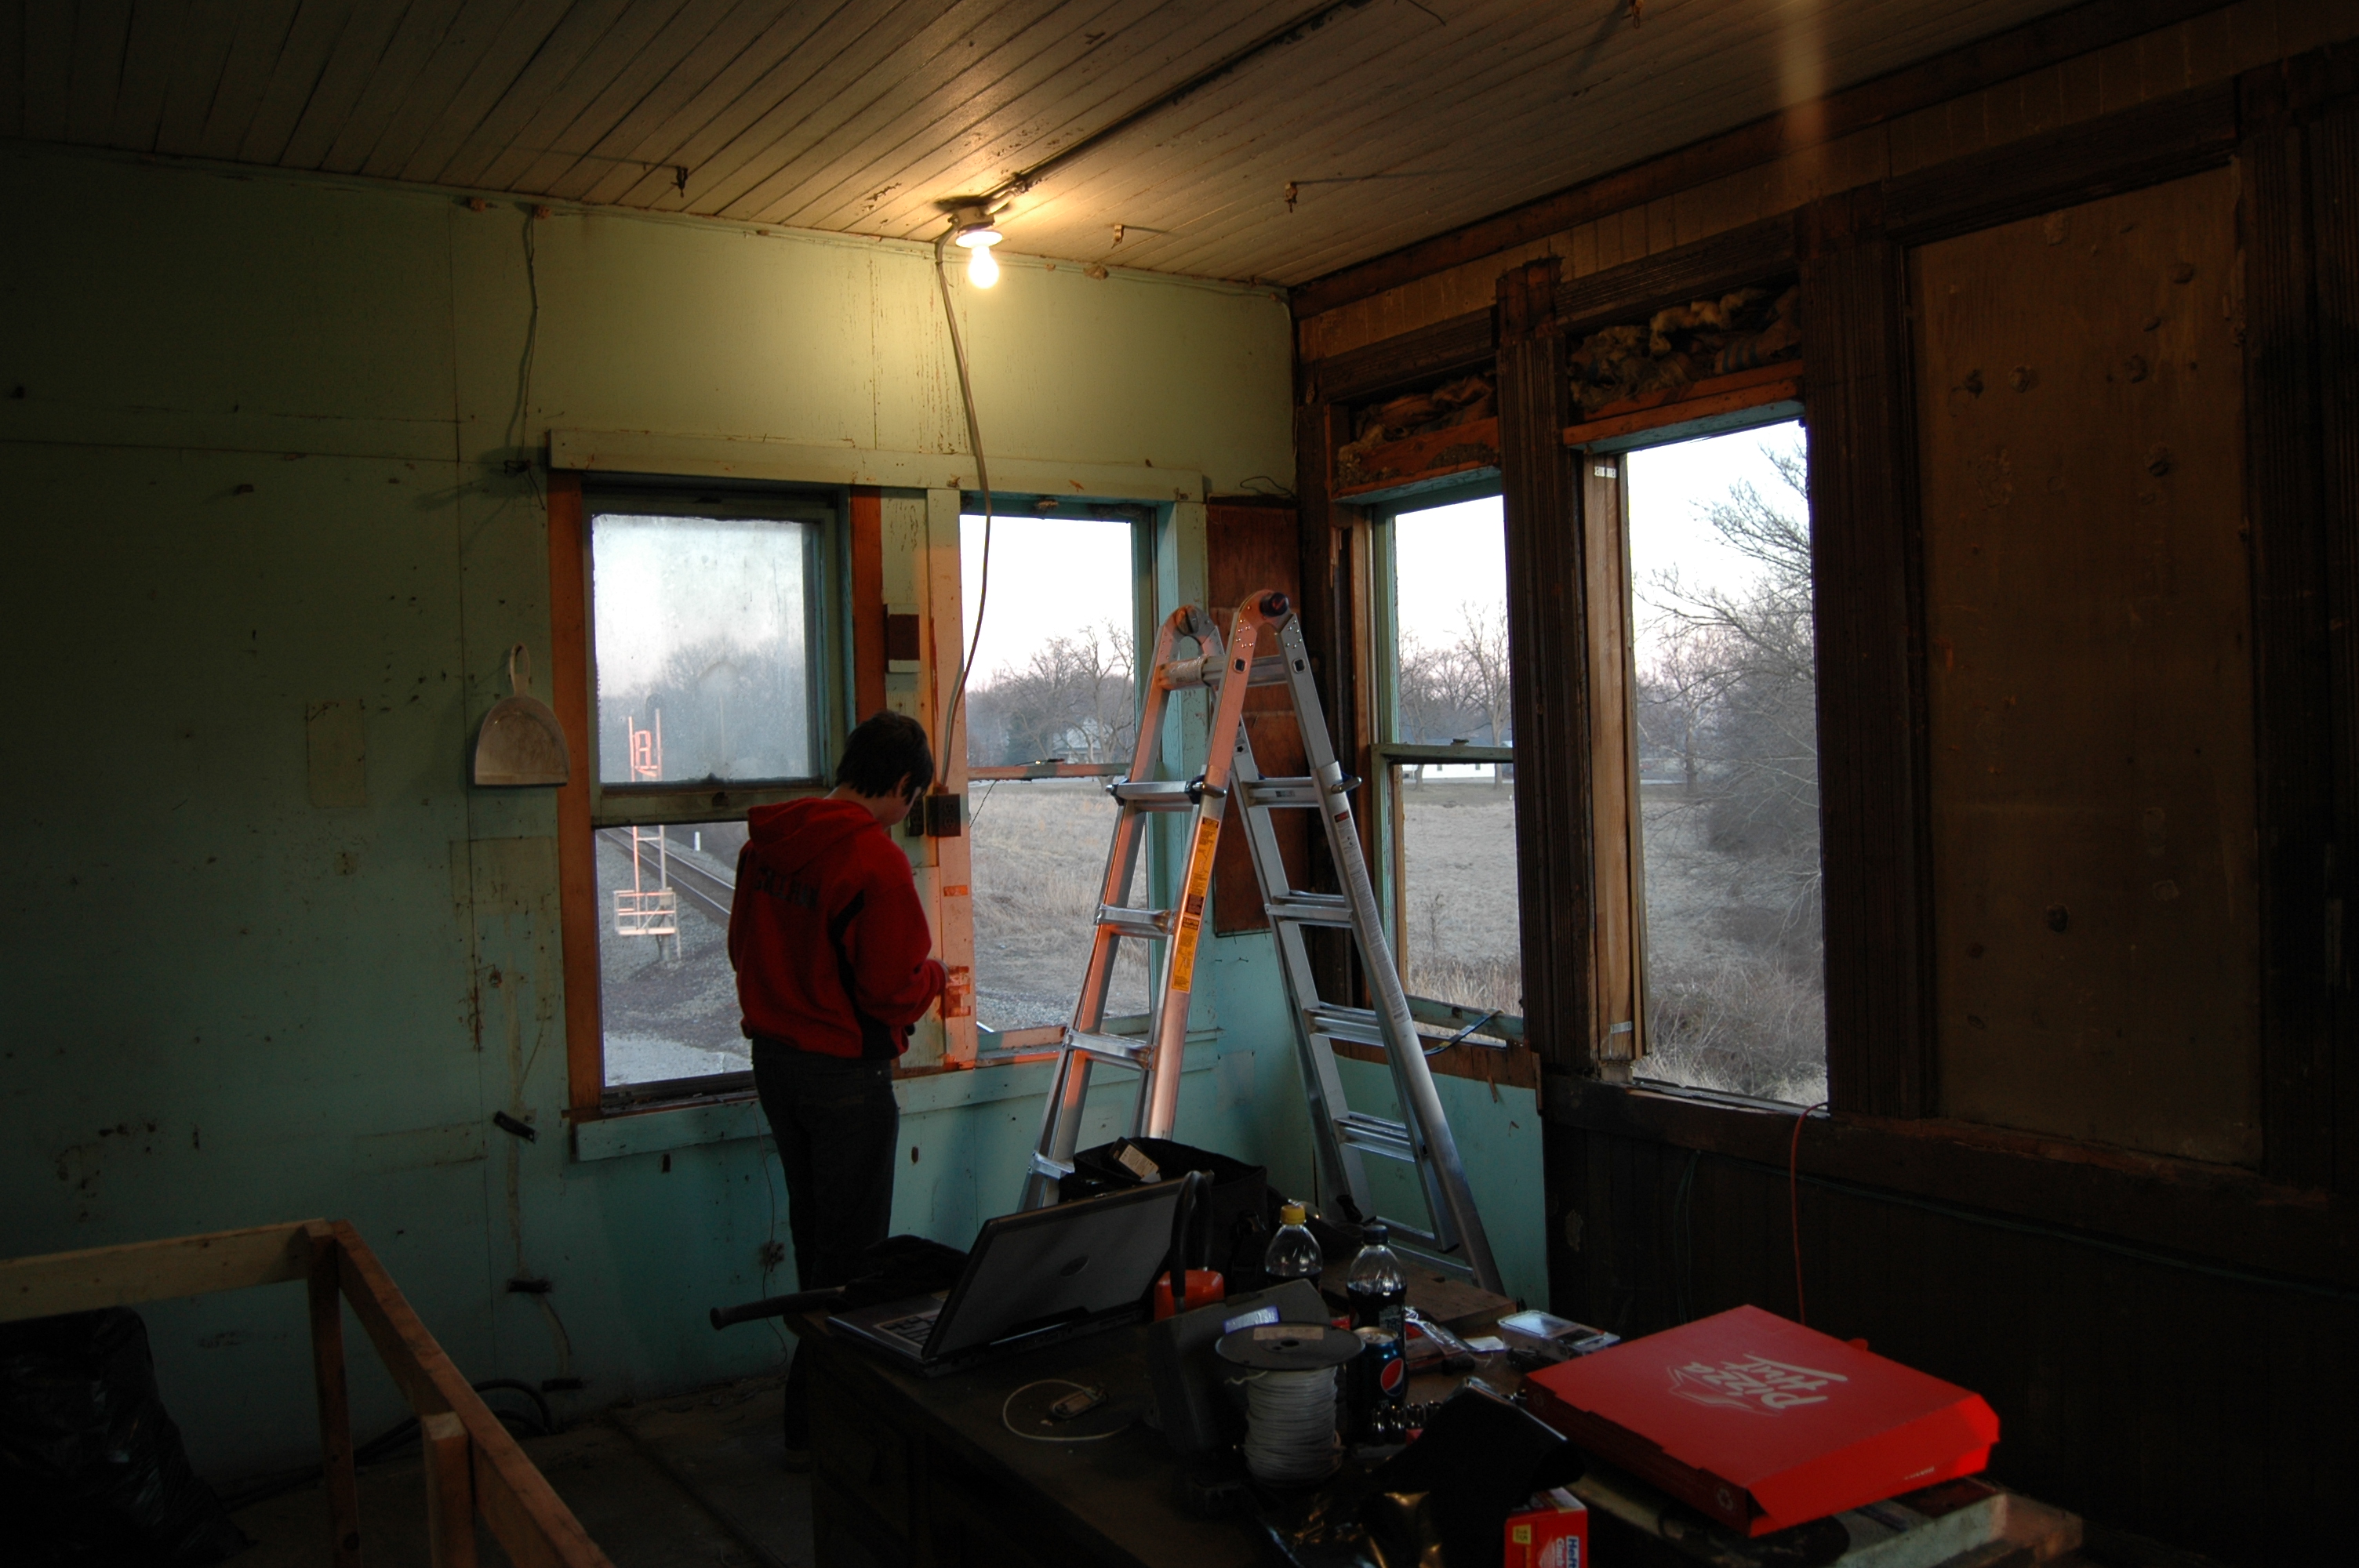
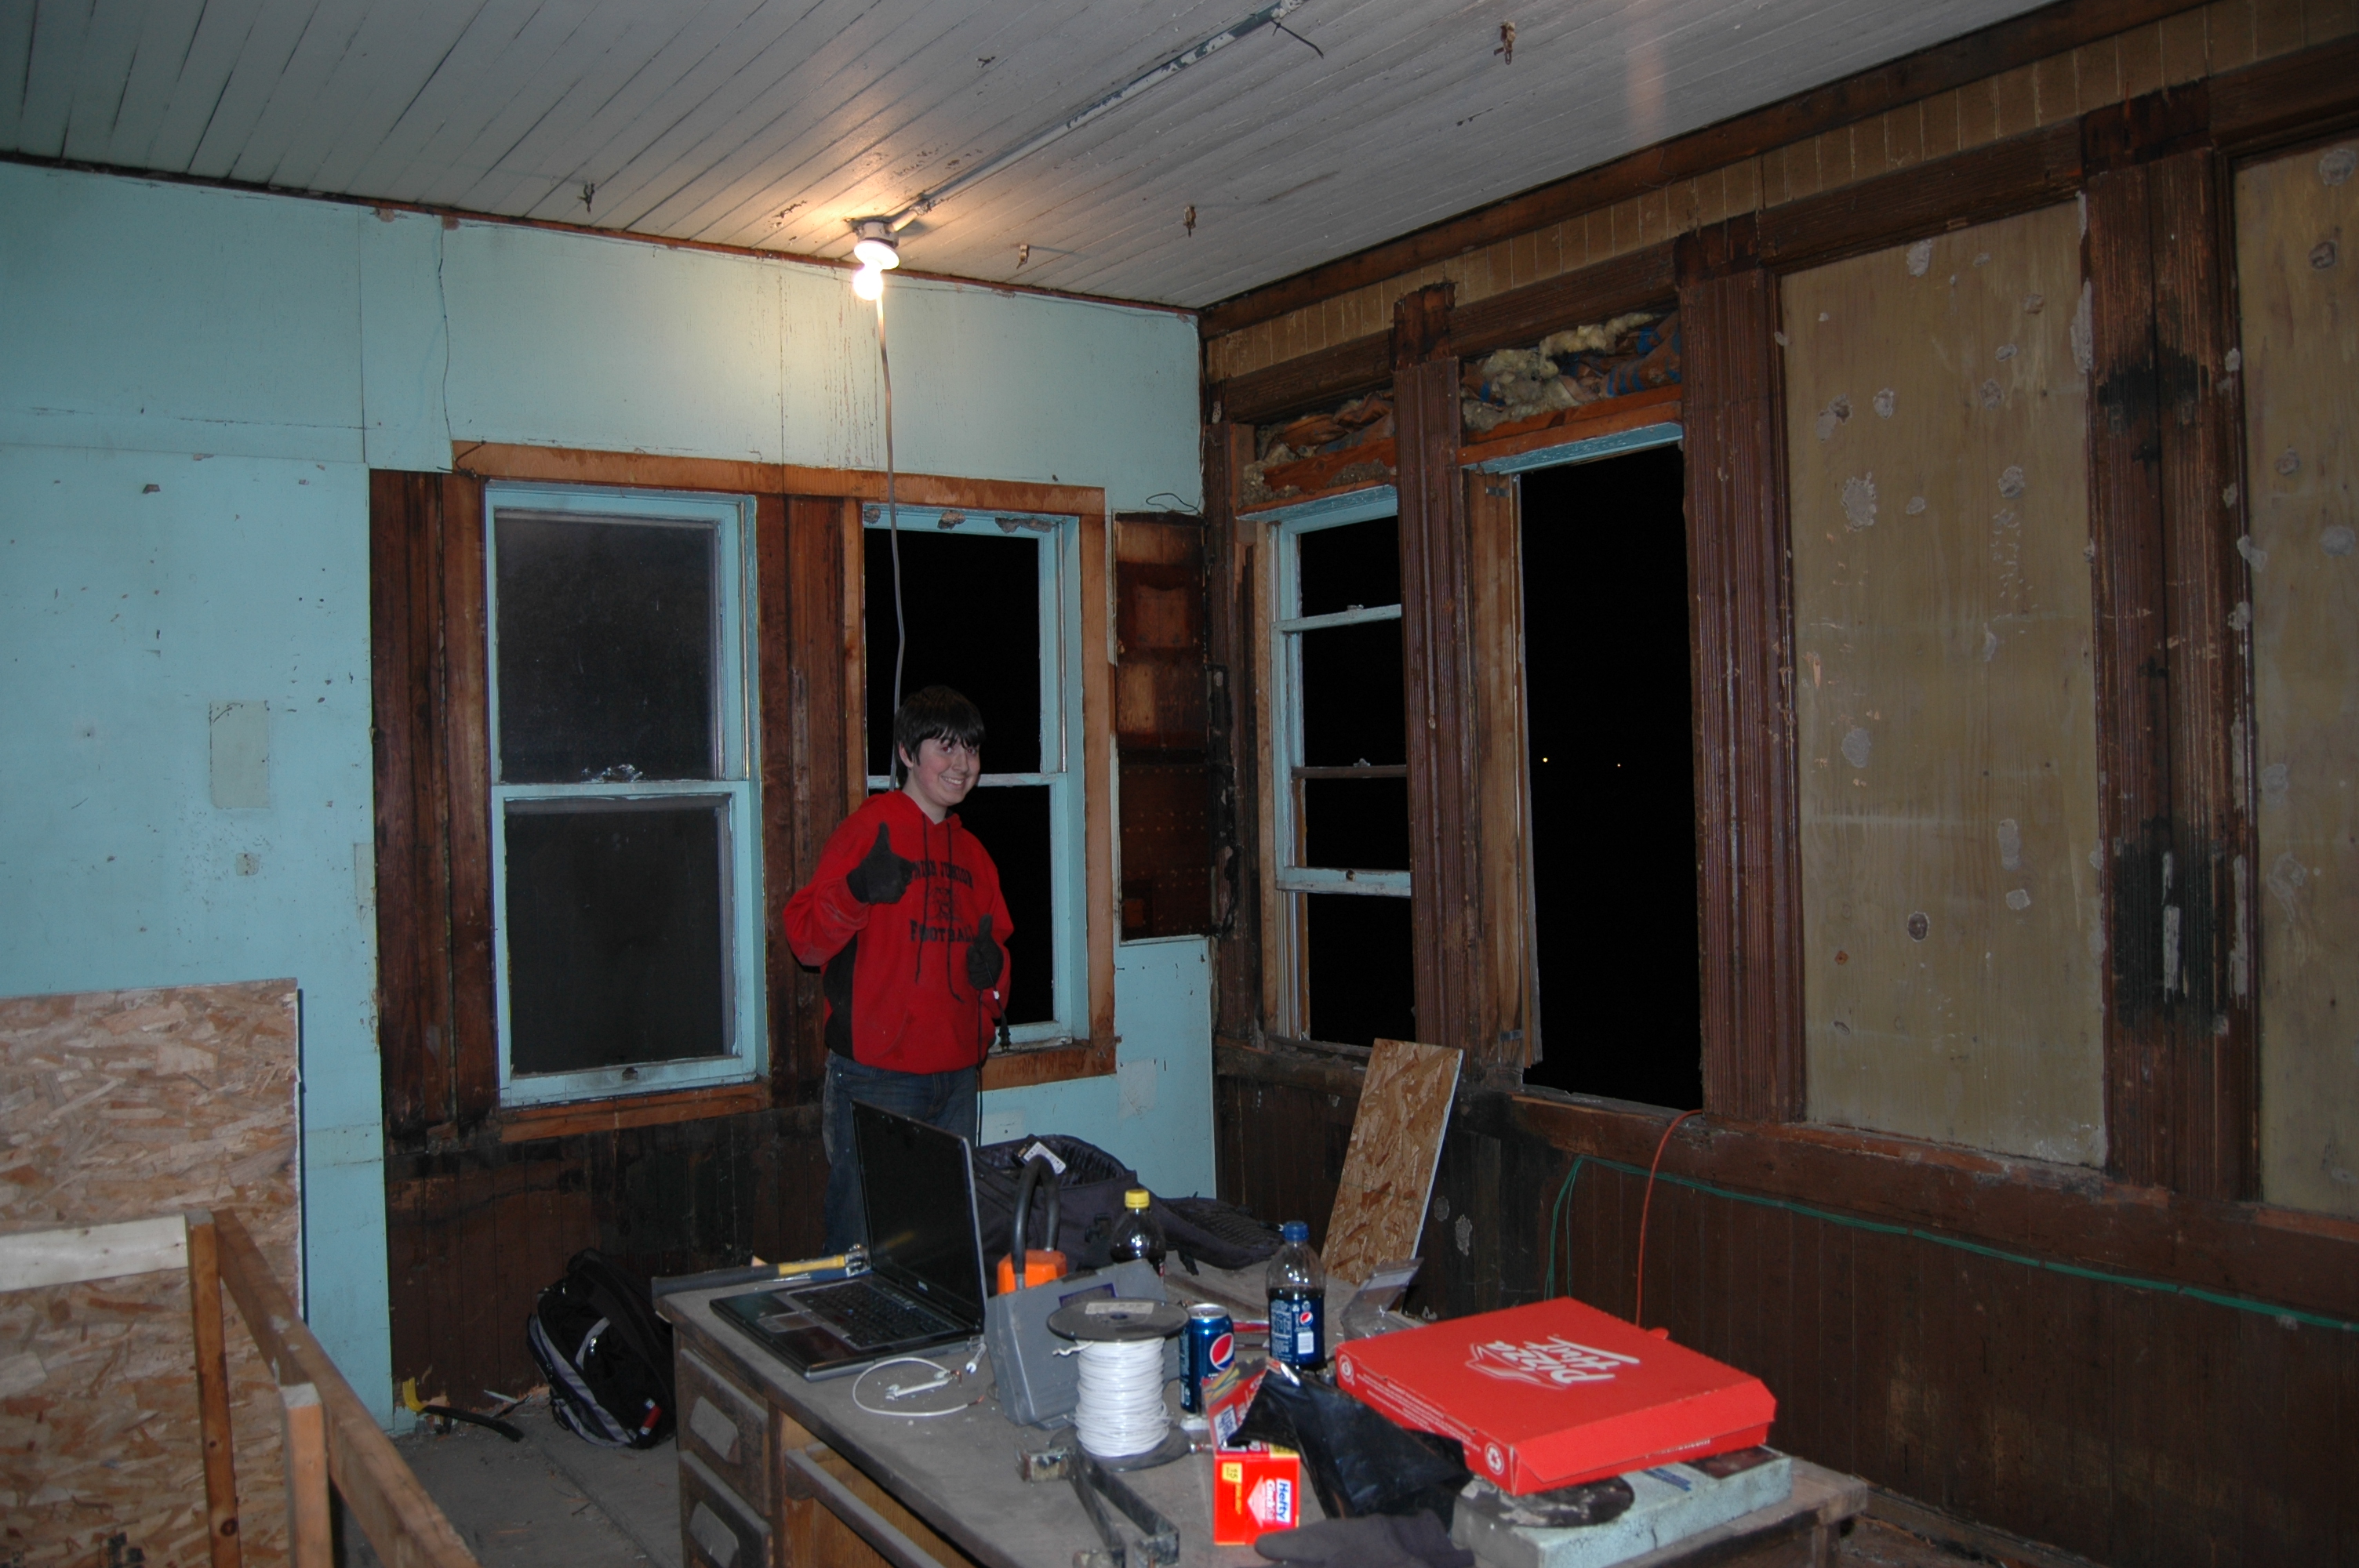
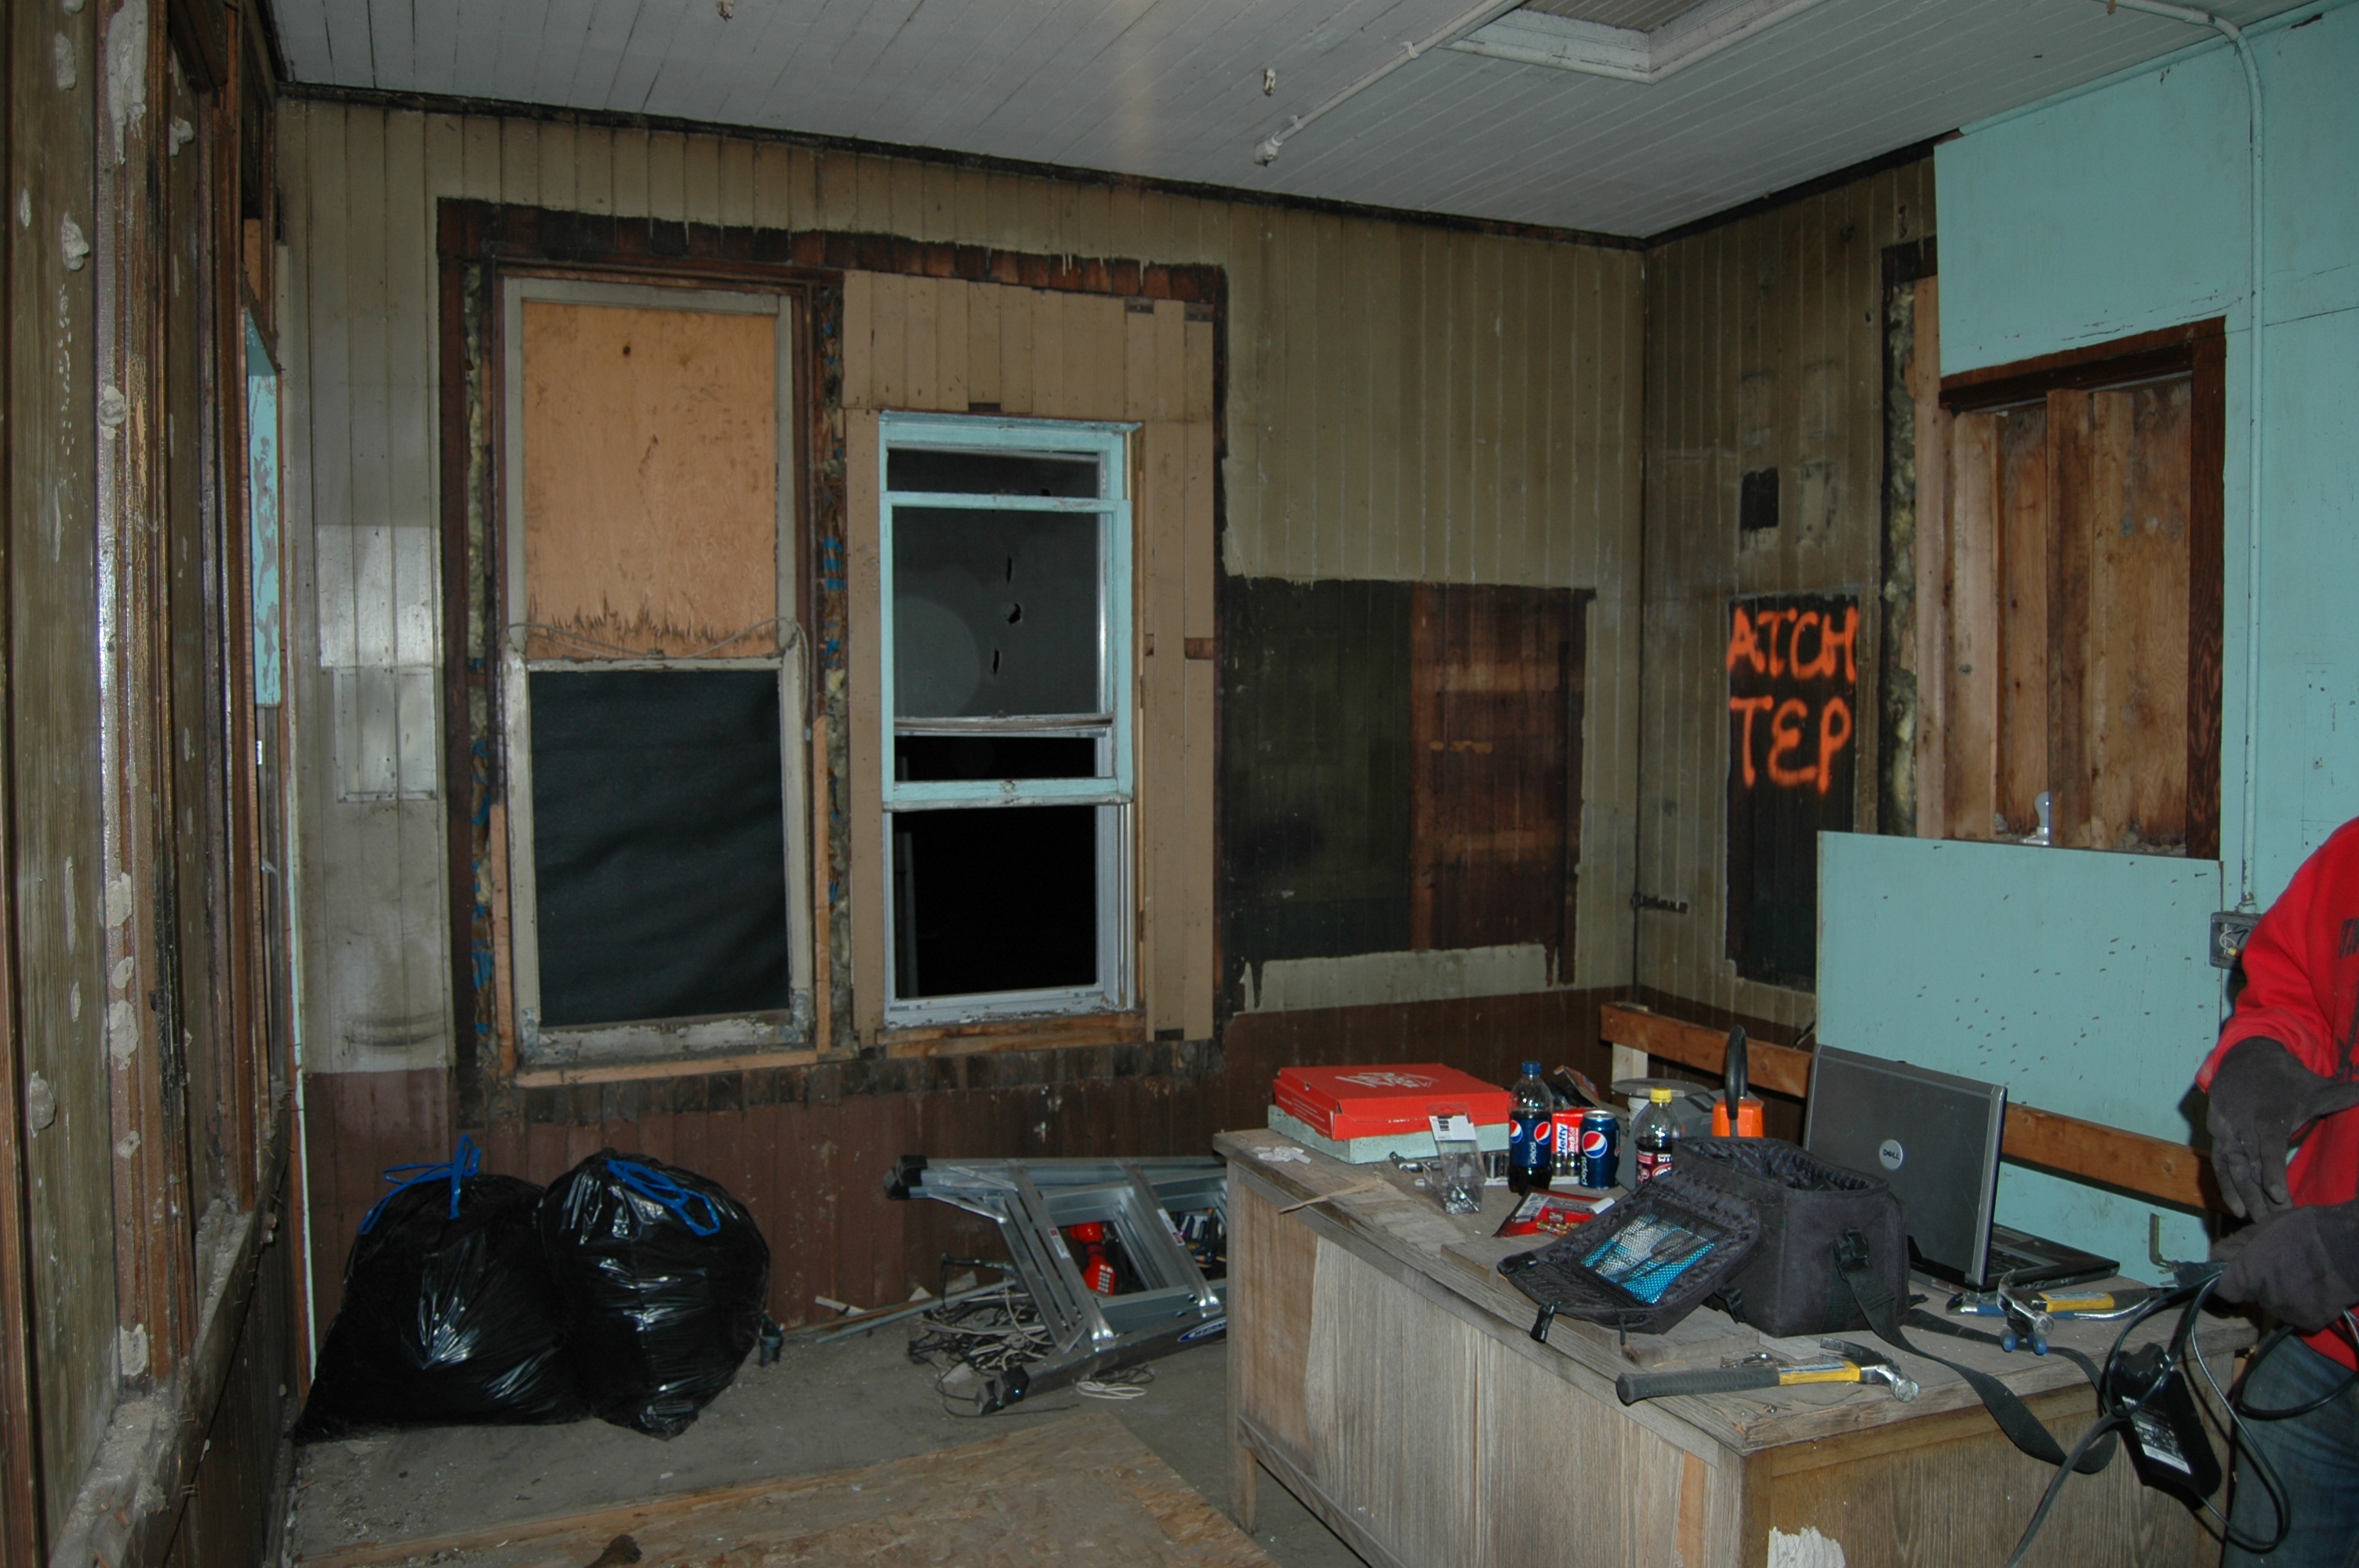
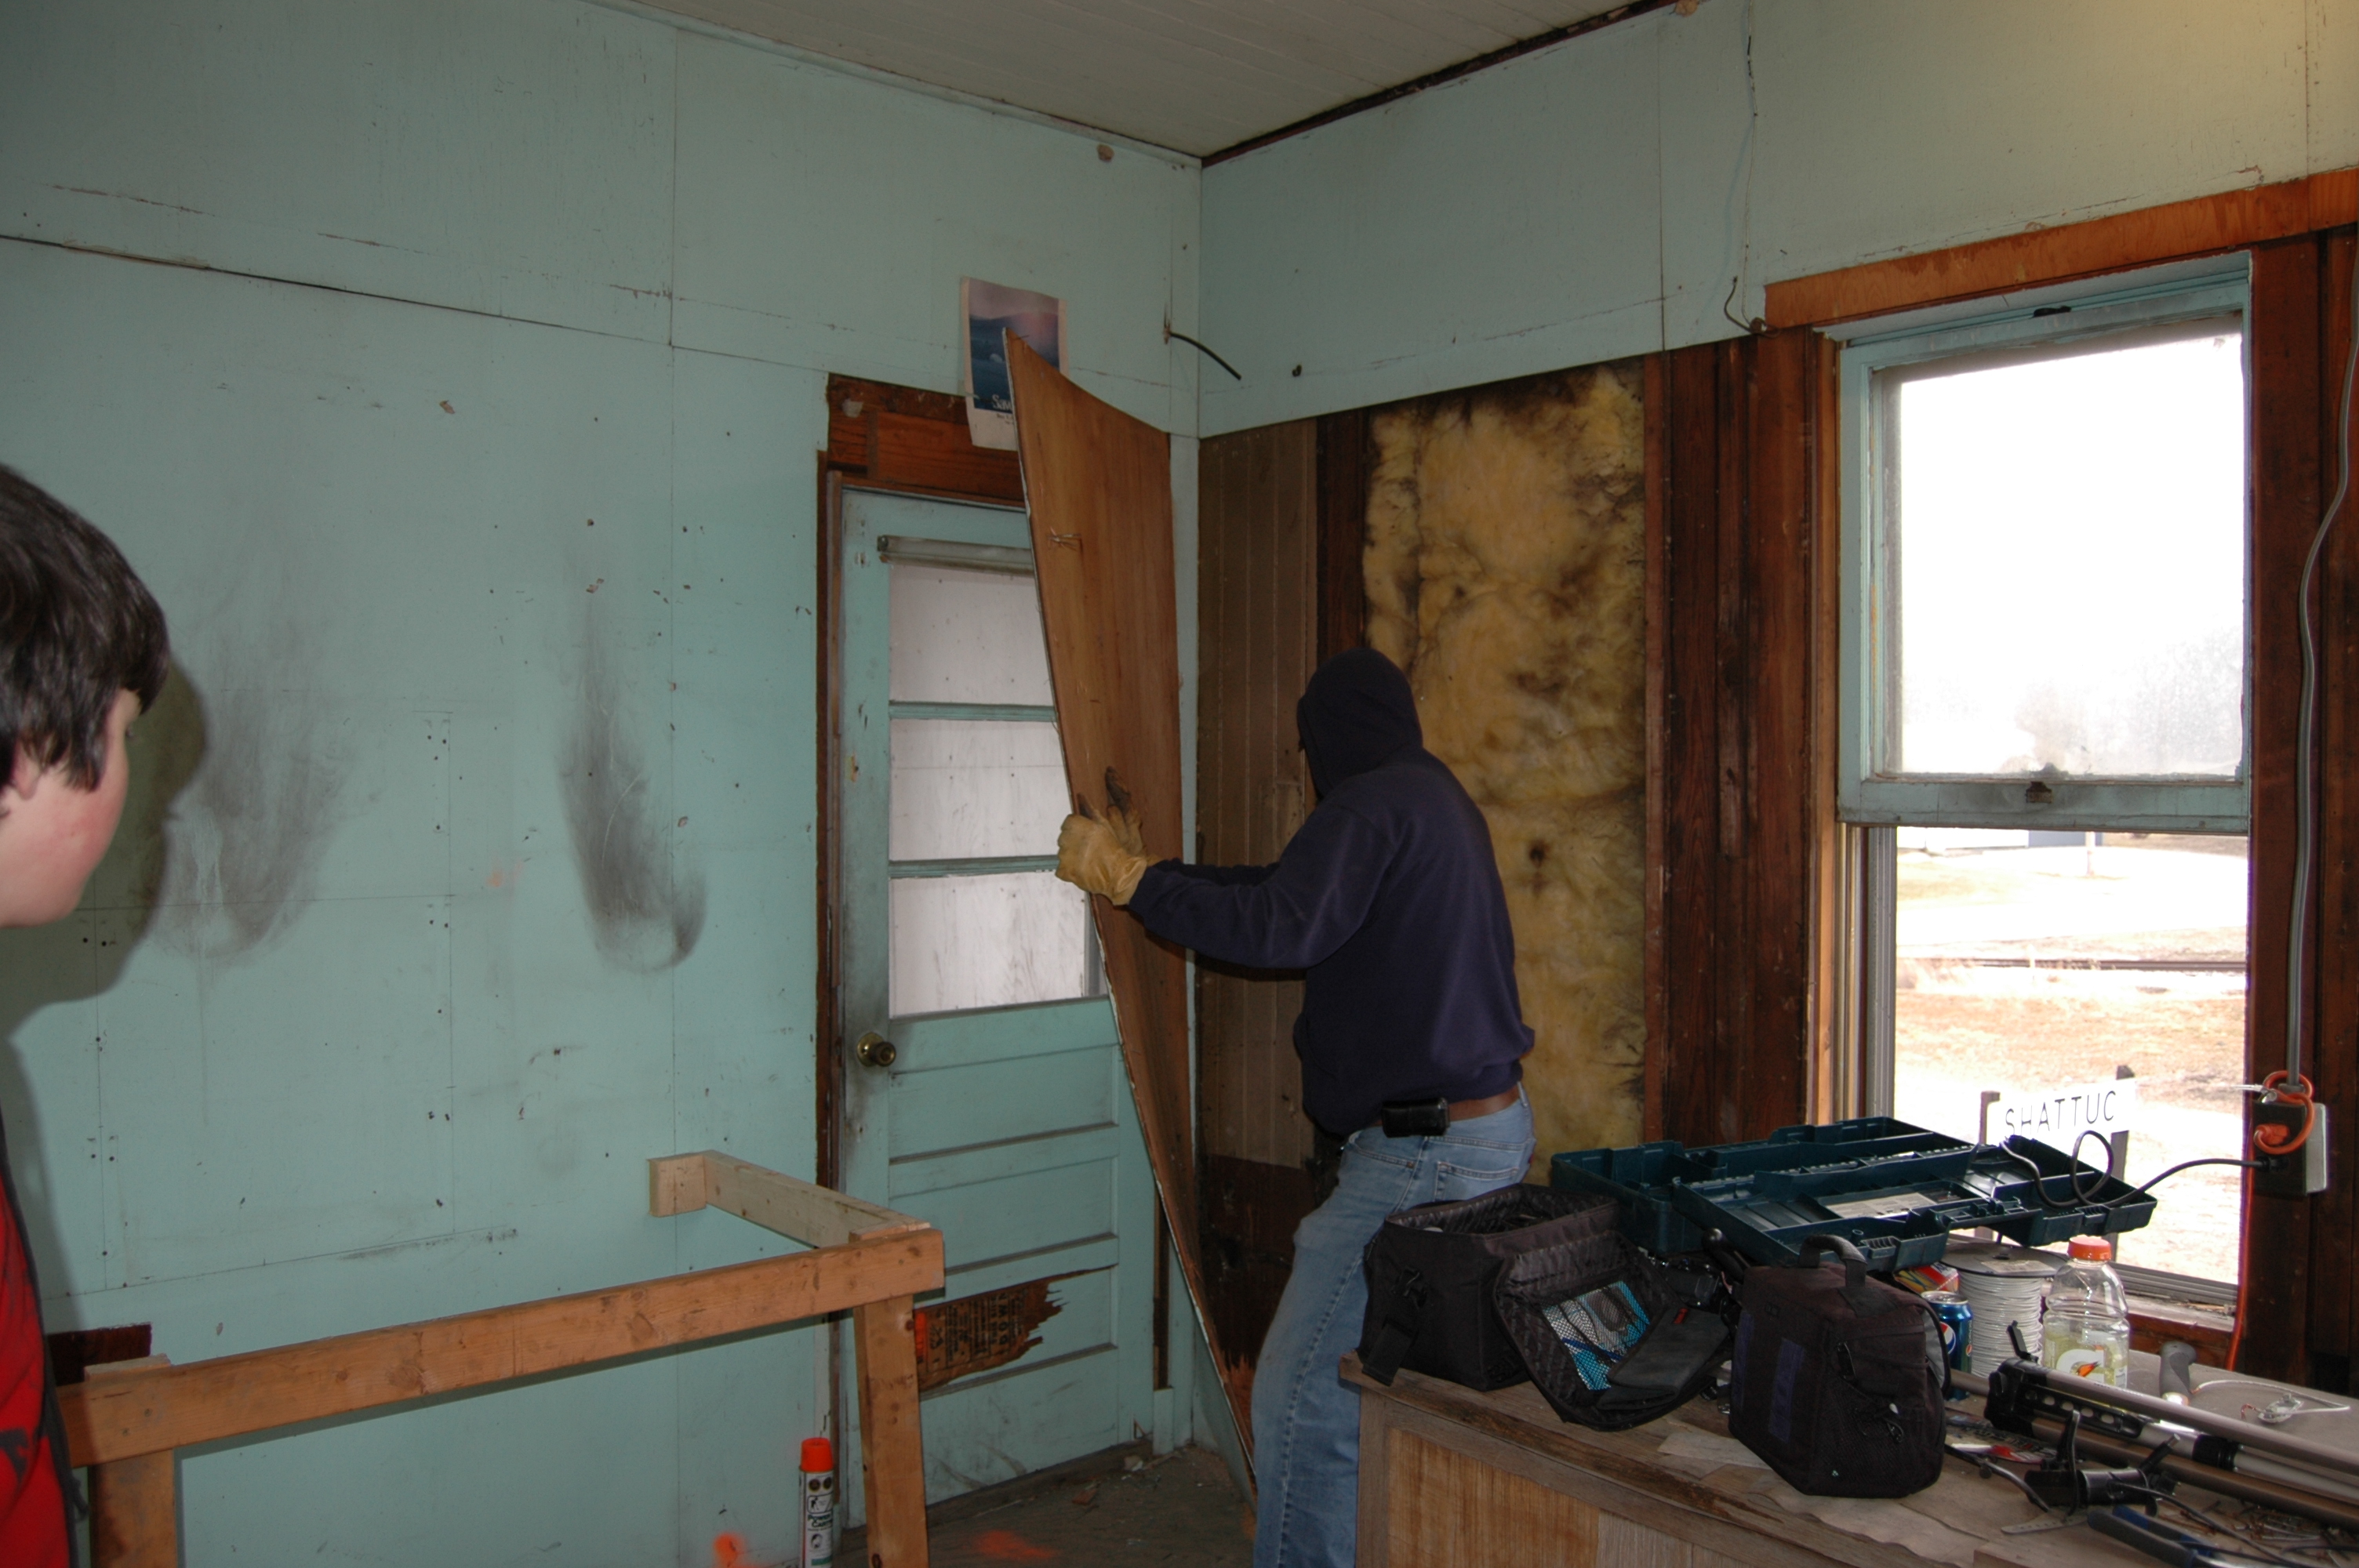
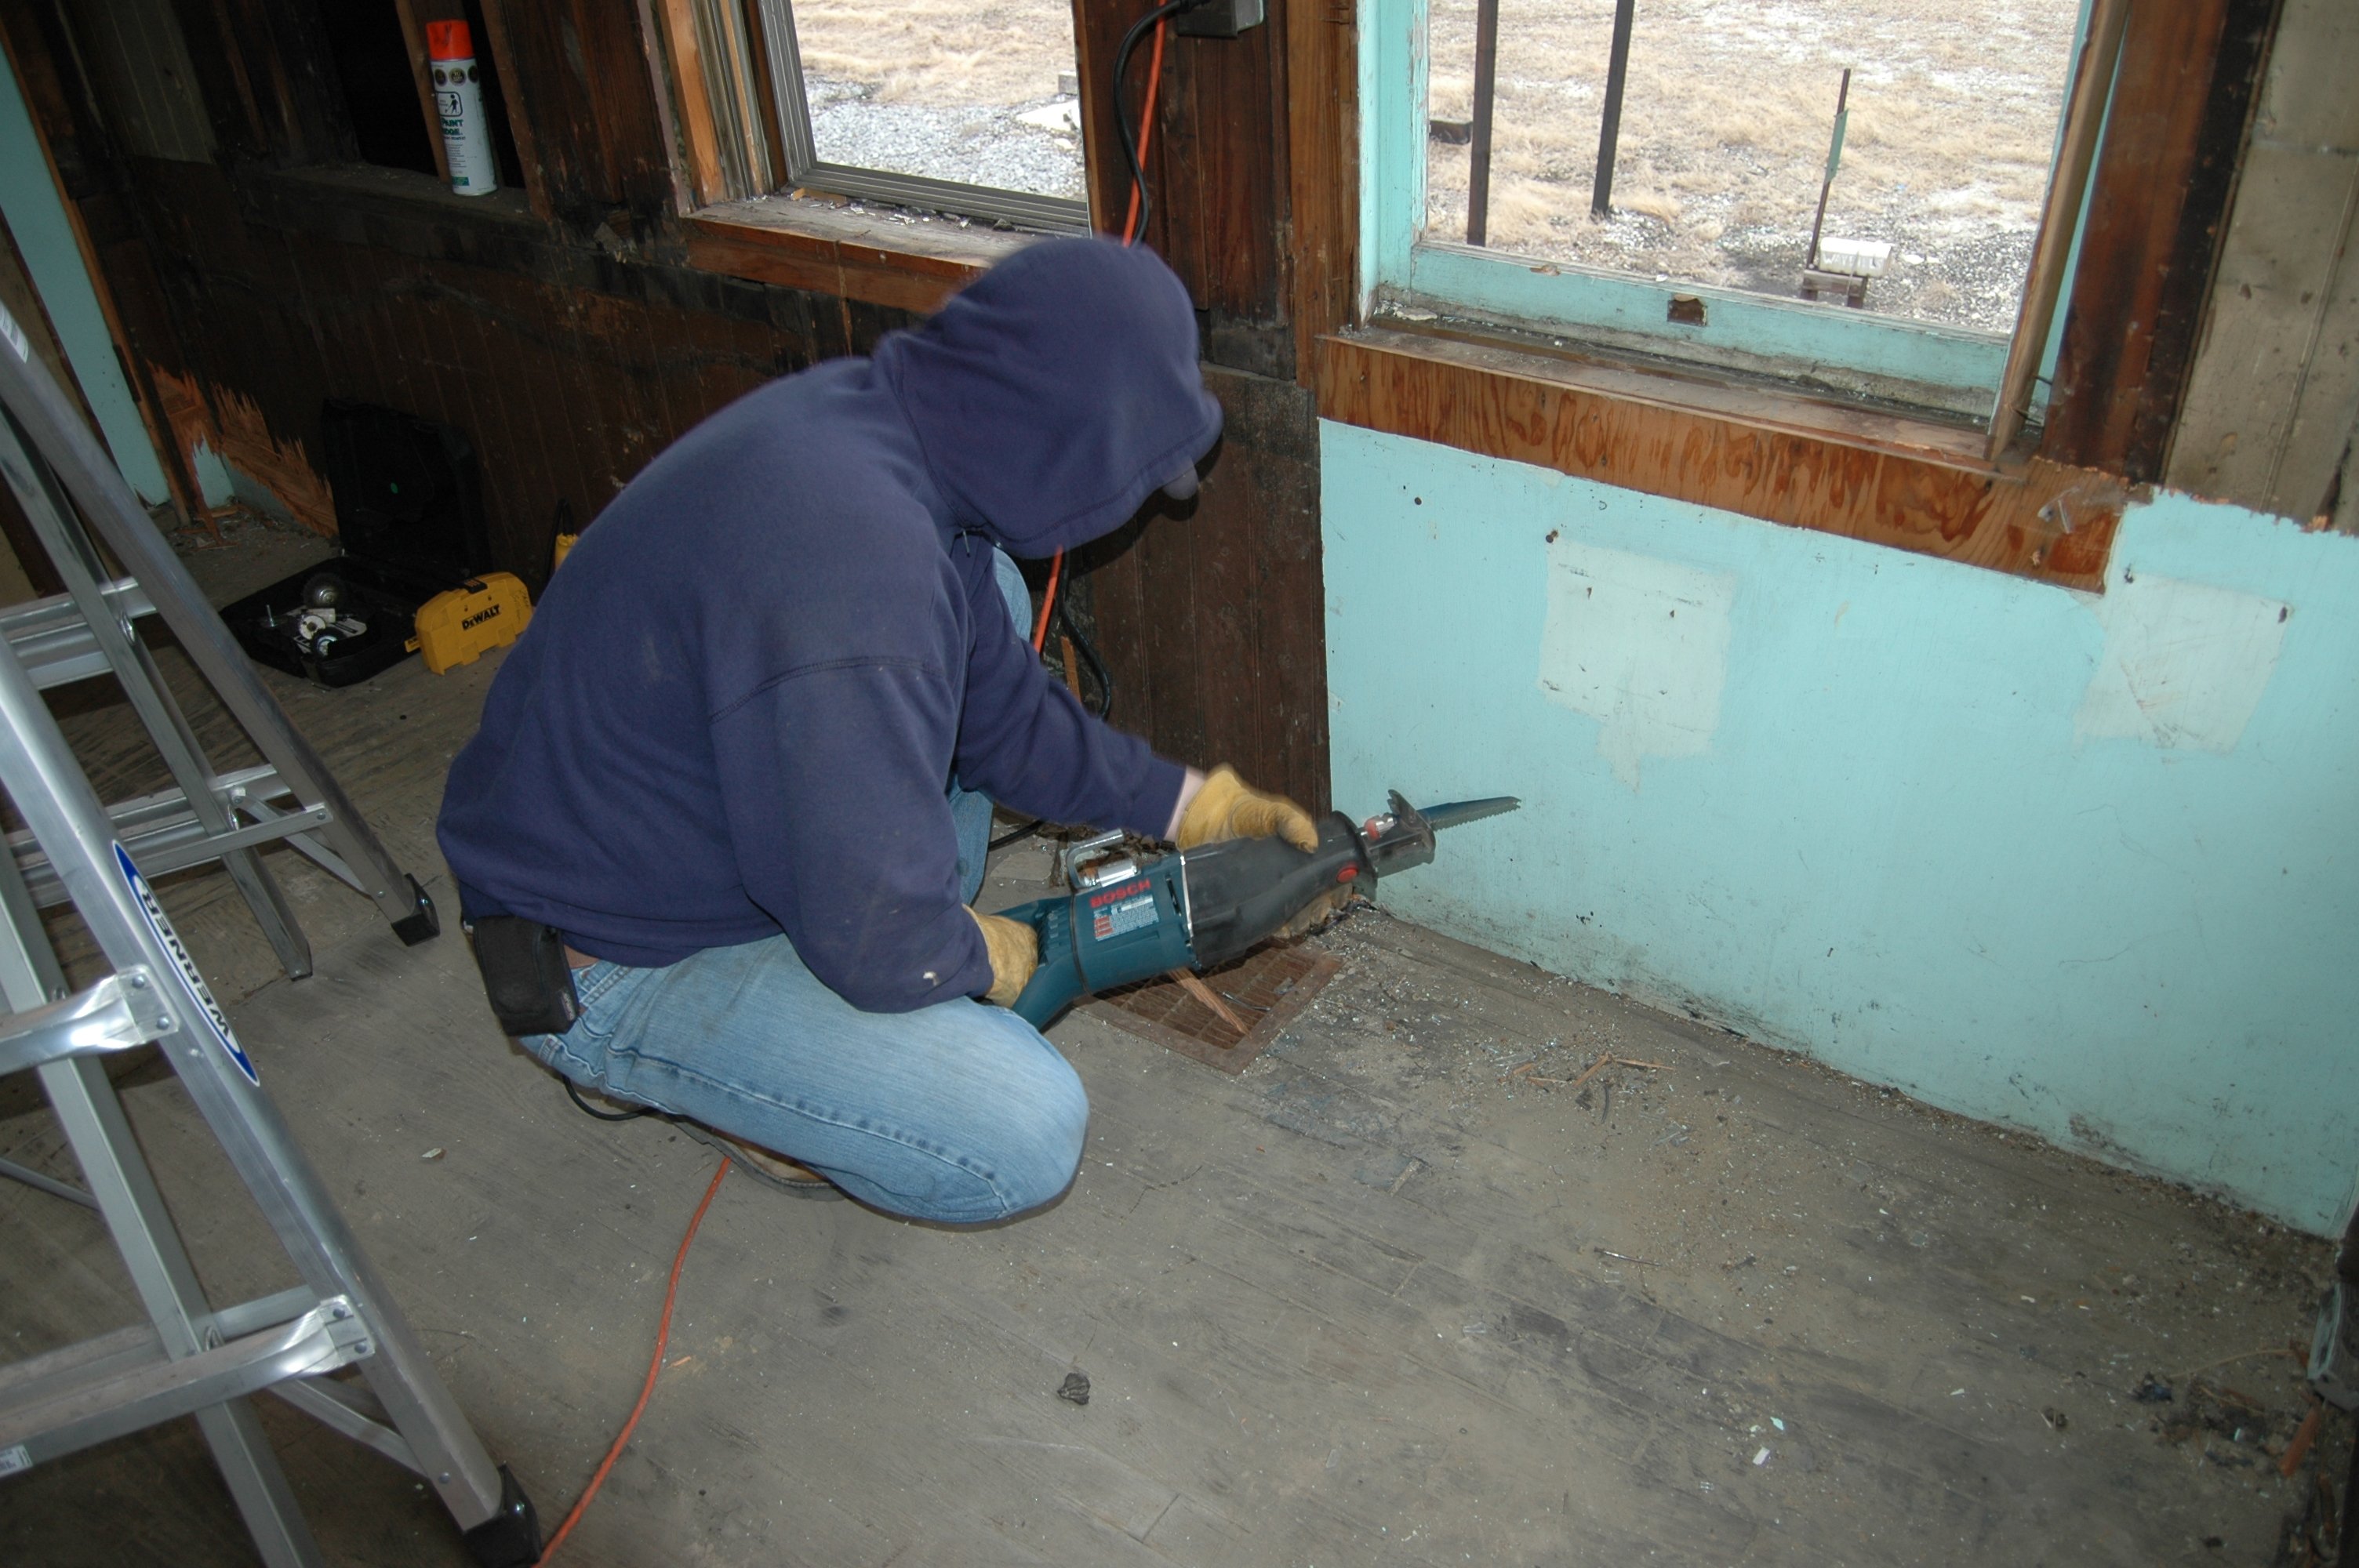
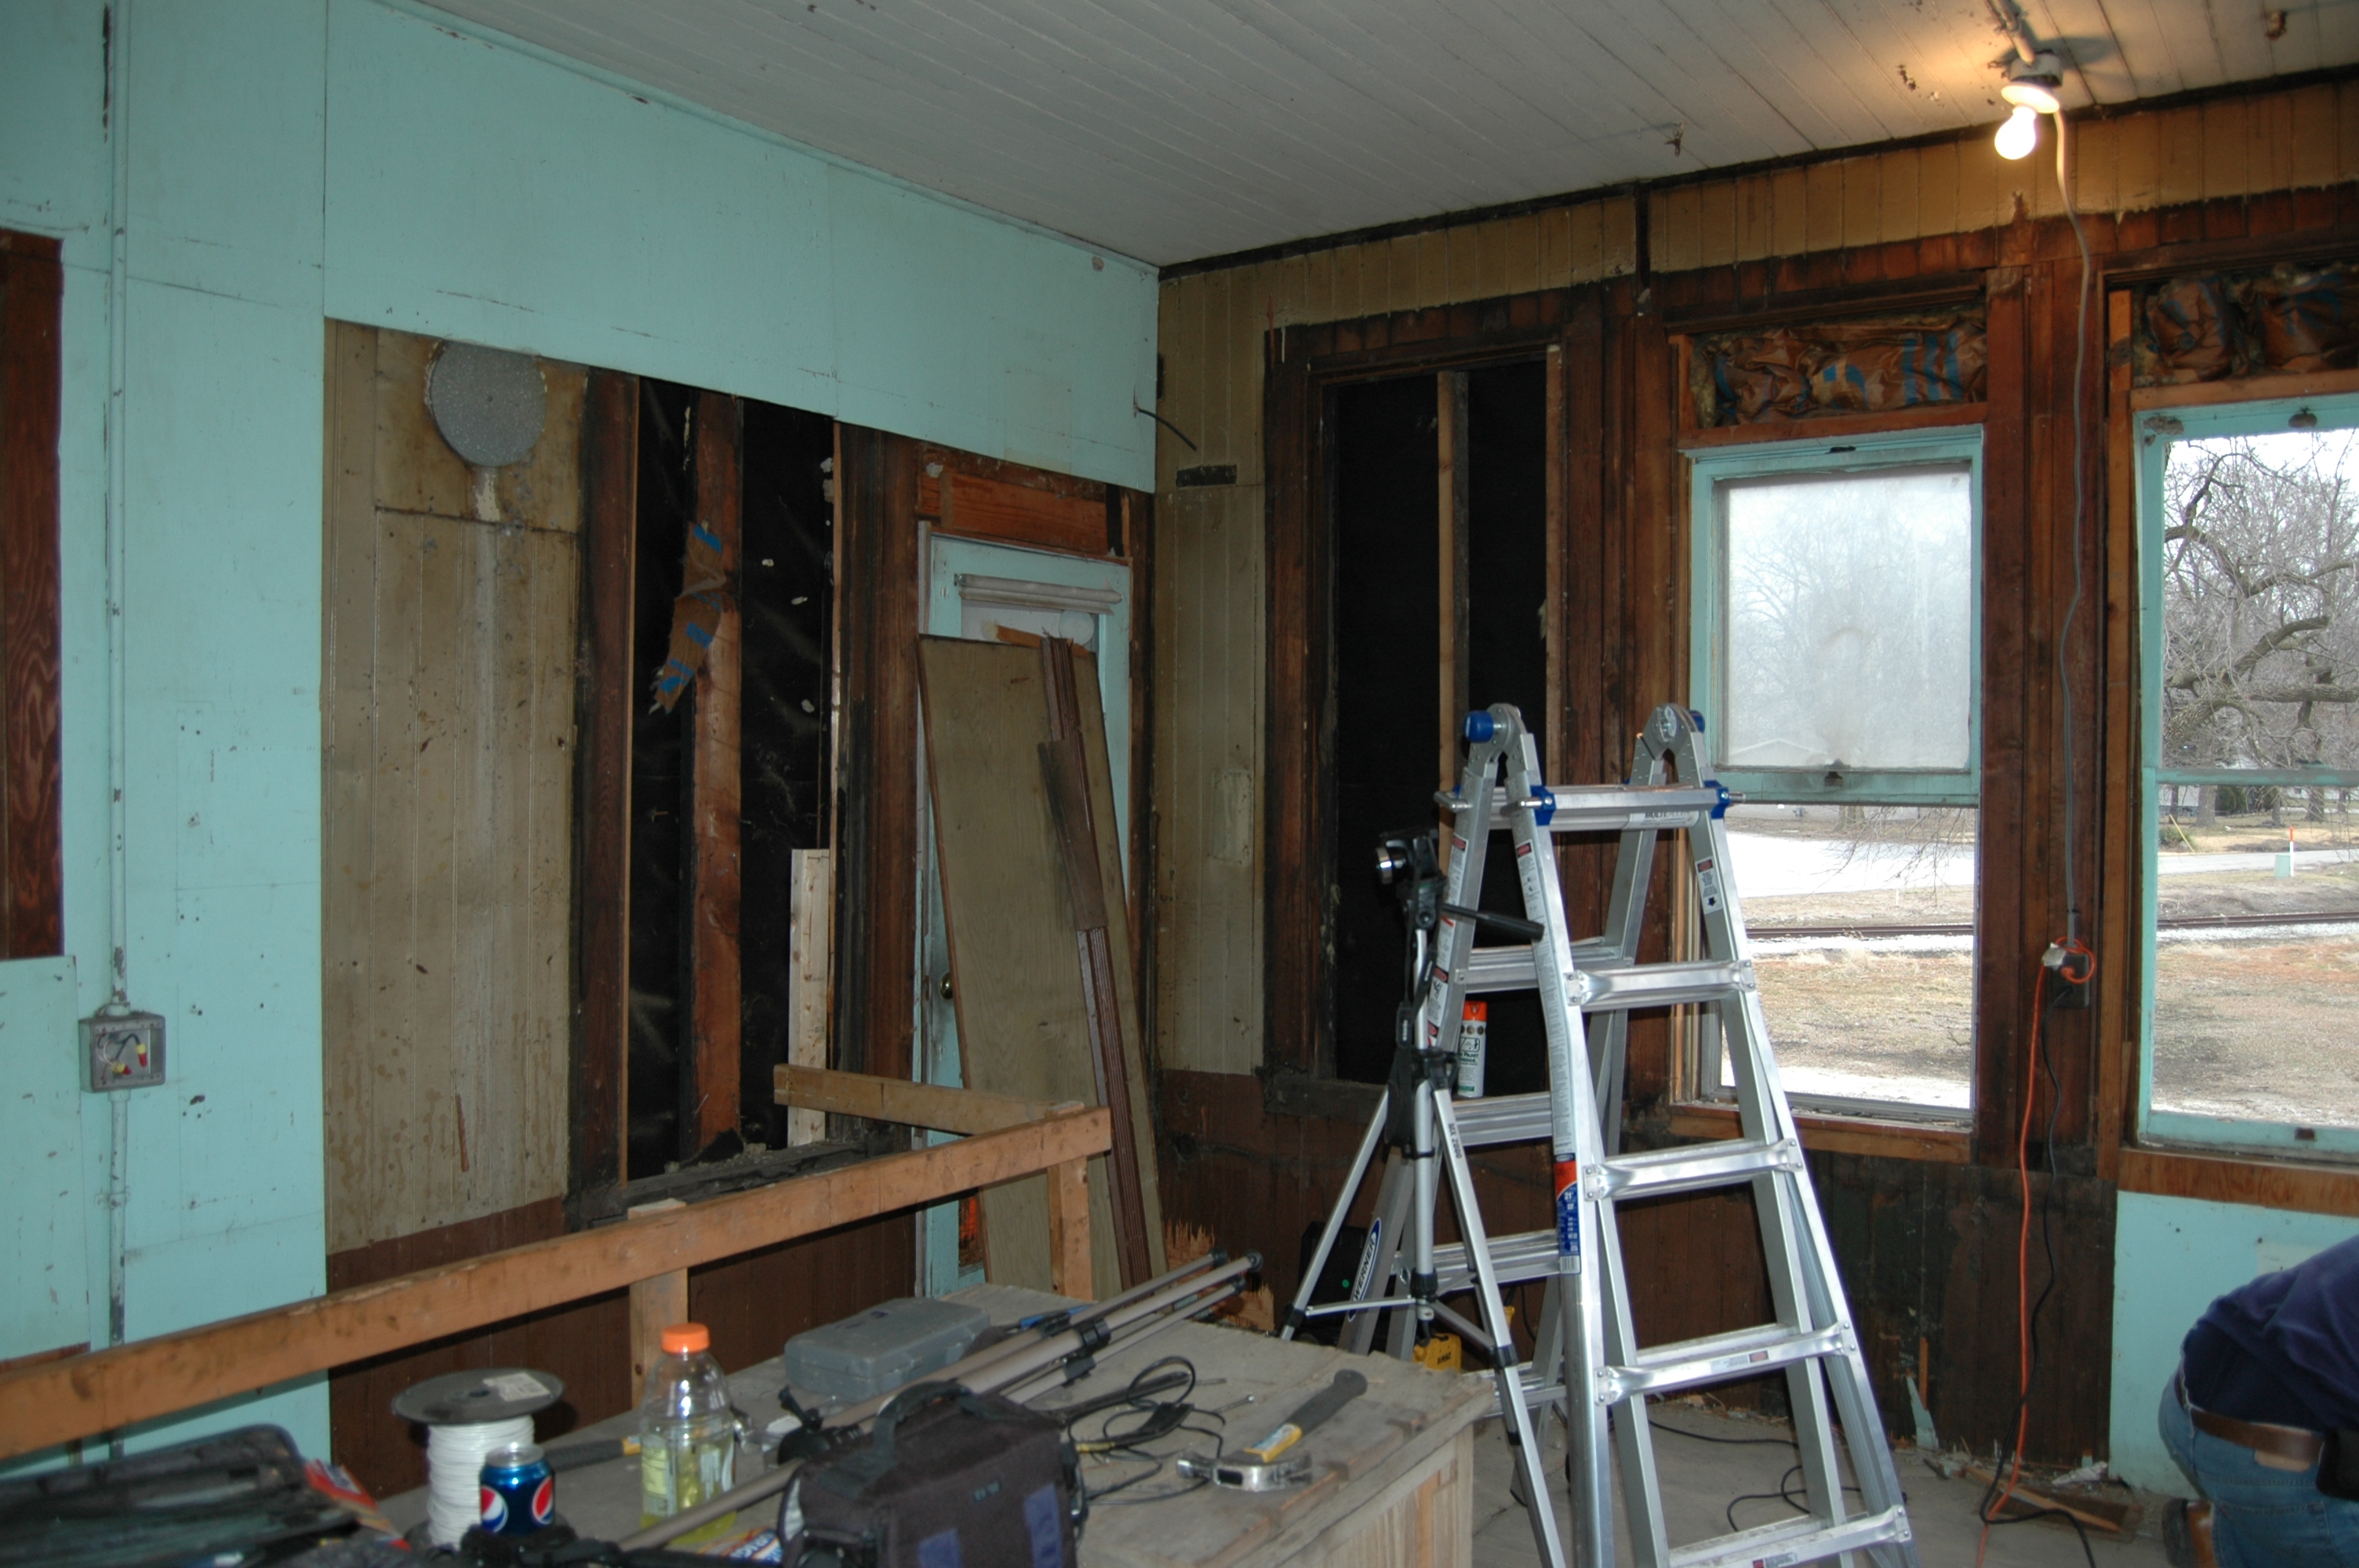
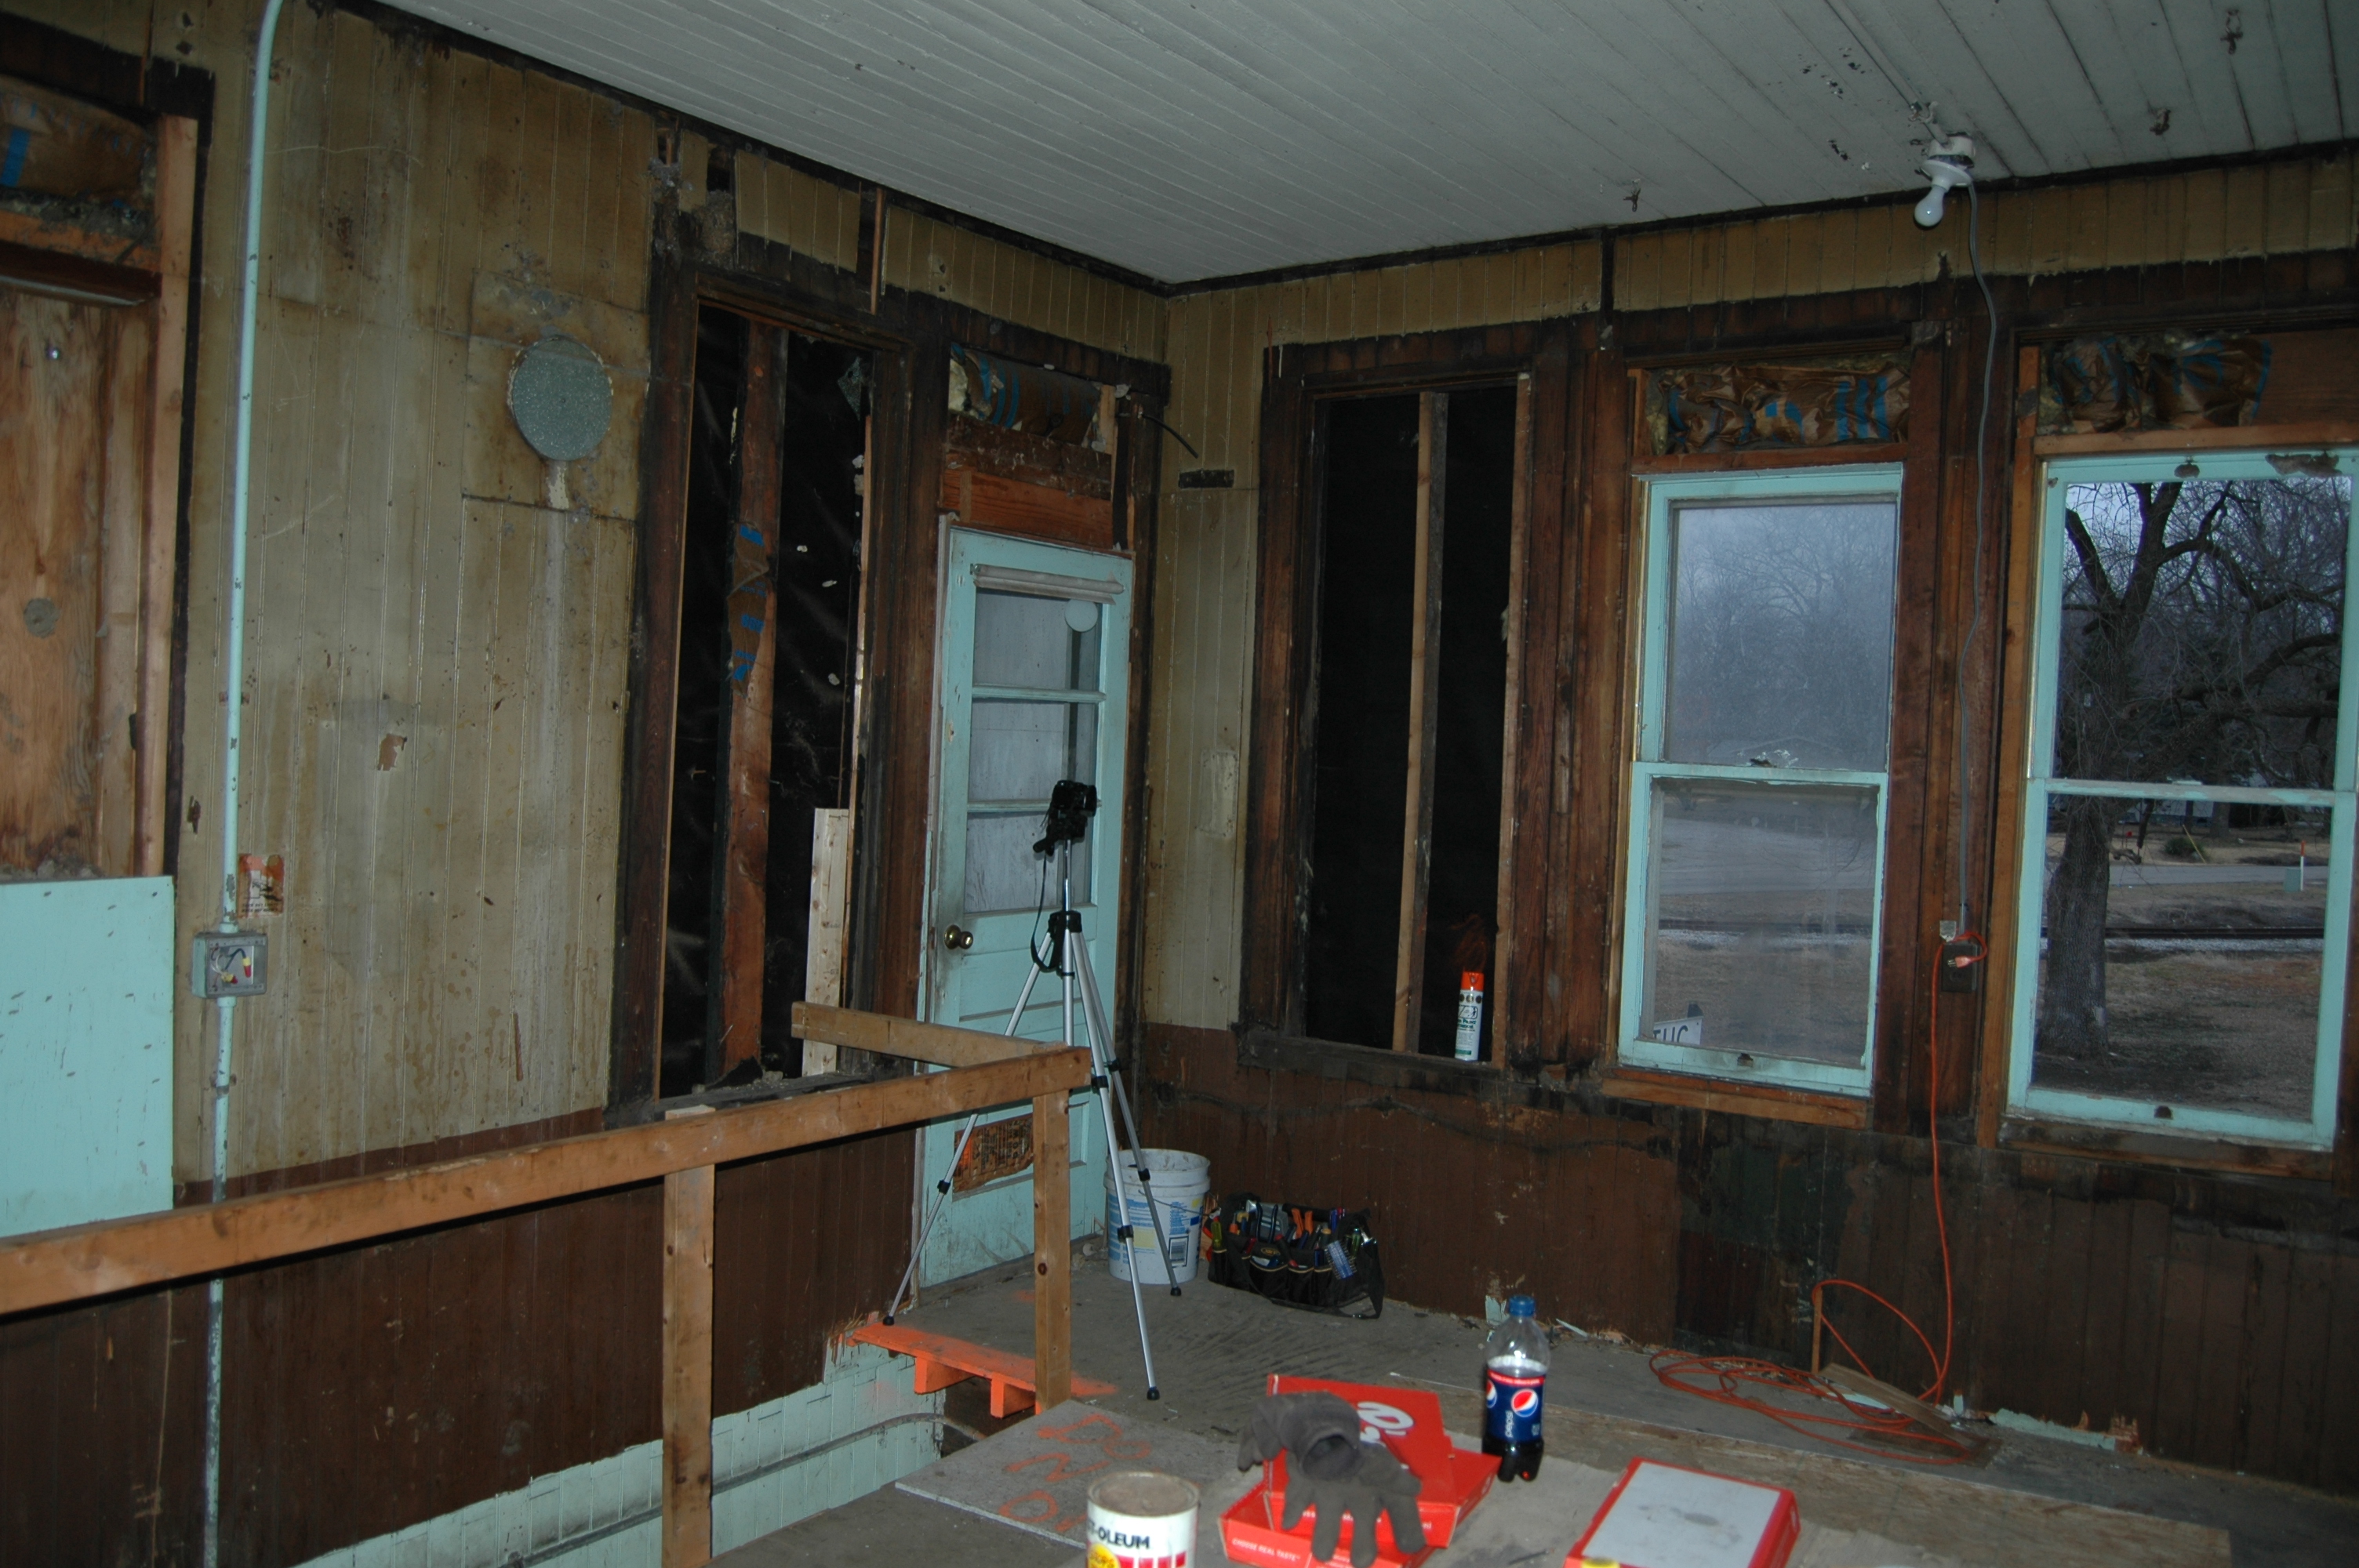
Removing the Trim ~ 3.6.2010-3.9.2010
Since Shattuc's walls and floors have been exposed to the elements for so long most of the tower has rotten away. After having a expert look at the tower it was decided that due to structure damage; the tower was not able to be saved. The idea is to save as much of the trim as possible and use that in the new tower. One of the railroads when through and boarded up windows and put plywood on all the walls inside the tower, they also put siding on the outside of the tower. To get to the trim we had to remove all the pine trim and take down the plywood. There was only one good window left in Shattuc that I believed was a original one, after we started pulling down the plywood we realized that shattuc had MANY more windows than we thought and that they were much bigger than the ones currently installed. While pulling down we found a date written on the wall, the date was 3-17-1970. I am to assume that, it was written when they put the plywood up. Thanks to the help of Justin and Nick this was done quickly.
 |
 |
 |
 |
 |
 |
 |
 |
 |
 |
 NEW |
 NEW |
 NEW |
 NEW |
 NEW |
 NEW |
[#.#] Indicates the US&S Plate and Order Numbers as seen in the 1894 US&S Catalogue.
Written By: Zachary Gillihan 2009-2010